How to Photograph the High Jump
In today's entry, I'll pose a question, claim it can't be answered, and then show you how to answer it. The question of the day is: Where do you position yourself to photograph the high jump? The first thing to consider is that access may be limited. Left side, right side, approach or landing, standing or sitting; any recommendation can be moot if you can't be there. Plus, it seems like every jumper uses a different technique and they are split on what side they should approach from. Every location is the wrong one for one competitor or another. What are we to do?
We must start with fundamentals. In this case, the fundamentals are the elements that will make for a good shot. Those are focus, face, peak action, and backgrounds. For me, faces are essential. In order to see faces, get to the event early and observe the athlete as he/she approaches the bar. Observe the jump to determine what vantage point will give the best facial view. Snap a few practice frames if you need to. It's not as simple as shoot from the opposite/same side as the approach. Plus, some jumpers will photograph better from the landing side, some from approach. This is extremely variable at the lower levels of competition such as middle or high school.
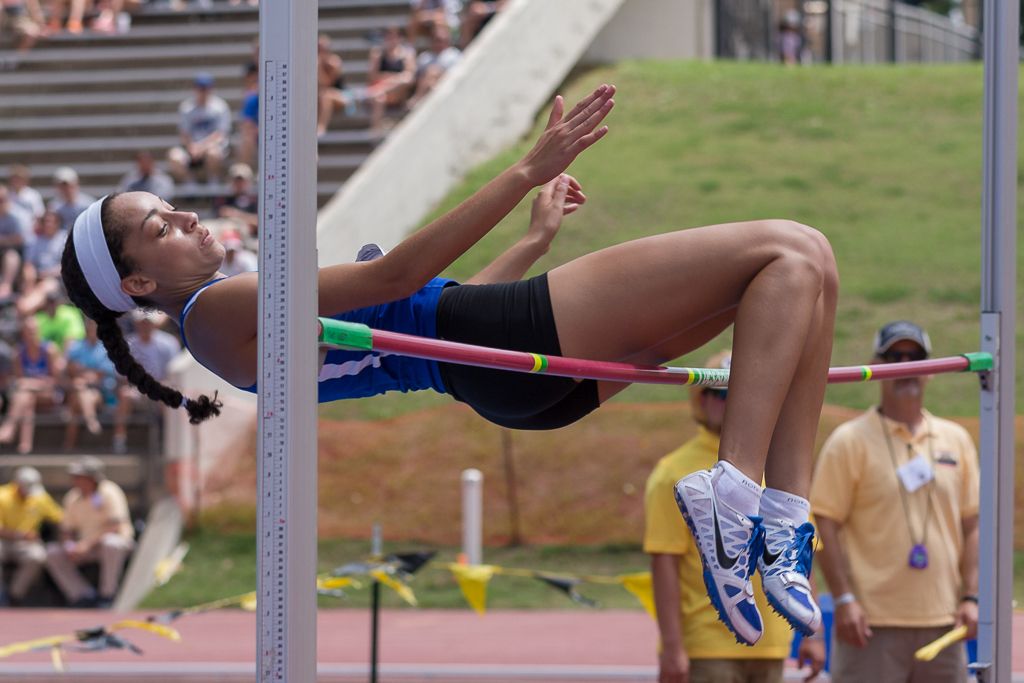
The following athlete throws her head back so her face can be photographed very well from the landing side of the bar.
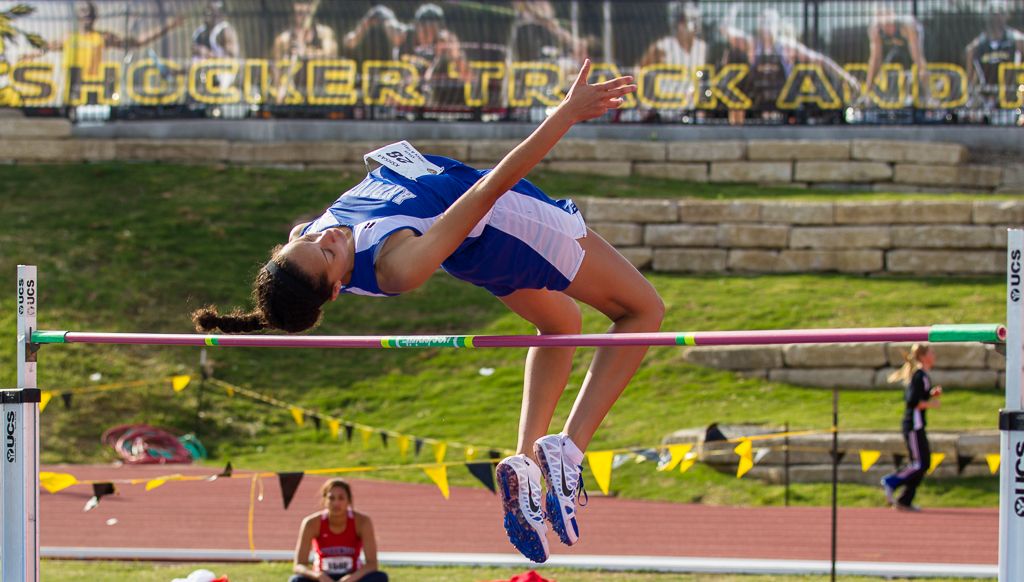
In this shot from the Kansas State Track Meet in 2013, I attempted to photograph this athlete from the landing side. Mediocre result.
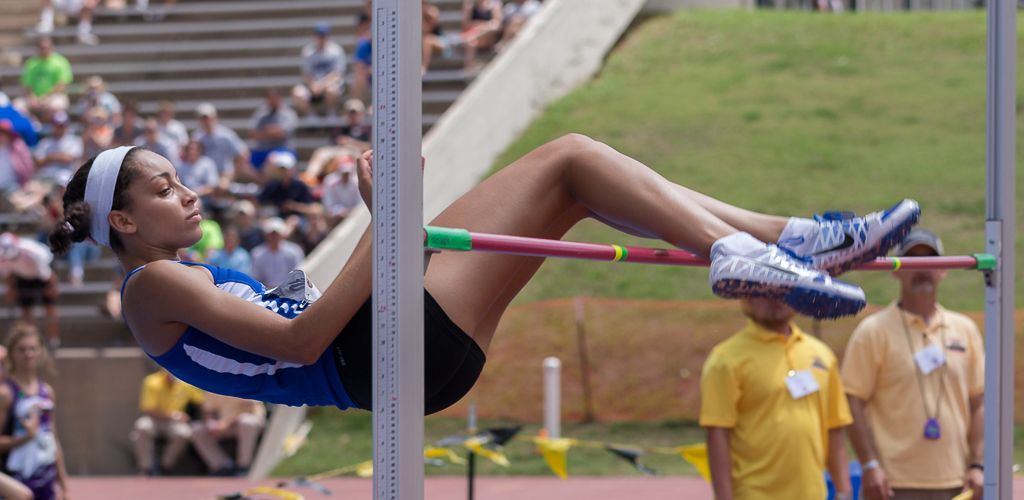
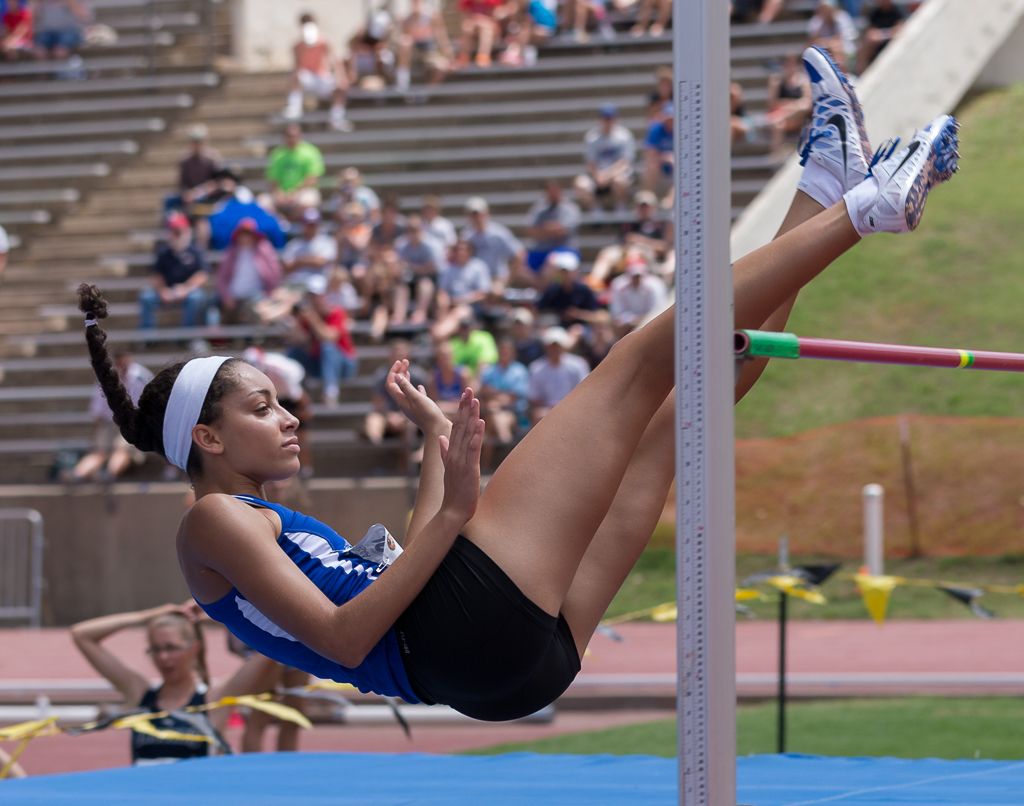
In 2014, again at the state meet, I was able to get to a vantage point on the approach side and shoot this burst.
Compare the head position here to that of the jumper in the first shot.
It's the exact same venue, same athlete, just a different side of the bar with a much better view of the face. It's worthwhile to note that the second set of images have a busier background but the better view of the face offsets that fact. However, that does bring us to backgrounds. If you shoot standing, you'll have a better angle to see the face but often a busy background.
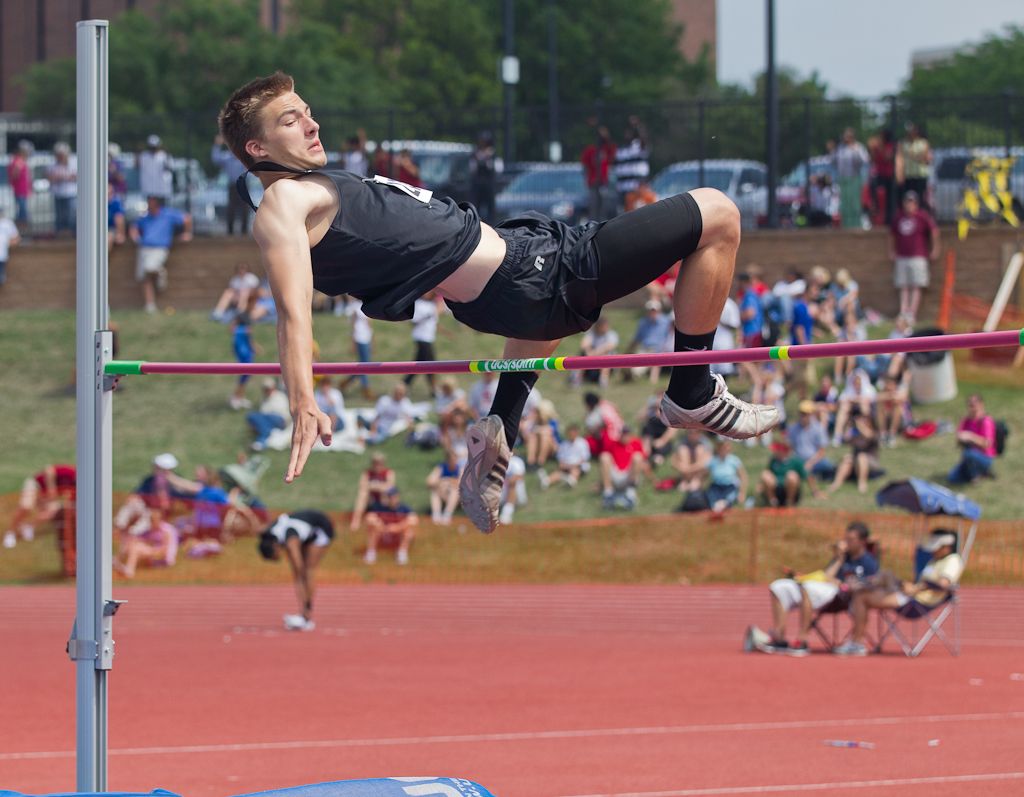
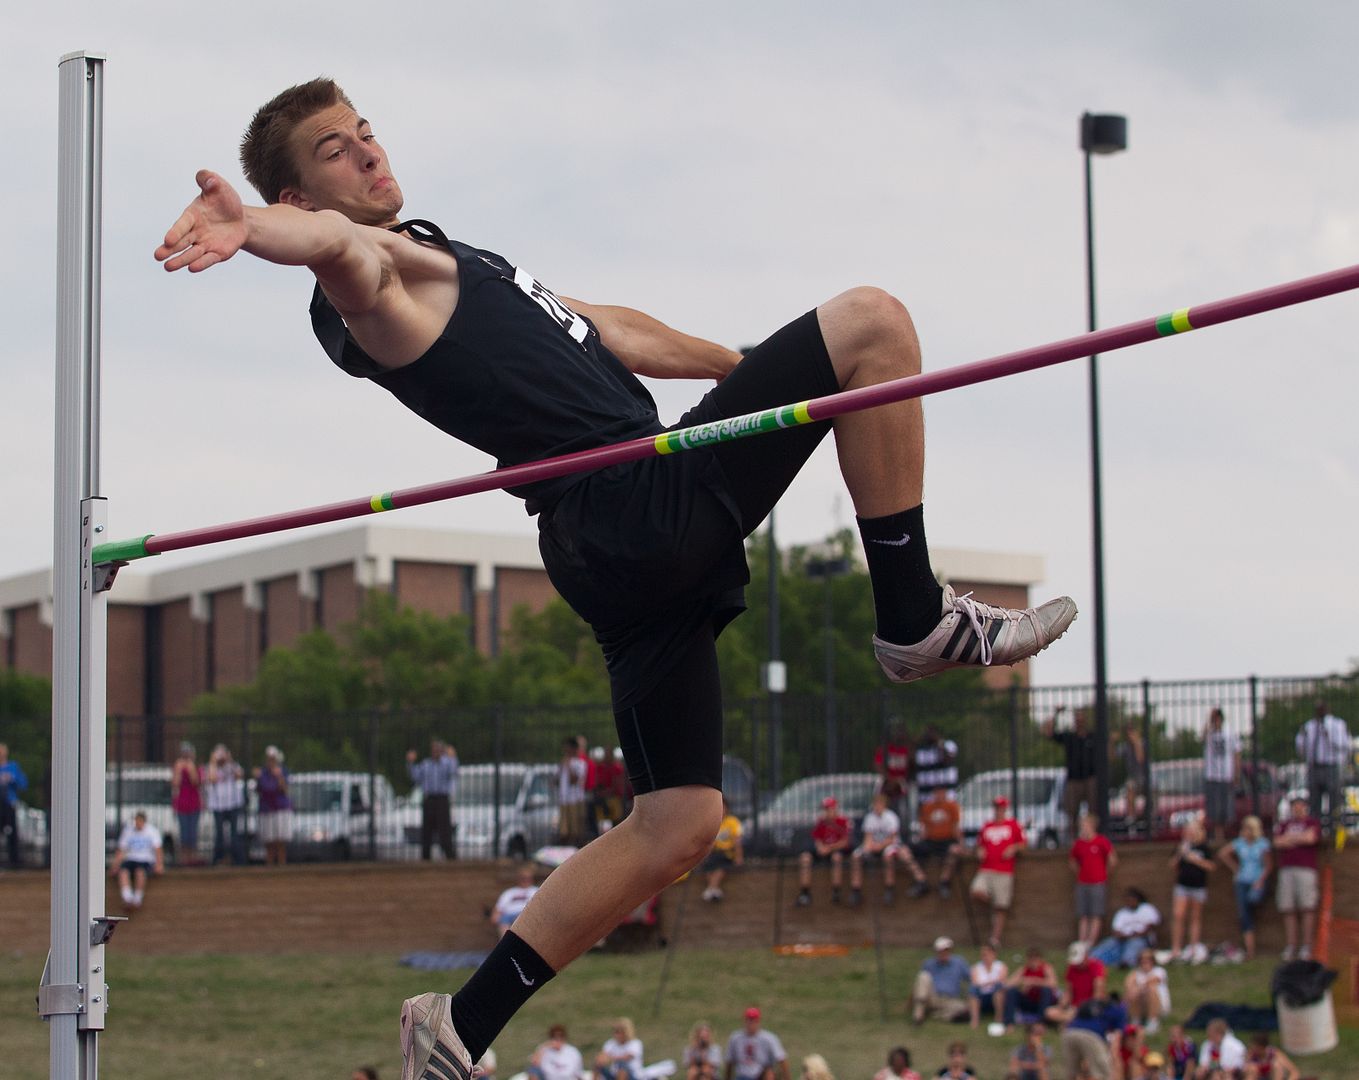
These shots are from 2011. In the first shot, there is nice action but a busy distracting background.
Kneeling or sitting on the ground can correct this problem by projecting the jumper against the sky. Note that with this jumper, the photographer must be on the camera right side of the bar. A polarizing filter might have helped give some definition to an ugly, milky white sky.
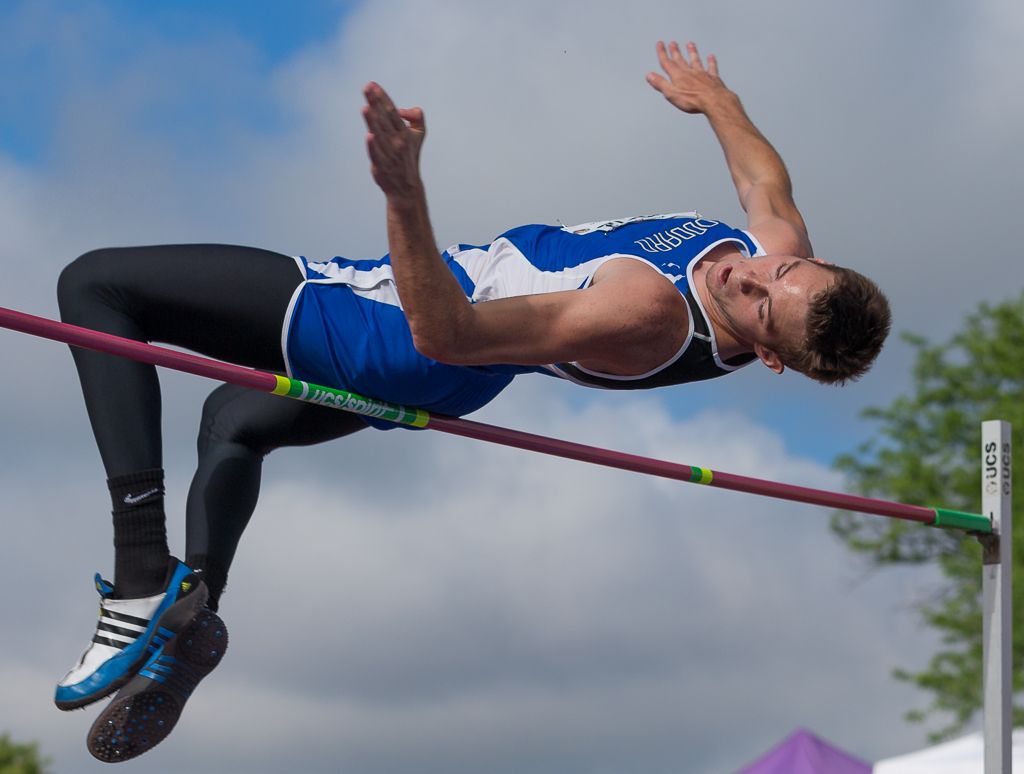
One other item. If you are going to include the sky in the picture, use a polarizing filter to get the most dramatic sky possible. The polarizer will make the blue of the sky bluer and the white clouds far more dramatic. Put all these elements together and you get shots like this from this (May 30, 2014) weekend.
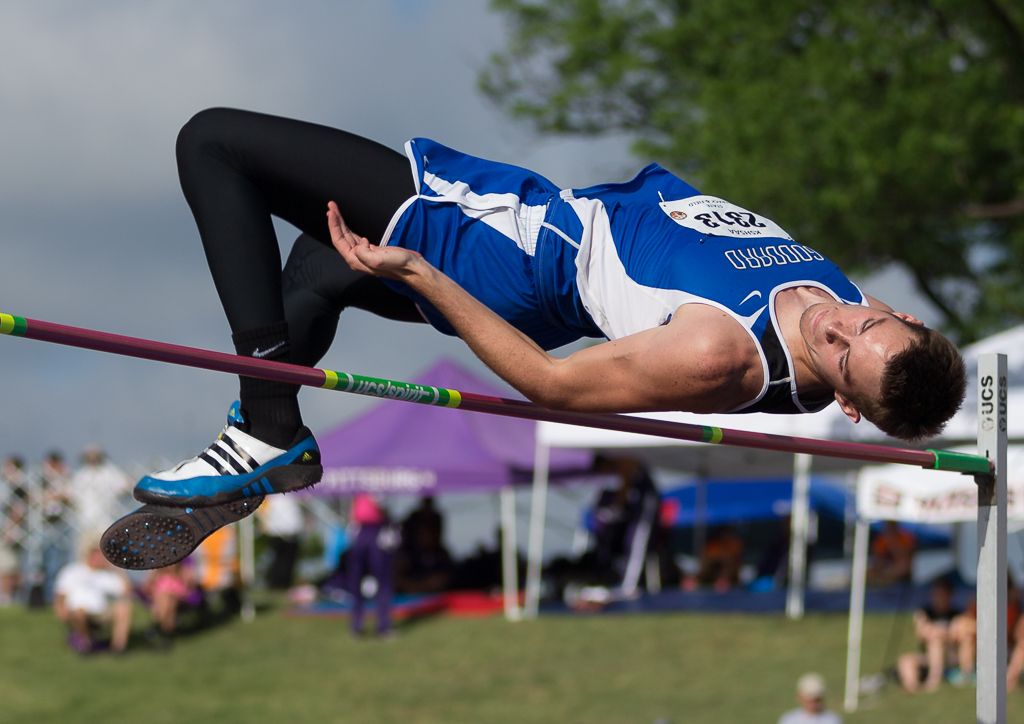
Standing perspective. Both of the following shots use a circular polarizing filter. With this athlete, the photographer must be on the camera left side of the bar to see the face.
Sitting on the ground, shooting skyward. Wonderful isolation and the polarizer renders a pleasing, colorful sky with defined clouds.
Some final issues to deal with. What about focusing? Is it better to track the athlete through the approach or to pre-focus on the bar and let the athlete jump into the focus plane? If I can track the athlete through the whole approach, I will track in servo focus through the jump. That is often not possible when shooting from the landing side due to obstacles and/or because the athlete takes an extreme angle during his approach. In those cases, I back button pre-focus on the label in the center of the bar and shoot a burst as the athlete jumps. In this case, I prefer to use a smaller aperture to give me extra latitude from an expanded depth of field. At 70mm focal length, full frame, 15 feet away from the bar, using f/5.6, I'll have a depth of field of about 4.8 feet. If you are shooting against the sky, there is no need for background blur so make the focusing easy on yourself by using a small aperture. A fast shutter speed is easy to obtain outdoors. Use 1/1000sec or faster.
Conclusions
Watch the warm ups to determine what possible camera location has the best view of the jumpers face. Check the possible backgrounds. If you can shoot from a low vantage point, the athlete may be isolated against the sky instead of a cluttered stadium Consider using a circular polarizing filter to make the sky more striking. Use large apertures to blur a cluttered background. A small aperture will give more leeway in depth of field and can be helpful when background blur isn't needed (ex. sky background). Different jumpers may need to be shot from different locations.
Next time, more on circular polarizing filters.
Phil Zivnuska
Coming August 15, 2014 will be my updated: How to Photograph Football. My version from 2009 has generated almost 50,000 hits. The new one will be even better.
