How to Photograph Football
Copyright 2014, Philip S Zivnuska. Copying or reproducing the following, in whole or in part, without written permission from Philip S Zivnuska is prohibited
How to Photograph Football
by Phil Zivnuska
Insights for Photographers New to the Game
Football is a great game that offers terrific opportunities for the photographer. There is plenty of action occurring simultaneously in different places. There are also significant challenges, especially for those who begin their football photography careers at the high school level. Attempting to capture fast moving action as darkness approaches is a challenge for even gifted, experienced, shooters. This tutorial is directed toward but not limited to those shooting high school football since it is not only the most difficult but because this is where many photographers get their first exposure to the game. A thorough knowledge of dslr fundamentals will be required so novices may occasionally need to expand their skill set.
The Prime Directive--Remember that the game is about the student athletes on the field, not about you, not about your pictures. The hierarchy of courtesy has the student athletes, AD, coaches officials, parents, and fans all above the photographer. Stay out of harms way, blend into the background, be respectful, and if you are told to do something by an official or administrator, do it. If you disagree, comply now and talk it over calmly at a later date. Build cooperative relationships with those who have authority/responsibility for conducting the game. Contact the AD ahead of time and learn the local rules for access. Get permission well in advance of the event. Talk to the AD or administrators before the contest to see where you may and may not go to photograph. Don't push the limits. Did I mention building cooperative relationships with those who have authority/responsibility for conducting the game?
Access to the field, court, or track is gradually getting more restrictive. You are a guest and have been granted privileges. Using those privileges with humility, grace, and courtesy will help insure access for your photography colleagues who come along after you. We need to work together responsibly for the benefit of all.
Know the Game--It's quite possible to photograph a football game without much knowledge of the game or the teams. Lots of folks do exactly that. However, those who know the game and the teams will be able to anticipate the action much better than those who don't. That means better positioning for more compelling action and better images. Ask yourself. Who are the best players on the offense and defense of each team? Does this team prefer to run or pass? If they pass, who are the leading receivers? If they run, do they run between the tackles or do they have a speedster who likes to run wide? Who are the "Big Hitters" on special teams? Does one team prefer to run or throw to one side of the field more than the other? Which formations typically mean pass and which ones mean a run is more likely?
If you know the answers to those questions, you will be able to play the percentages and put yourself in position for a 'lucky' shot.
Shoot Early in the Day (Pre-game), Early in the Game, Early in the Season--
Given the choice between golden hour sunlight and ultra high ISO (or flash), the decision is easy. Use all the natural light that mother nature is going to provide.
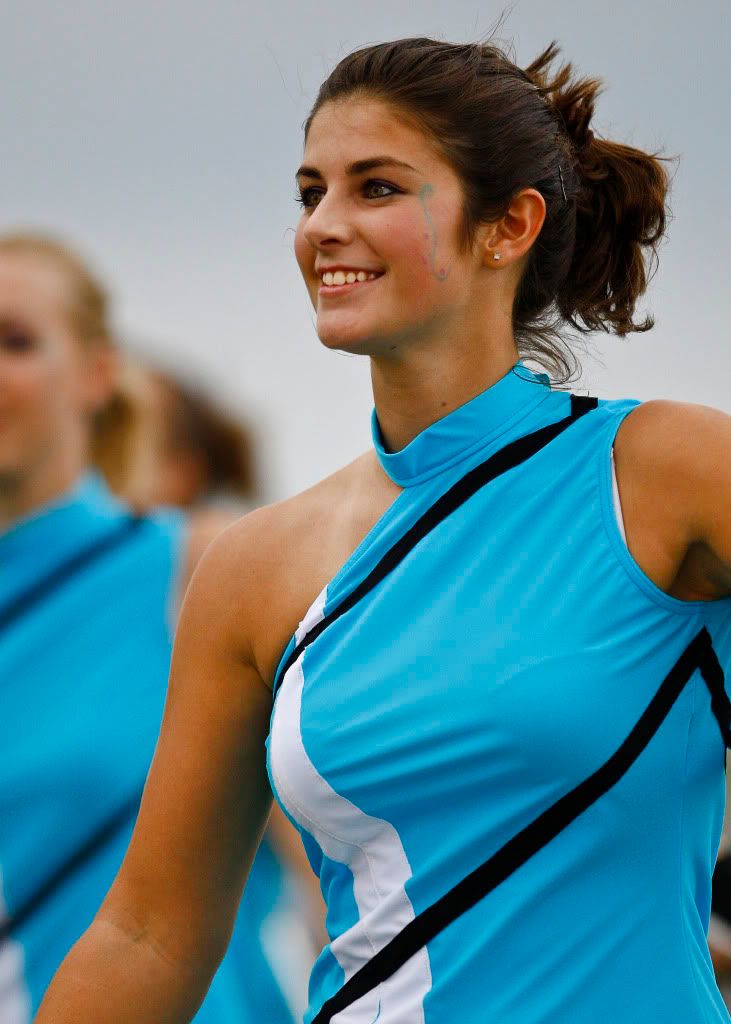
The first opportunity is to shoot the pre-game activities. There is a small army of people who arrive at about 5pm (or earlier) to prepare for that 7pm kickoff. These include the booster club folks, the barbecue crew, tailgaters, concession stand workers, announcer, the AD, color guard, dance team, and the band. These folks make the game an event and they enjoy pictures of themselves too. BTW, those who can make your life easy or difficult (AD, coaches, administrators) are here now.
Secondly, shoot the early part of the game. Depending on your purposes, you may be able to get the shots you need in the first half of the game when there is considerable ambient light available. Even that small opening will close soon enough. On September 1 in my home town of Wichita Kansas, sunset is at 8pm. By the end of October, the sun will be down at 6:30. That is a huge difference for Friday night football photography.
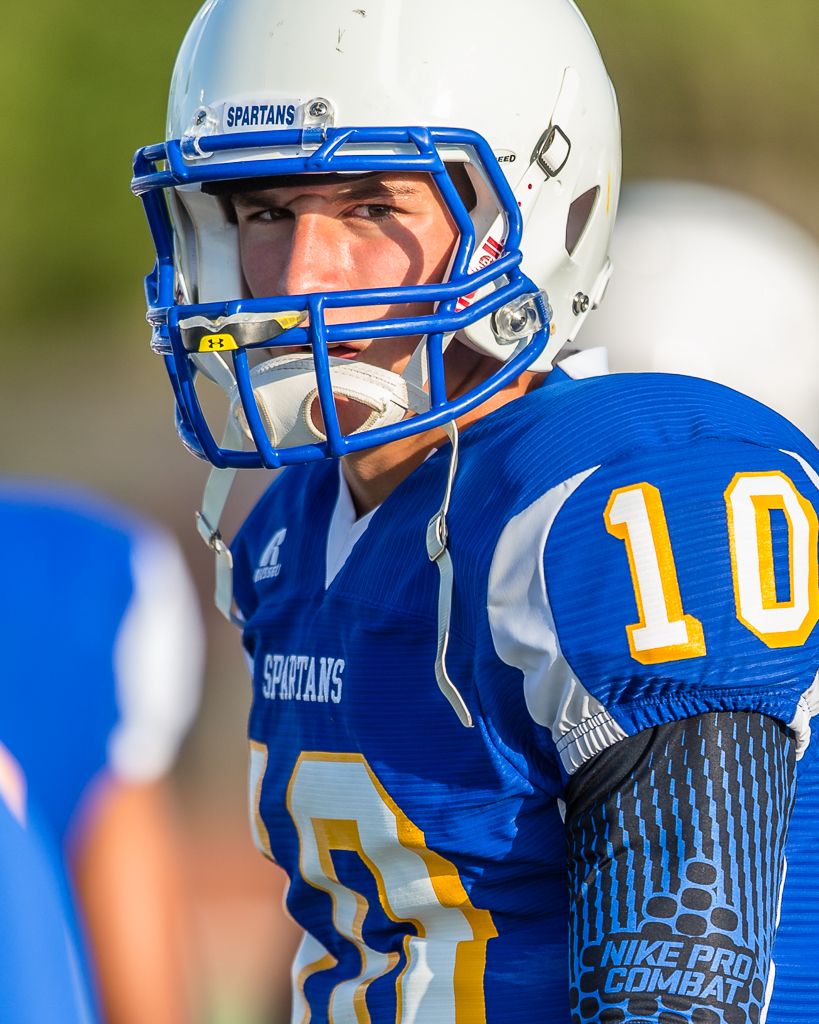
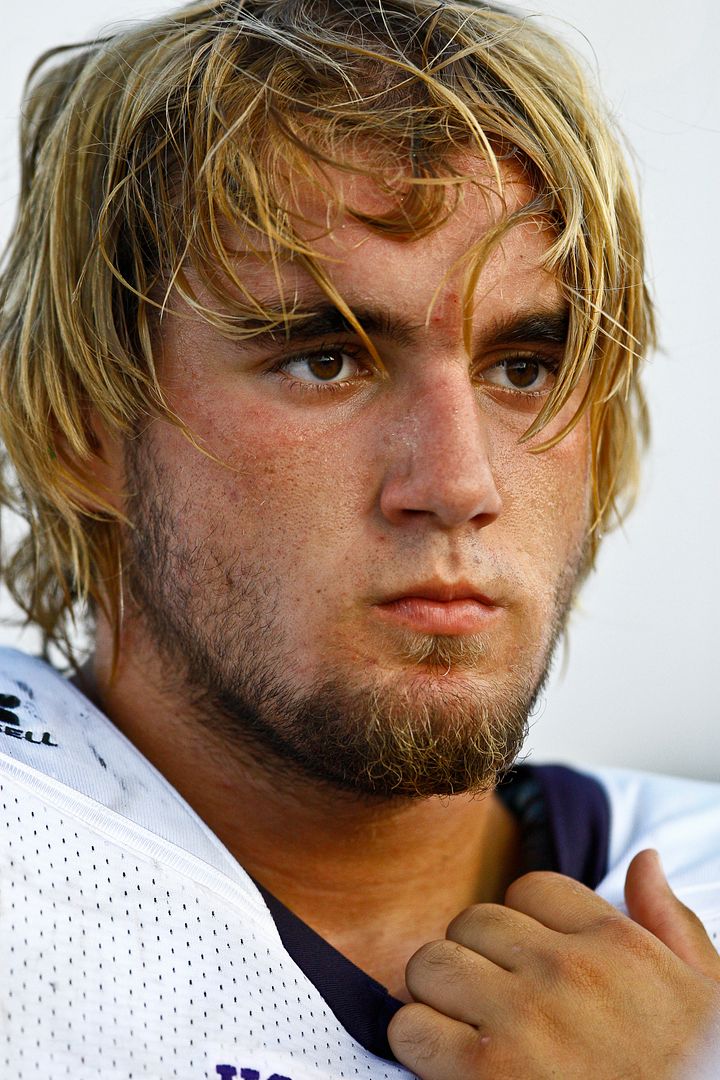
Shoot the warm ups before kickoff. This is a great time to get portrait type shots of players in uniform. There is no problem getting lots of shots of players who may not see much game time. Their parents love them too and would love to buy pictures. You can get uncommonly close to them during this time.
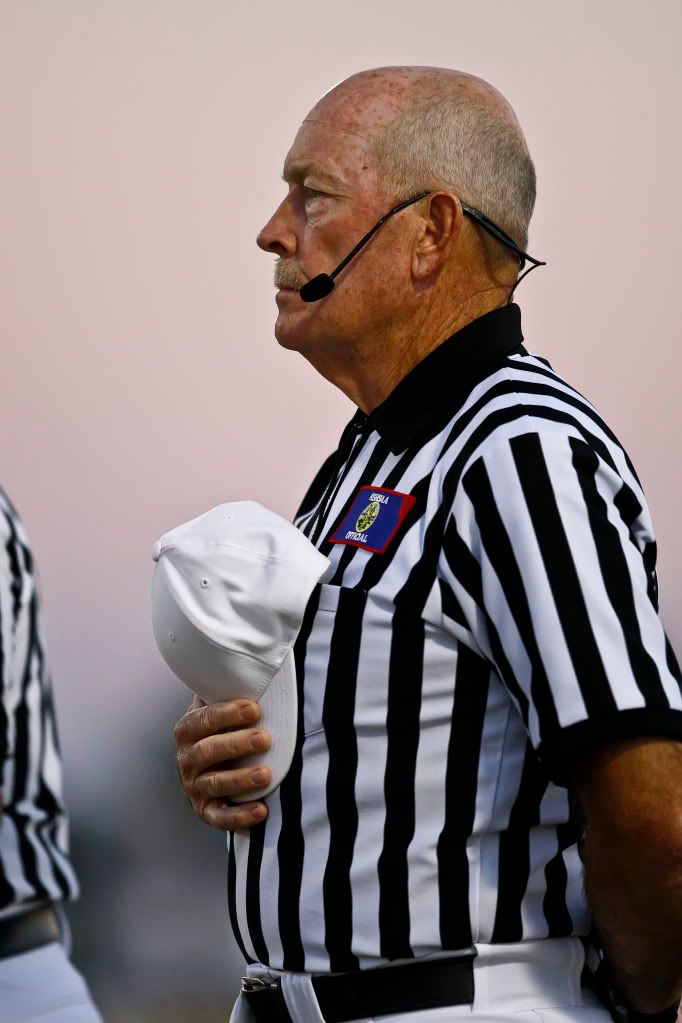
Don't forget the refs and coaches.
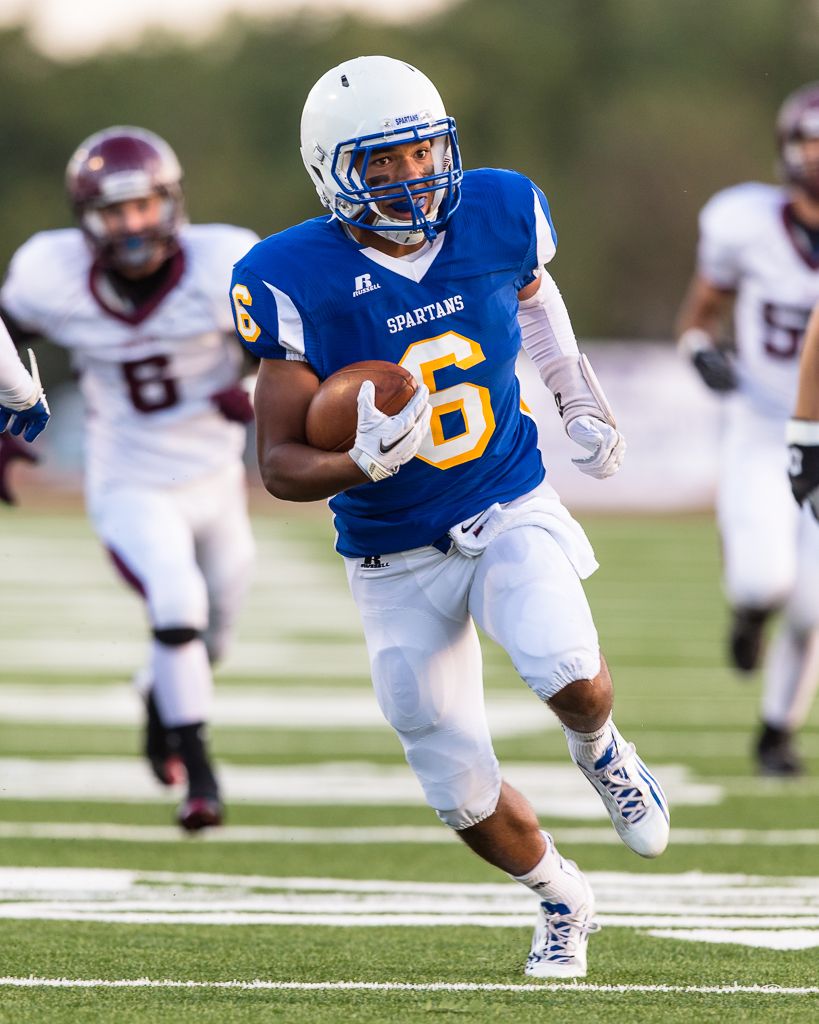
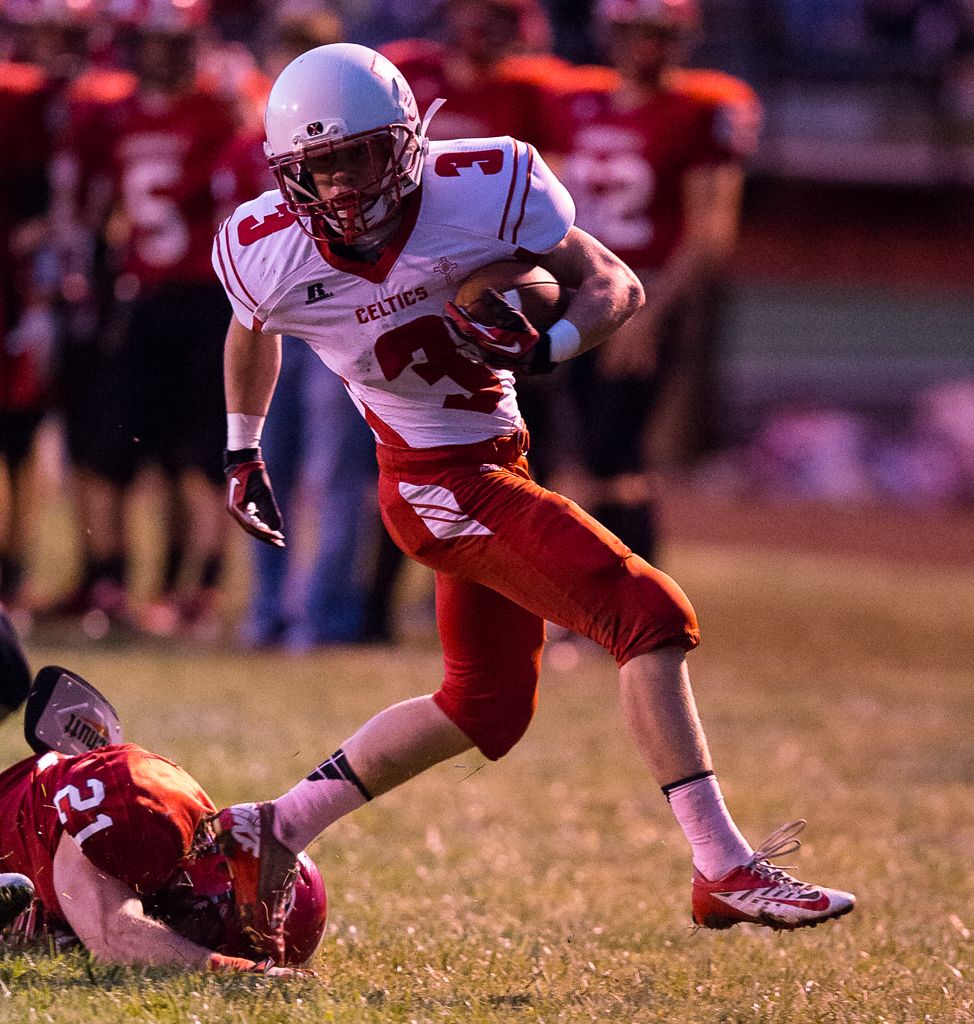
Images made with good ambient light are far more compelling than those done under the lights or with flash. Shadows are much less of a problem, ISOs are lower, and you can take full advantage of the burst mode in your camera. Shoot the heck out of the first half in those early season games.
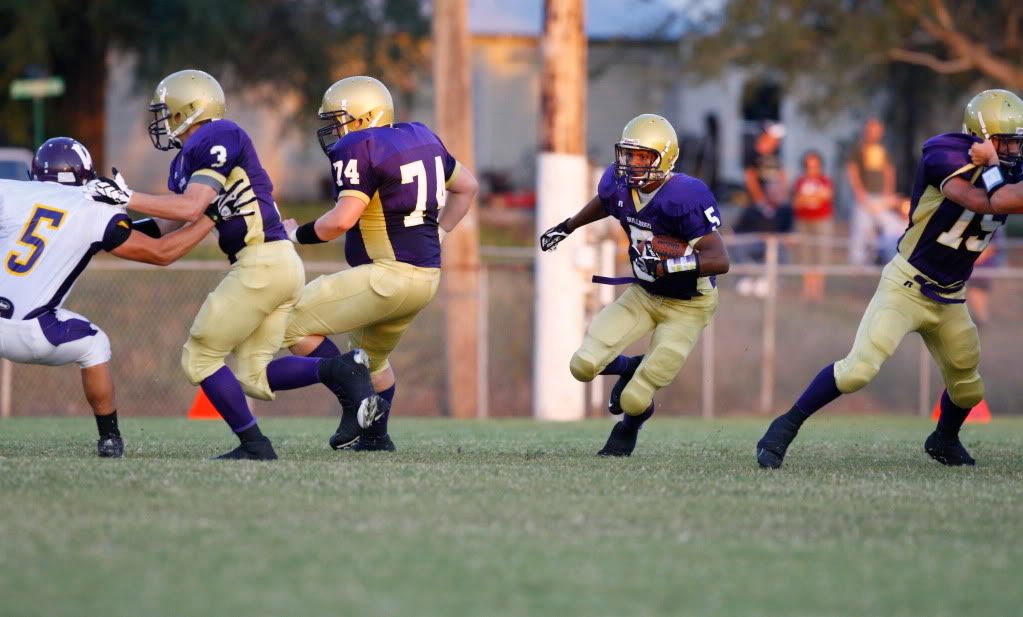
1/1000 seconds, f/3.5, ISO 800, September 7, 2012 at 7:06:38 pm. You gotta love that light!
Remember that you are losing daylight as each week goes by. Some of us shoot every game all season long and have to cope with darker and darker conditions. If you have a choice, and lots of you do, shoot the early season games. Those early games provide opportunities for yearbook shots, images for the end of year banquet, programs, scrapbooks, publicity etc.
Positioning--
A. Get Low. The general rule for sports photography is to get low when taking your photographs. This will enable the athletes to look larger and give your images a different perspective than fans are used to. This usually means kneeling or sometimes even sitting on the ground as often as you can. Yes, this can be tiring, especially for an old geezer like me but that is what is required. Some shooters do this, others don't. The better ones do. Get some knee pads if you need them.
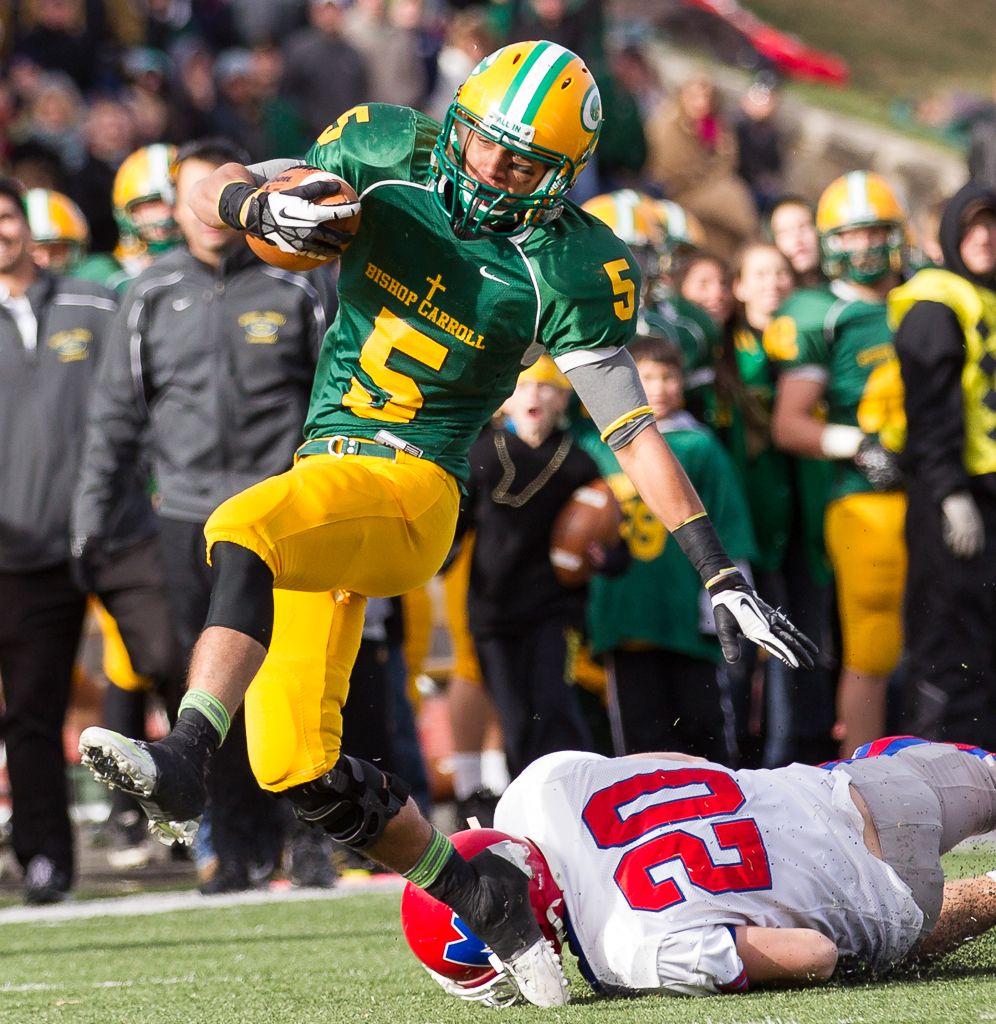
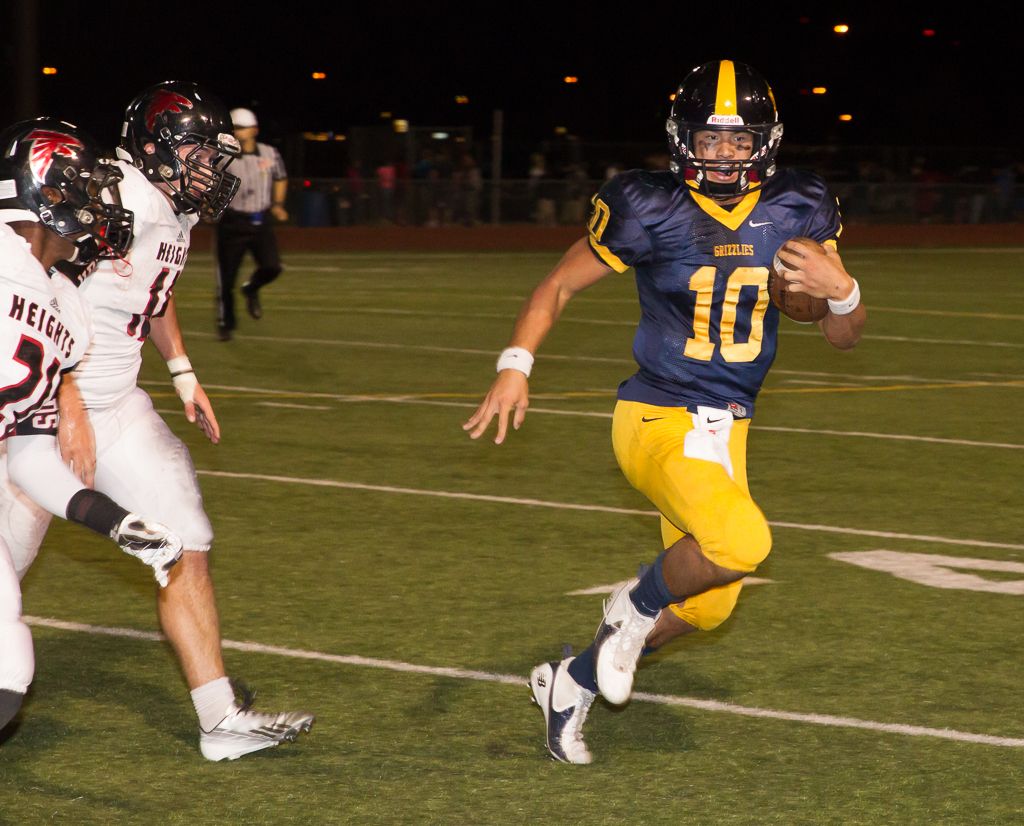
B. Get to the End Zone as Soon as You Have the Reach. The goal of the offense is to get into the end zone, the player with the ball will be looking in that direction most of the time, those players will be getting closer and closer to you, and there is a good view from sideline to sideline. Station yourself a few yards behind the end line when you have enough focal length to reach to the line of scrimmage and get a useable image. There is usually a dashed line to indicate the proper buffer distance from the field of play. Don't push it. Give extra space. There is no need to be so close to the field that the photographer interferes with the action or puts himself or players in danger. I'm usually 5-7 yards behind the end line. YMMV.
If the offense is backed up against its own end zone, this is a terrific time to get shots of the defense attacking. Try to get a shot of the eyes of the middle linebacker.
Having empty space behind your subject always helps isolate him from the background. This is often quite easy to do when you are shooting from the end zone.
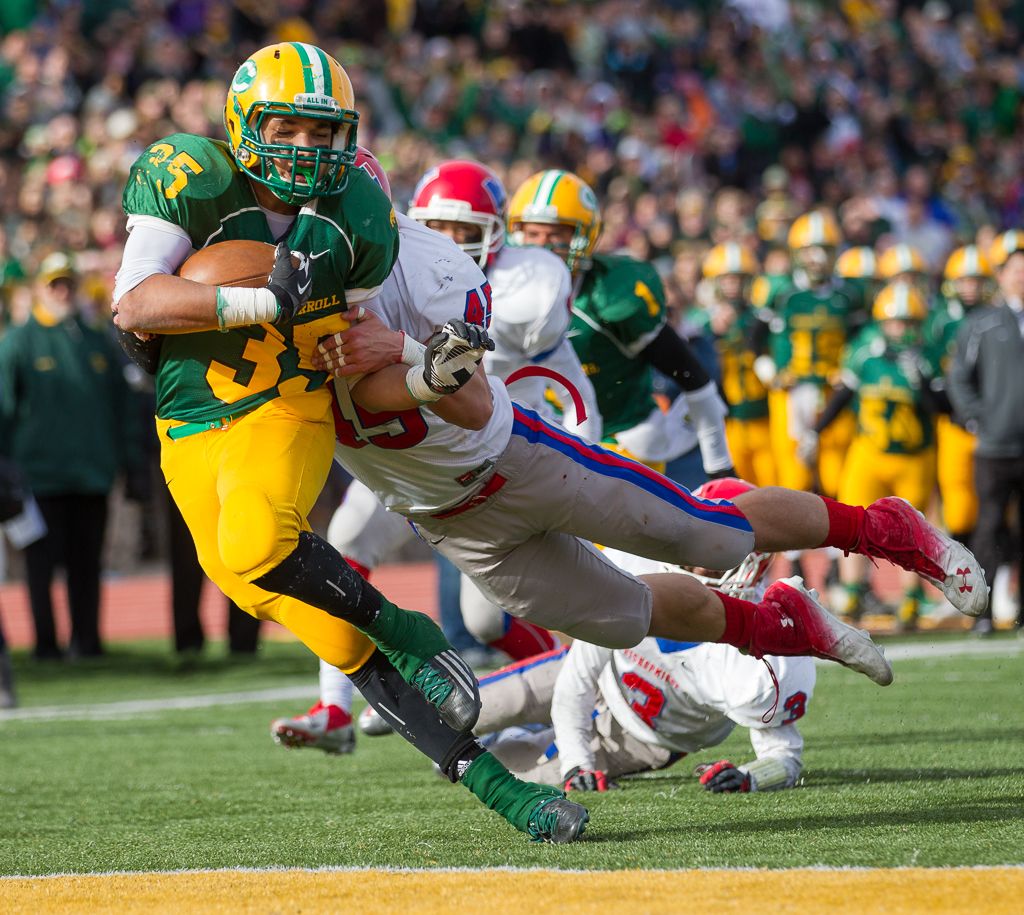
Touchdown!
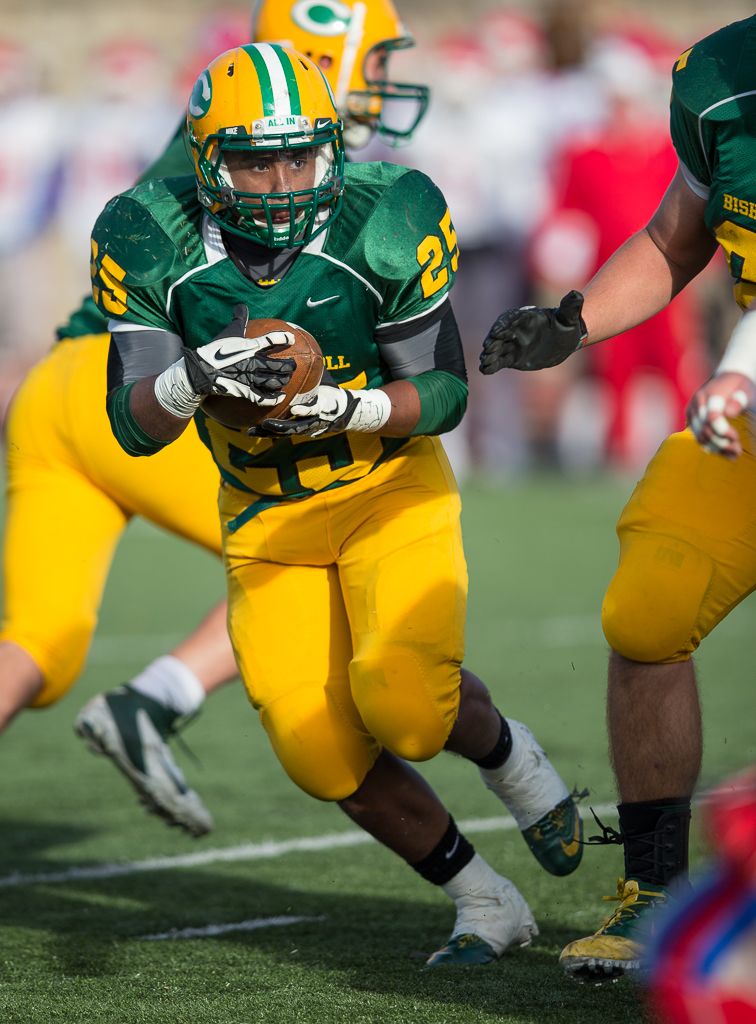
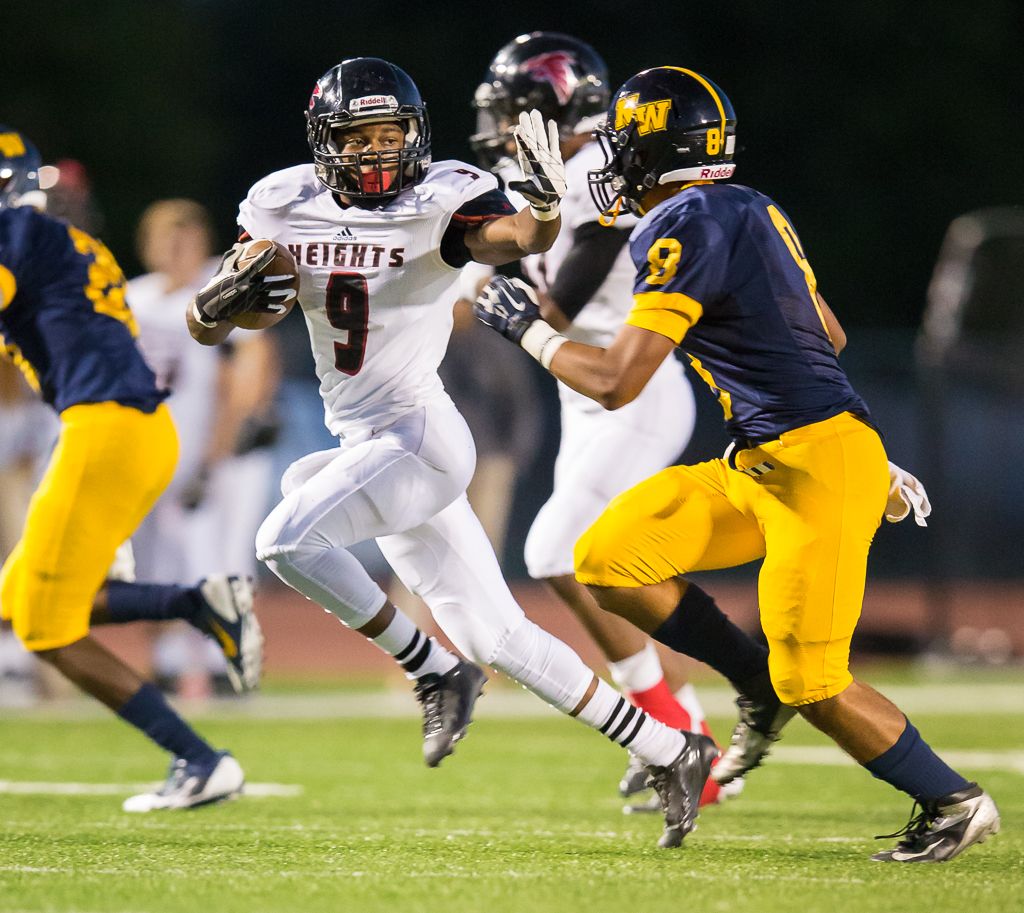
C. Try 2 Yards Behind or 15-20 yards Ahead of the Line of Scrimmage. If you are 2 yards behind the line, your view won't be blocked by the line judge or by the guy holding the down marker. On a run play, if the runner is heading wide, he will be running right at you for an excellent photo opportunity.
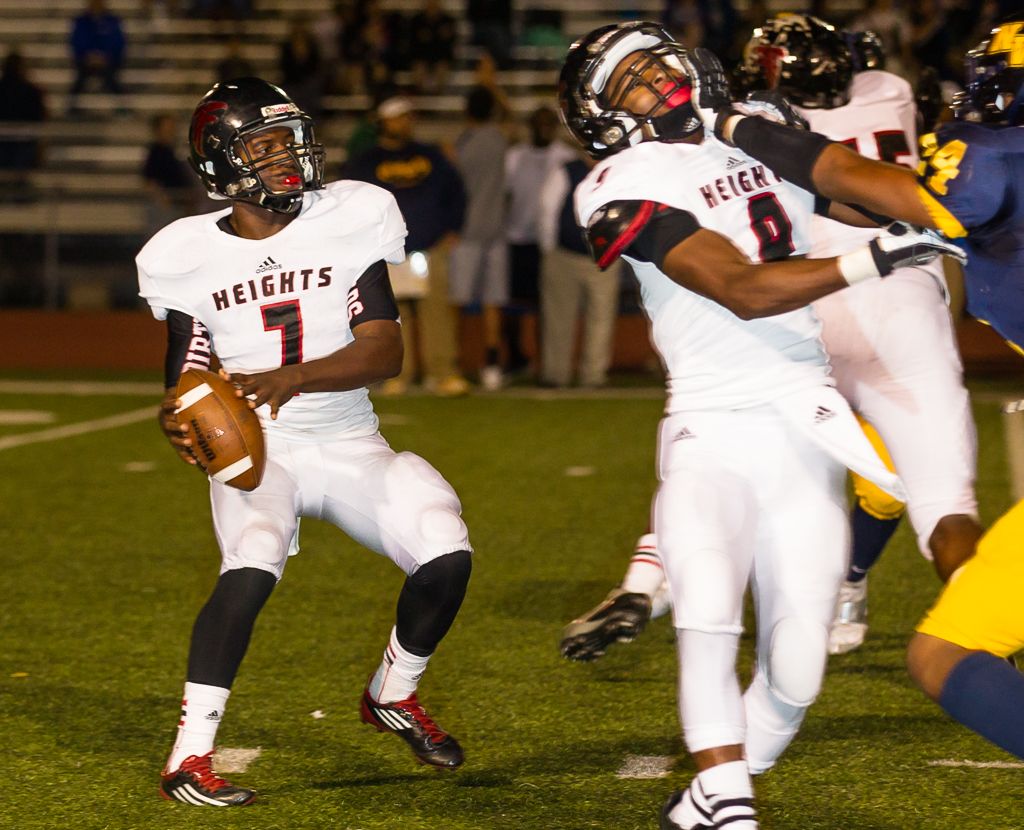
If the quarterback goes back to pass and you are on the side where his body faces you (and you should be), then get a shot of him.
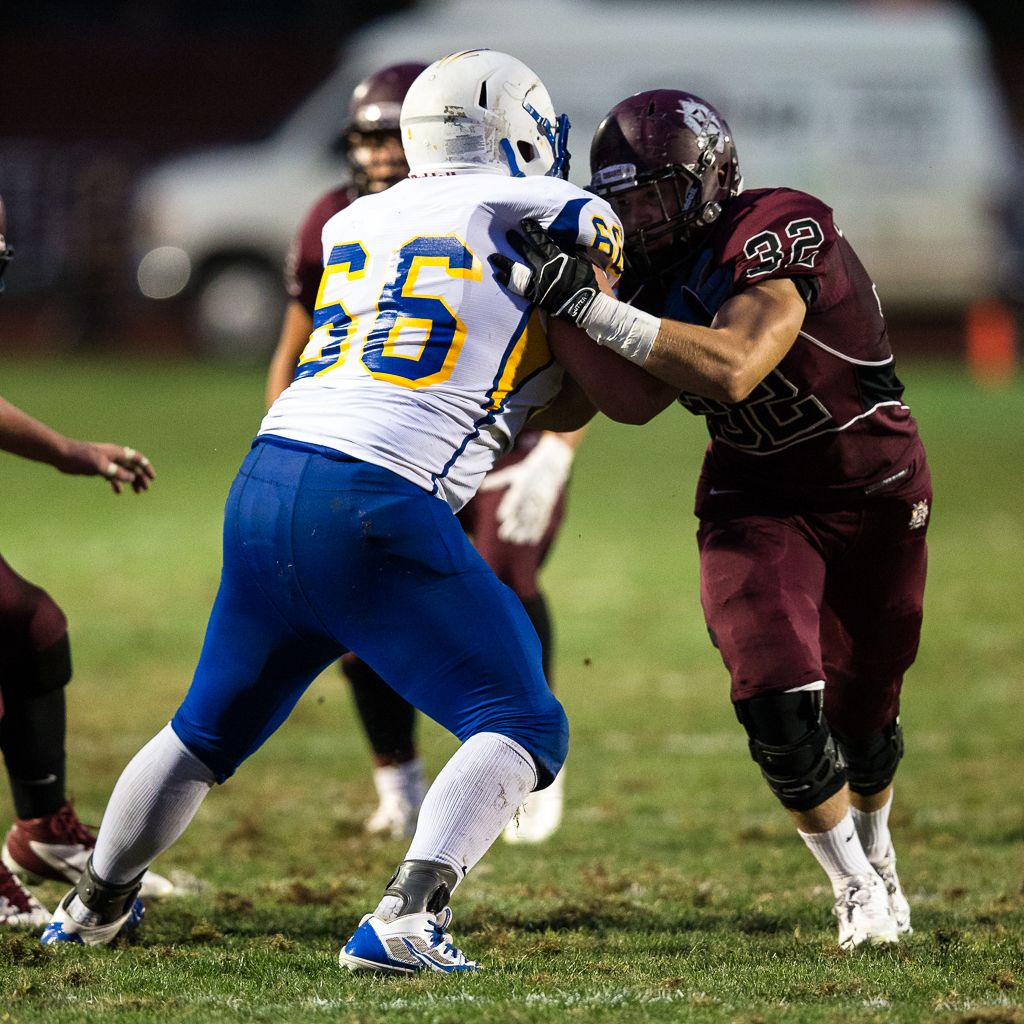
One last thing about shooting just behind the line of scrimmage, this is also a great spot to shoot line play. I'll often grab a shot of a lineman immediately after the snap of the ball and then re-aim my camera on the ball carrier. There is a lot of action from the linemen on every play so don't forget to get a few images of that.
Downfield positioning is dependent on focal length. Twenty yards would be fine if you are shooting a 70-200mm lens. If you are shooting a 300 or 400mm, the distances will get closer to 50 yards. This also depends on whether you are shooting a full frame or crop camera body.
Before we leave the topic of positioning, there are a few other items we need to discuss. The sideline between the 25 yard lines is reserved for the teams. Therefore, you will be shooting from outside that area. That means adjusting your technique to accommodate this restriction. As you move from one end of the field to the other, use this opportunity to get images on the sideline. Coaches, athletes, trainers tending injured players, meetings of the offense and defense when the other squad is on the field, all can be compelling sideline images.
"Can you hear me now?"
As the offense approaches midfield, an you may find yourself at the 25 yard line, 25 to 40 yards downfield waiting for the action to approach (because you can't be between the 25s) and not having a long enough lens with sufficient reach. That is just one of the reasons many experienced football photographers will shoot with two cameras. One body will often have the 70-200mm zoom and the second camera will use a super telephoto lens. However, this is not a requirement and many fine images can be obtained using nothing longer than 200mm. Shorter focal lengths can be used but you will need to be more patient in letting the action come to you.
Portrait vs Landscape--
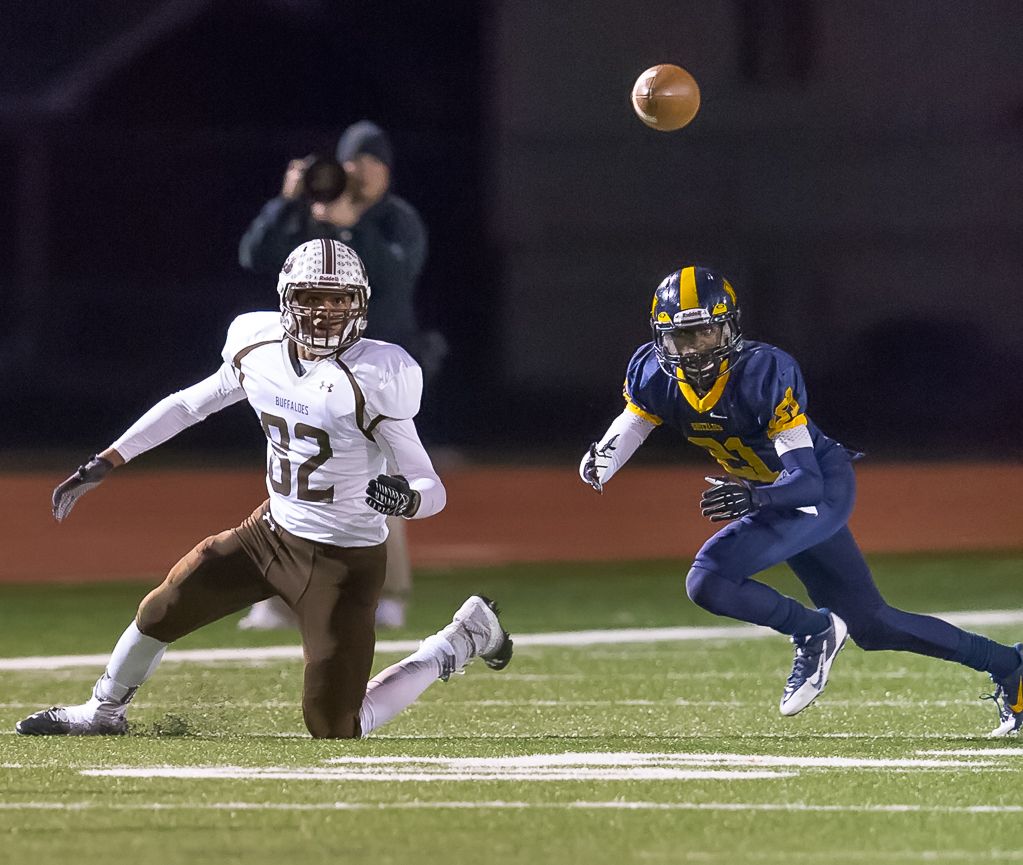
The general principle is that you want to fill the frame with the action. If you want to shoot an individual player, that can usually be optimized by shooting portrait.
When positioning or focal length results in a situation where the full height of a player can be captured in landscape orientation, the extra width available can be used to include other elements besides the player with the ball.
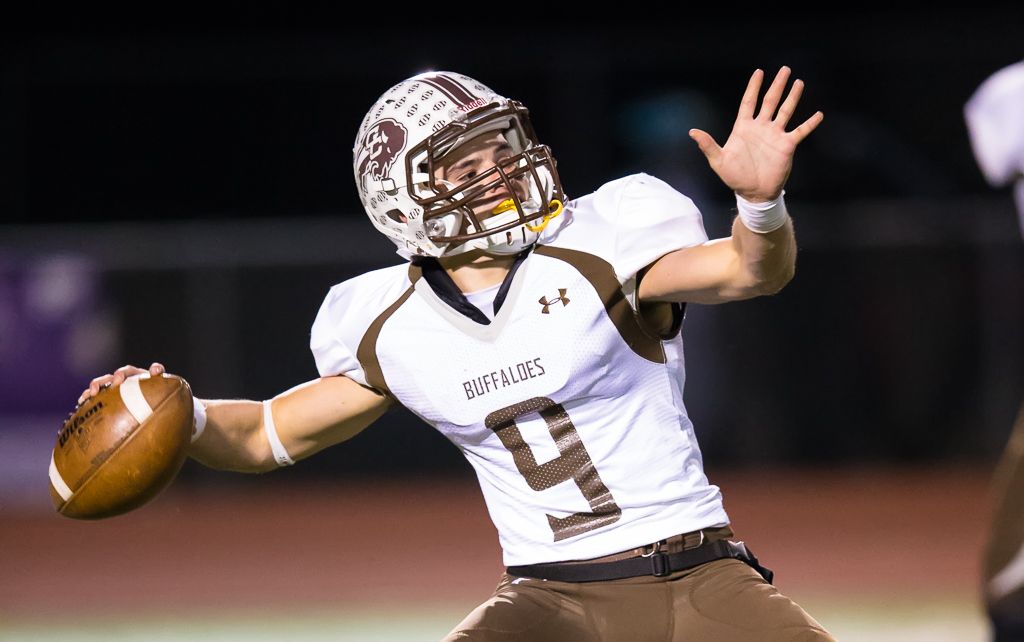
September 19, 7:38pm
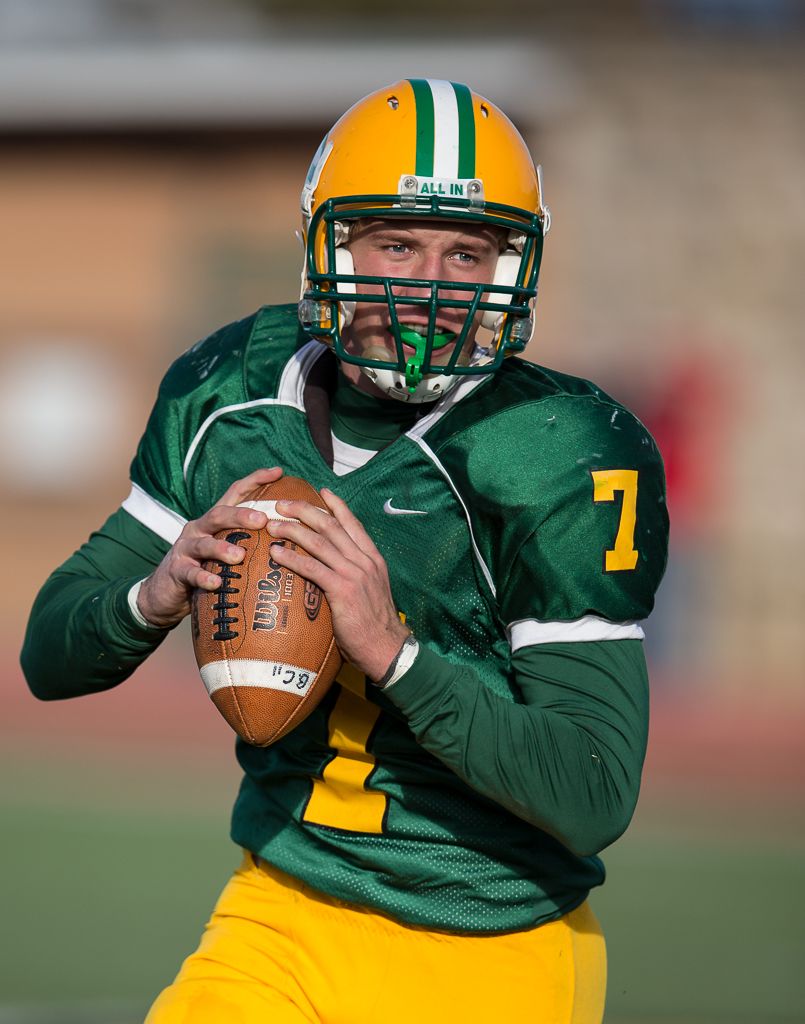
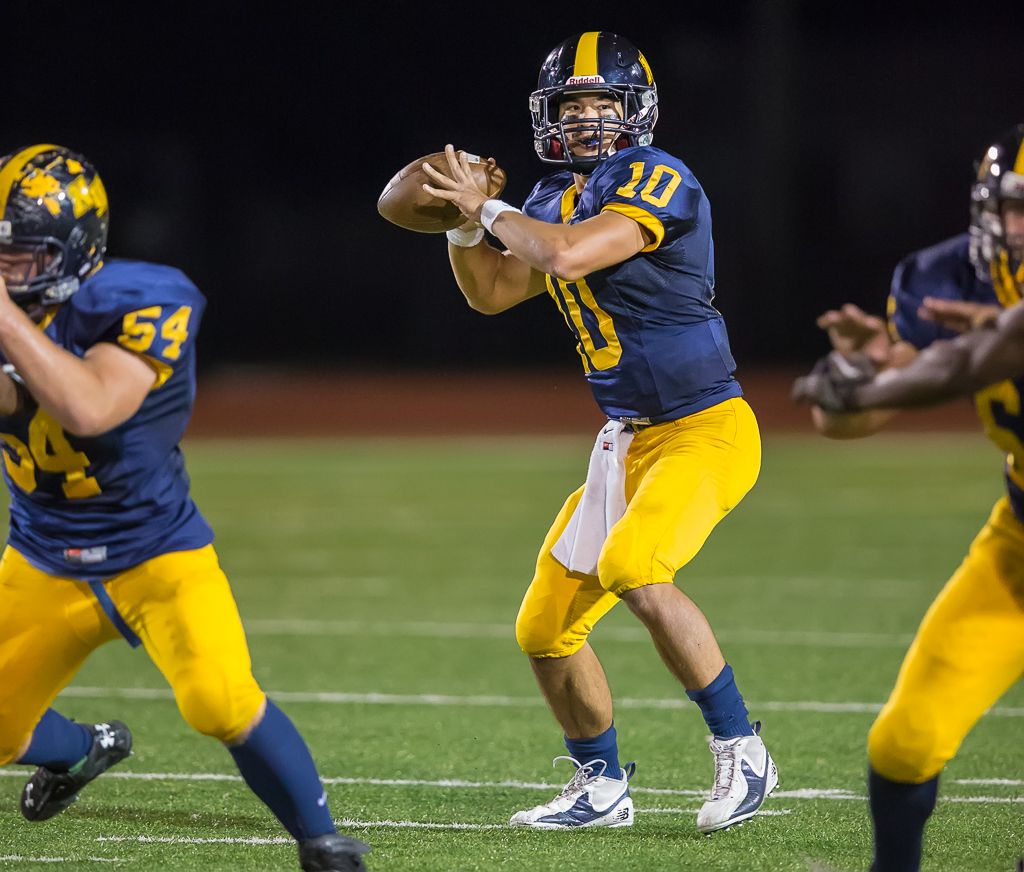
When shooting mega-tight on the quarterback, I like to shoot landscape to include the arm with the ball reaching back as the front arm reaches forward.
A few words about special teams.
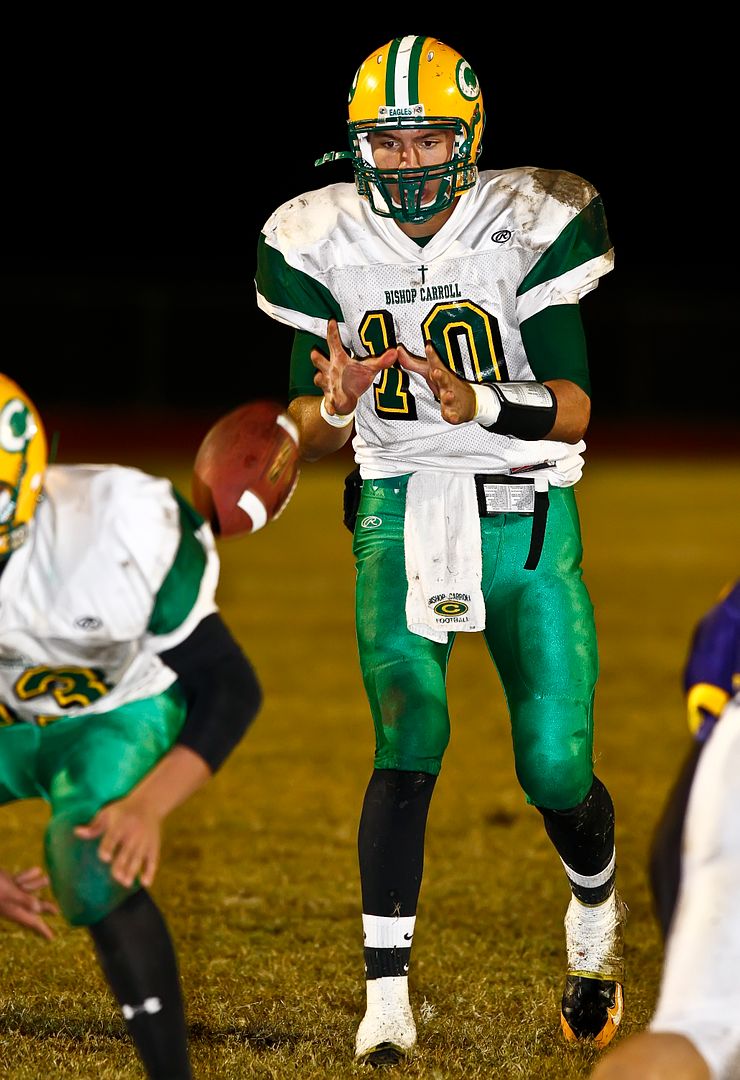
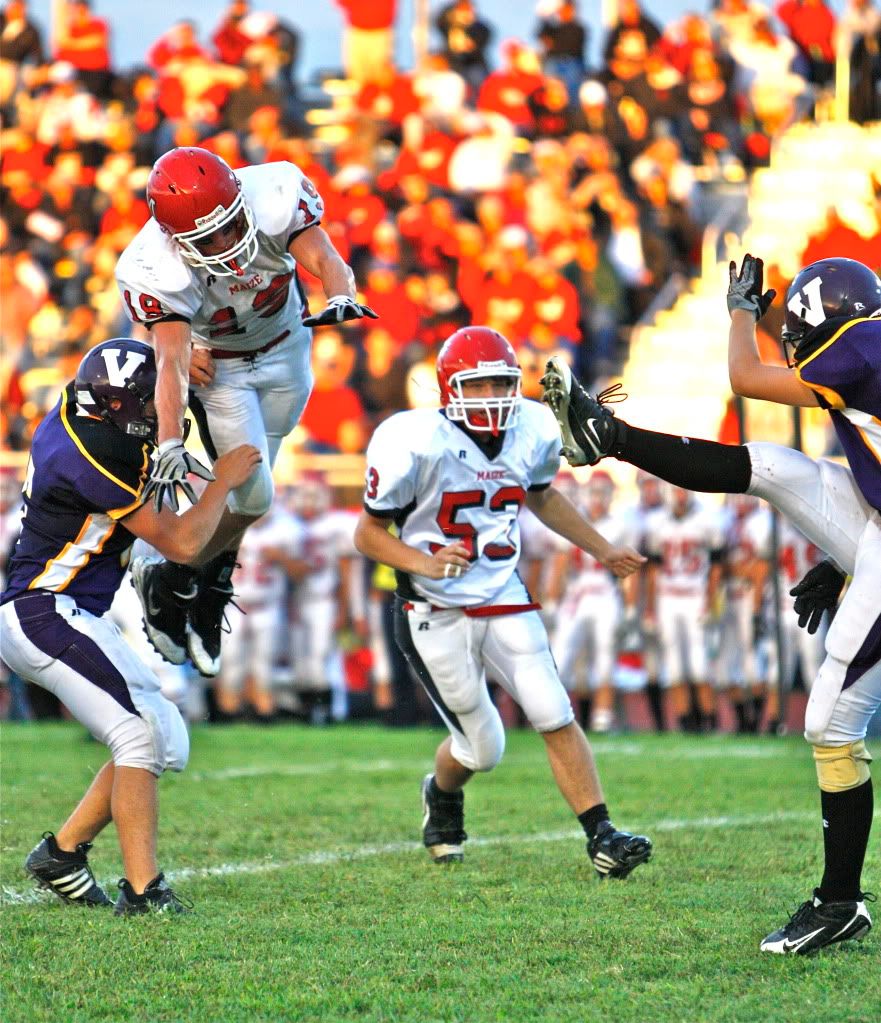
Special teams often furnish key plays in a game. A blocked punt or kick can be a huge turning point. The only problem is that you never know when it is going to occur. Don't be afraid to shoot 10 punts and come up with nothing. Get behind the punter/kicker and shoot through the kick. It's worth the effort for the day when you capture that key block. One other idea is instead of shooting the kicker's leg striking the ball, get the reaction shot when he learns whether the kick is good or not. That is often far more compelling.
It's Time for Some Tech Talk
Shoot RAW--
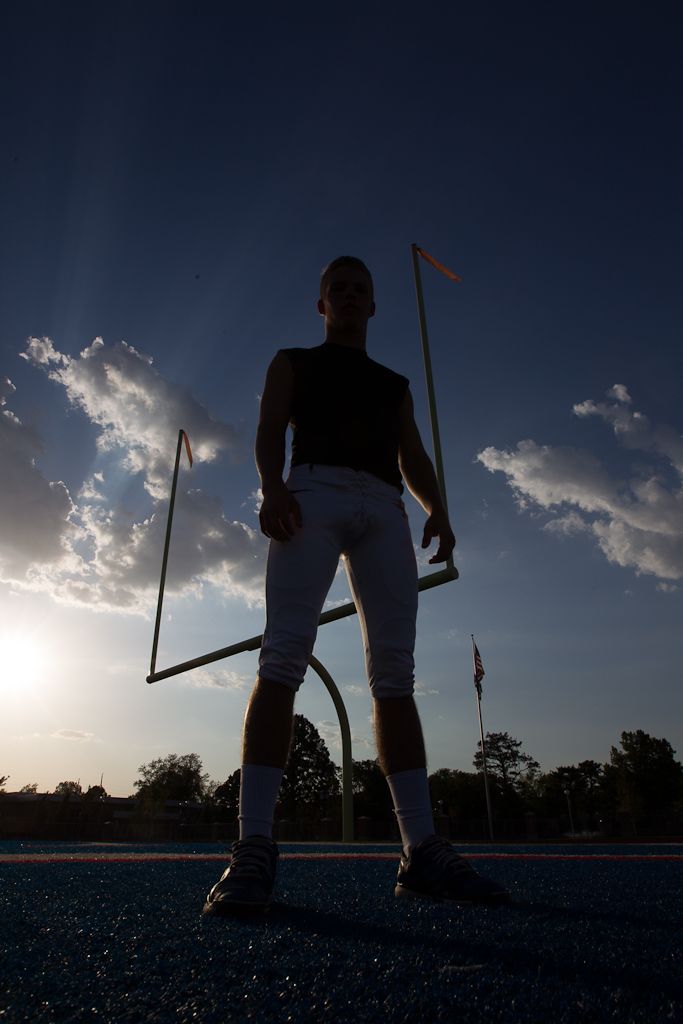
When I first wrote this tutorial in 2009, my advice was to shoot jpeg. No more. The improvements in software and storage space make the handling of RAW files easy and seamless. The amount of information contained in RAW files is staggering. If you are skeptical or just undecided, perhaps a before and after RAW image can convince you. I was setting up to photograph two football players for a pre season preview edition of a high school sports magazine. One of the players stood in the frame while I tested the exposure of the sky.
RAW Image Straight Out of the Camera
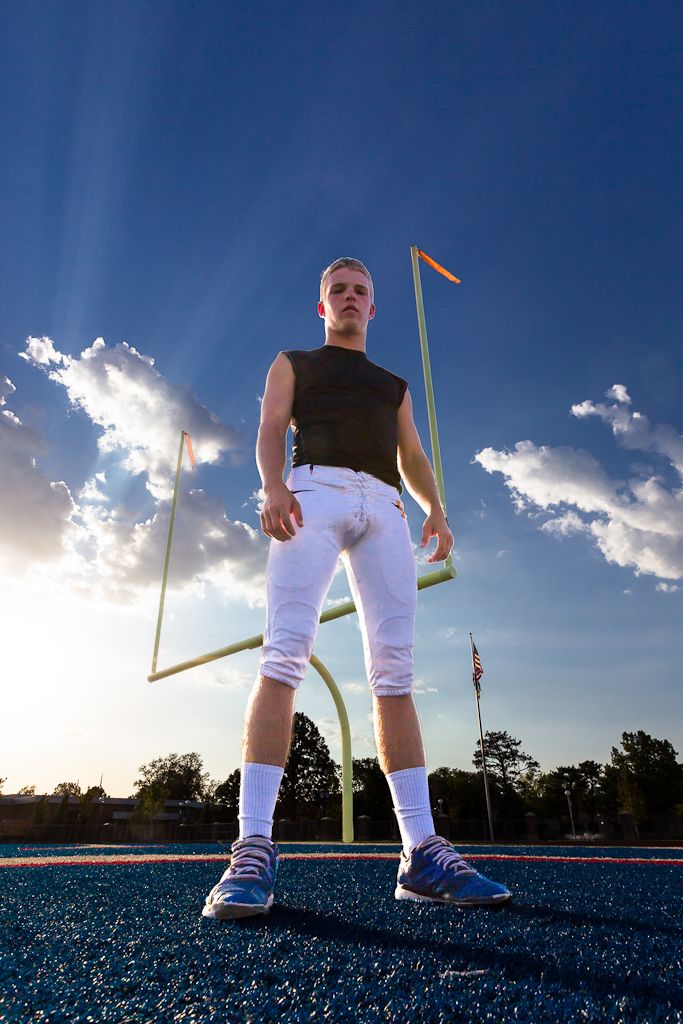
The exposure was adjusted, a gelled flash was added, the players got their uniforms on, and a final image was obtained. Later, I needed an improperly exposed test image to see just how much detail could be pulled out of a picture that would otherwise be unusable. Here is the same RAW image after post processing in Lightroom.
RAW Image after Processing in Lightroom
It's the same image! Now this isn't perfect and it's certainly not meant to be a justification for poor exposures in camera but if this level of recovery is possible in a poor image, just imagine what can be done to improve a shot with minor flaws. Take another look at the shoes in the before RAW image. Would you ever imagine that this file could produce the after image?
I make mistakes. RAW helps me correct and produce the best result possible. Even if you never make an error, RAW will allow you to get better results for your final product. Shoot RAW.
Settings--
Shoot aperture preferred (Av) when the light is variable from clouds or the setting sun. The faces are inside helmets and hence shadow so add about +1/3 stop of exposure compensation. It's fine if a small portion of a white uniform burns out if that helps you see faces more clearly. That can be especially important in photographing athletes of color. Manual mode is fine if the light is stable and you have experience with it. Servo focus is a must, set to auto white balance (AWB), and I use the back button focus technique. Shutter speeds should be 1/640 sec or faster and I prefer 1/1000 sec if the light and ISO capabilities of my camera allow it. Large apertures like f/2.8 give faster SS and blur backgrounds. At night with flash, I'll stop down to f/3.5 to f/5.0 to get more DOF (depth of field) since backgrounds are dark and therefore I don't need to blur them. I'm shooting Manual at the maximum sync speed (often 1/200 sec or 1/250 sec) for flash. Speaking of flash and low light, know how high you are able to push the ISO in your camera and still get acceptable image quality.
Built in 'pop up' flashes don't have enough power to be useful. Something similar to the Canon 580 or 600 series flashes is needed.
The 400mm f/2.8 lens is the supreme field sport lens because of the long reach, sharp images, and large aperture to blur backgrounds and stop action. The 70-200 f/2.8 is commonly seen because of its versatility and lower cost in an f/2.8 lens. The Sigma 120-300 f/2.8 EX DG HSM lens is also popular. Both Nikon and Canon make excellent products that will produce terrific results. Image stabilization is not required at the high shutter speeds used for sports. At least one of your lenses should be 200mm or longer. Using an f/2.8 or faster lens is recommended for Friday night football. An f/5.6 lens has 1/4 the light available for focus and that means more difficulty in low light focus, slower shutter speeds, higher ISOs, and less background blur. All are undesirable.
One more thing. If you are shooting a camera body that has Auto ISO capability, set your camera on Manual, your aperture and SS as desired and your ISO to Auto. This is a great way to shoot. It gives the best image quality in variable lighting conditions. Don't forget to add exposure compensation as needed.
Ok, I've been telling you to avoid shooting late in the game and/or late in the season. But some of us have to shoot all the games and many of the big games occur in October when twilight ends not long after the game begins. Now what?
Nighttime Football--High ISO vs Flash, Which is Better?
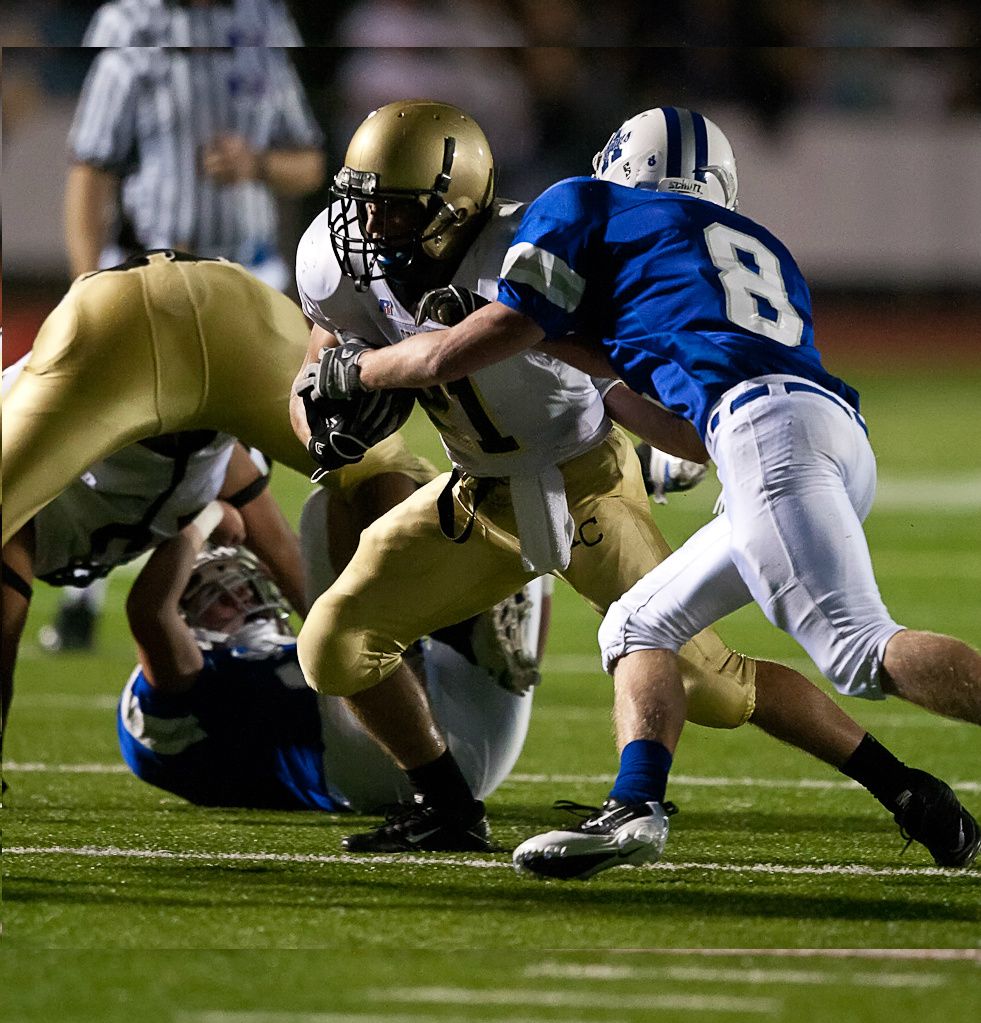
Answer----It's whatever gets you the best image. The type of photography that I do requires clearly visible faces. It also requires that the colors look as close to correct as possible. Some of you hate the look of flashed photography for high school football. You can't use the fps capability of your camera, there is red-eye to deal with, awkward shadows can be problematic, ghosting is an issue, and yes, the colors don't look the same. On the other hand, if you want to get light inside the helmet to see a player's face, flash will do it plus some venues are so dark that even a high ISO (20,000) won't do well. Shadows are something that must be addressed as well. Yes, the newest camera bodies are great at high ISO (>6400) but what if my body is marginal, or worse, at that level?
My bottom line is the following: The complete photographer must be able to shoot both high ISO and flashed. Once you have mastered both techniques, you can decide for yourself which way will get the best image for your venue, for your location at that venue, and for your equipment. My flash is going to be used a lot more on a 30D compared to a 1D Mark IV because of the limited ISO capability of the former. That's OK.
Let's break down the factors that I mentioned. In order to do that, I'm going to show you some ugly football images. There will be some good ones too but you need to see the pros and cons of each approach.
High ISO is not enough at some venues. The following image was taken at 7:23 pm on October 4. It was at a small rural high school about 15 miles from my house. The gear can't be blamed, it was shot with a Canon 1D X, and a 400mm f/2.8L IS II. The settings were 1/800 sec, f/2.8, ISO 20,000!
There is just no way to make this into a useable image. You might think that the problem was the result of poor, outdated lighting and that explanation is partially correct but only partially. Look at the highlights on the runners left arm, shoulder, and the top of his helmet. Compare those light levels to those of his face inside the helmet. As we can see, the problem is as much the result of shadows as it is the stadium lighting. Like most high school stadiums, this one has two (sometimes venues will have 3) light poles on each side of the field. They are located about the 15 to 20 yard line. Once a team gets inside the 15, the light comes from behind the player and there is typically no light coming from the goal line side of the player.
You may be thinking that my local field allows me to shoot at ISO 6400 and get good quality images. That may be true toward the center of the field but shadows can wreak havoc once you get down close to the goal line. Like this:
Or this
Supplemental lighting is the key for dealing in situations where the shadows get objectionable. So, how do you know when the shadows are bad enough to warrant flash? It's as plane as day. You only need to look for it. Once you see it, once you see the light and shadows in real time, your photography will never be the same. Sports photography, landscape photography, portrait, all will be transformed once you see the light.
The next time you are at a night game, go to the end zone as the team approaches from midfield. When it gets to the 15 or 20 yard line, watch for the shadows to appear on the player's uniforms. It will be most obvious on the white pants but you can easily see it even on colors. Down inside the 10, you may wonder why you never saw it before. Develop the discipline to look for those telltale shadows. Once you've seen them you may wonder why you've never seen them before. You are now a better photographer. Look for the light and shadow in your other forms of photography.
Before you think I'm strictly a flash football fan, let me conclude with some examples from the middle of the field where even light is available from all sides of the player.
1/800 sec, f/2.8, ISO 6400
1/800 sec, f/2.8, ISO 16,000
And also two flashed shots from the same game
Notice the 'ghosting' in the flashed images. Not too bad but present nonetheless. Study these photos. Study your own. You can decide for yourself which approach will work best for you. At most venues, my approach has become to shoot ambient until it is completely dark and the offense is inside the 25 yard line. Then I will switch to flash.
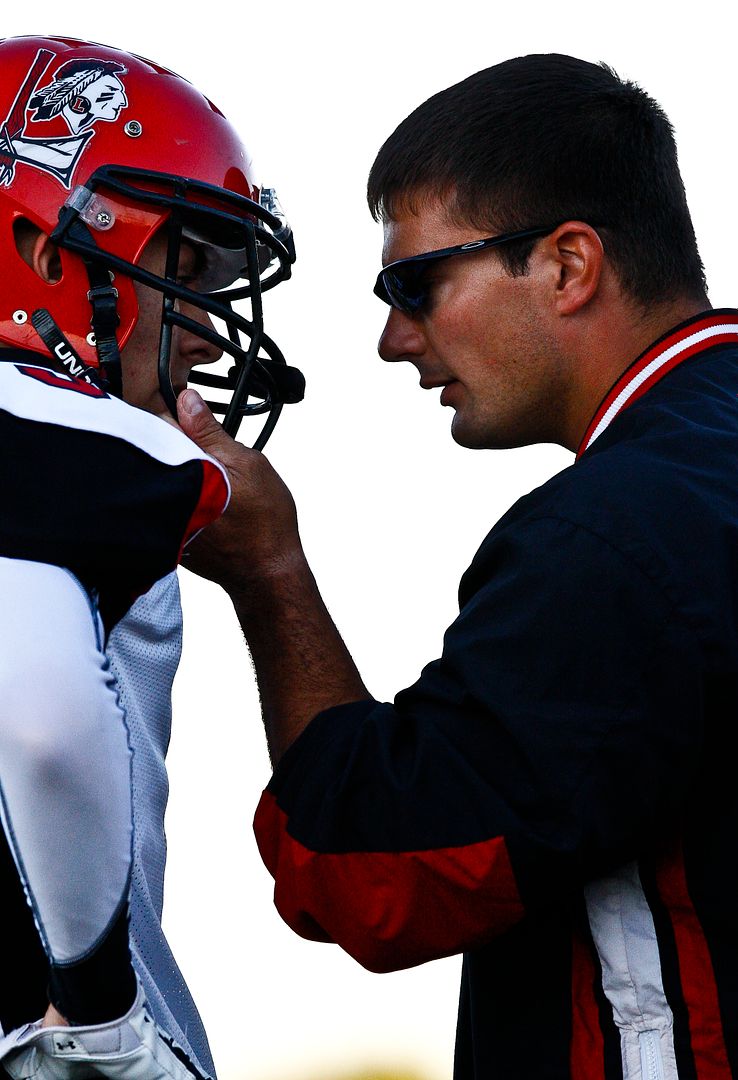
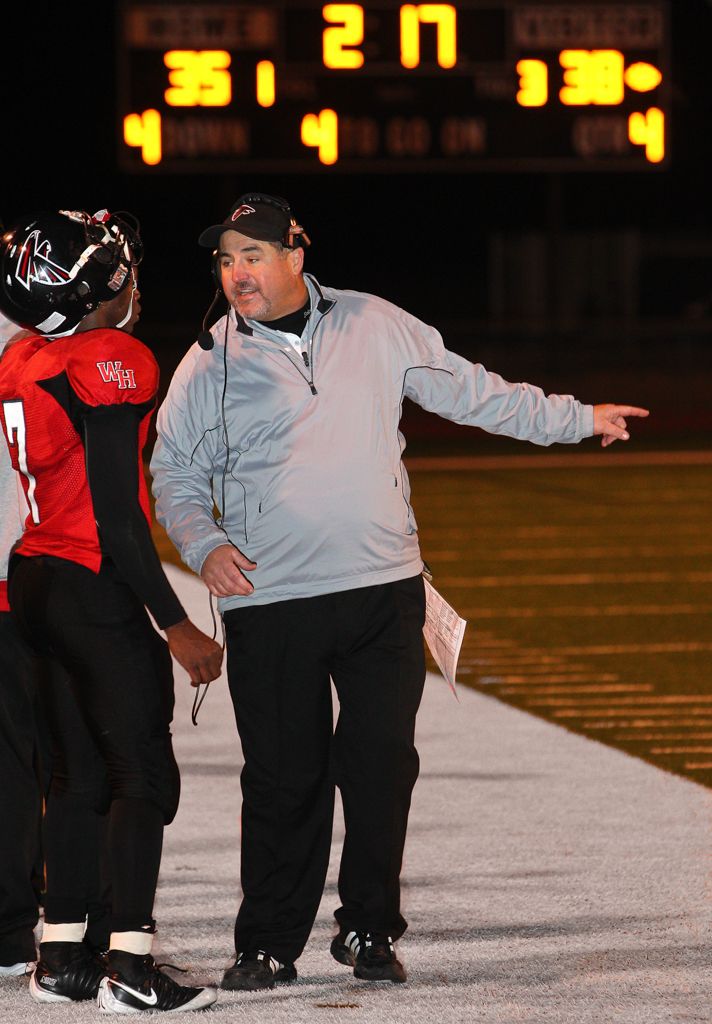
If the game is close and it's the 4th quarter, I'm almost always shooting with my 70-200 and my speedlight, a Canon 580 EX II. This is because I want to capture any touchdown and subsequent jube or any reactions from the bench. Spirits will be running high and shadows abound in the end zone and on the sideline. In this case, I wanted to tell the story of a coach instructing his quarterback before getting the ball back to start a final 2-minute game winning drive. If you know where the scoreboard is and think about it, then you can use it to your advantage.
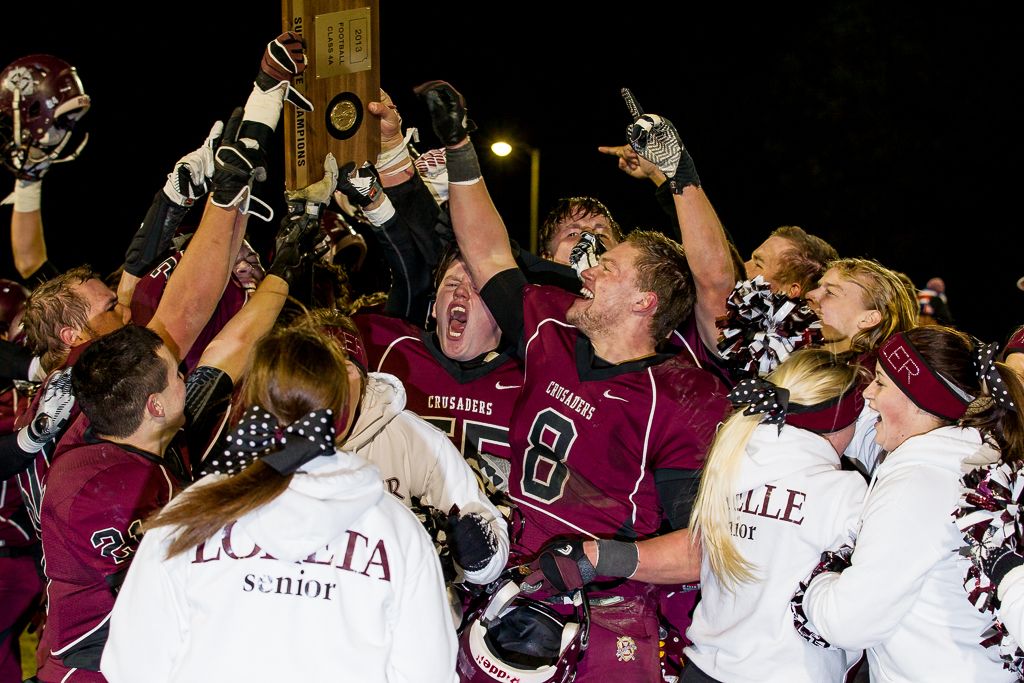
Incidentally, I shoot with the speedlight mounted about 2' below the camera on my monopod. One thing I learned from my friend Fernando who works for the local paper is the importance of getting the shots immediately after the game. He always seems to be where the action is. If a coach is hugging his quarterback, Fernando is between the two of them! Don't you forget that in those big games, there are quality images to be captured after the final gun.
Here is a happy group of players and fans but there is one cheerleader on the lower right who is headed away from the celebration...
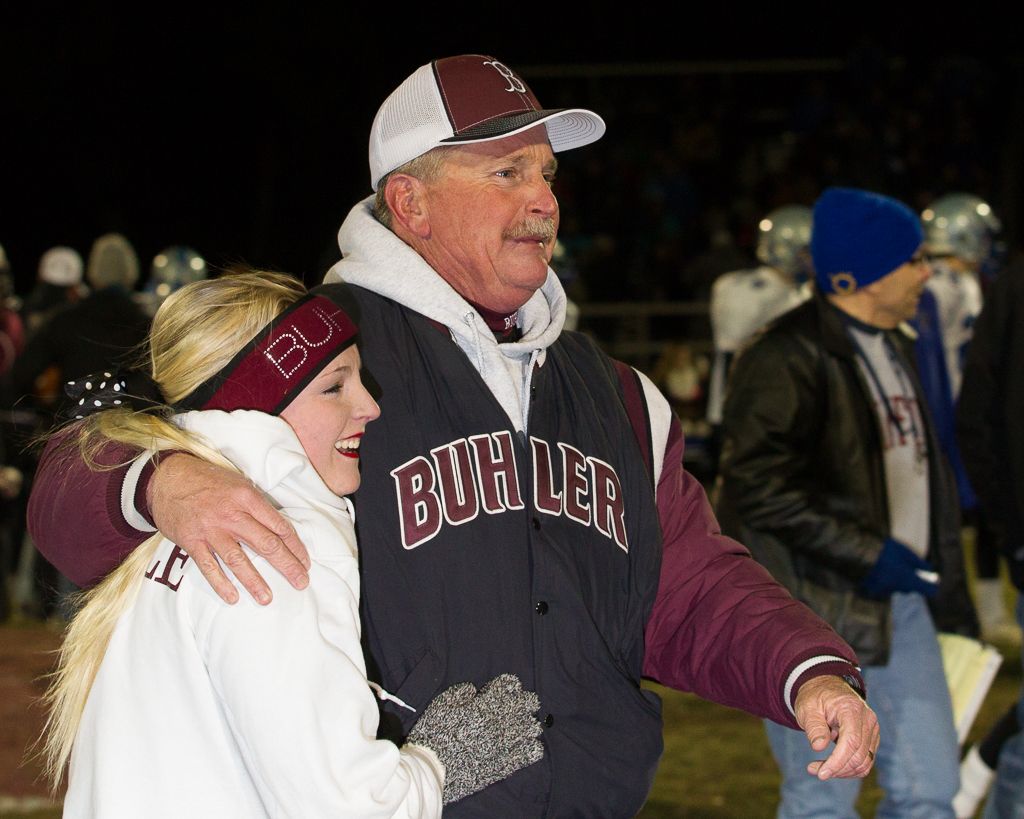
It turns out that this senior cheerleader was headed to be with her Dad, the coach who had just broken though to the state championship game after years of trying. This misty eyed moment was one of my favorites of the year.
Two last tips
First, have a plan. What are you there for? What are you trying to capture? Are you trying to capture the event for the yearbook? If so, be sure to get there early and get those shots of the band, the pom-pom dancers, the color guard and the burgers on the grill. If you are strictly an action photographer, find out who the big hitters are on special teams. Who are the leaders of each team. Study the stat sheet. If you are selling your images, you might want to get as many images as possible in the pre-game so you will include as many players as possible. If you have requests for images, make a brief list of who wants to purchase your prints. Decide how you are going to handle darkness. Quit at the end of twilight? Go to high ISO? Speedlights? All three approaches are valid depending on what gear you have and what your goals are. At the beginning of this tutorial I mentioned building cooperative relationships with those who have responsibility/authority for the game. If the coach or AD or Ref would like a photo of something or someone, get it for them and give it to them. They have plenty of people who want something from them and not many who want to do something for them. Have a plan that you could write down on a 3 x 5 notecard.
Second, have a mentor. My mentor, Chico, has been an enormous help to me through the years. Left to my own devices, I will invariably head off on a tangent and lose track of where I want to go. Chico will be the one to remind me of the thing I've forgotten, what I'm missing, or where I'm just plane wrong. Try to have your own mentor. It can be a fellow enthusiast, a photog for the local paper, or even the photographer who did your family portrait.
BTW, don't forget to have fun. You are capturing young people fully engaged in an activity they are doing for sport. Let their joy and enthusiasm infuse and inform your images.
Phil Zivnuska

