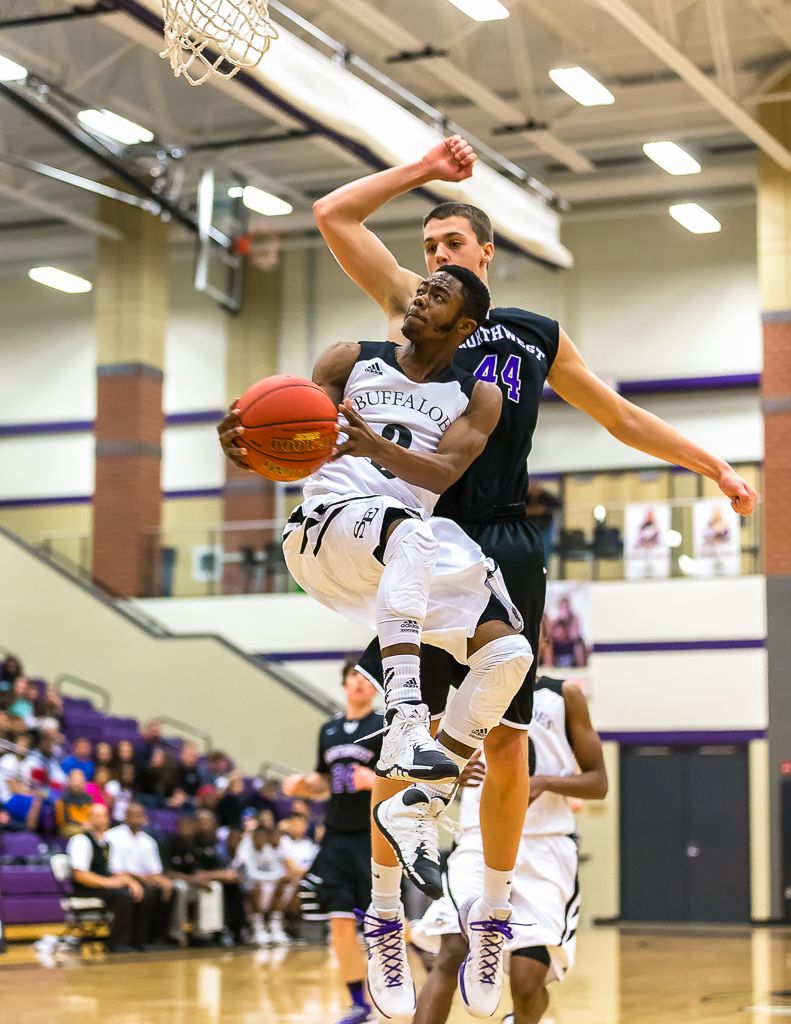
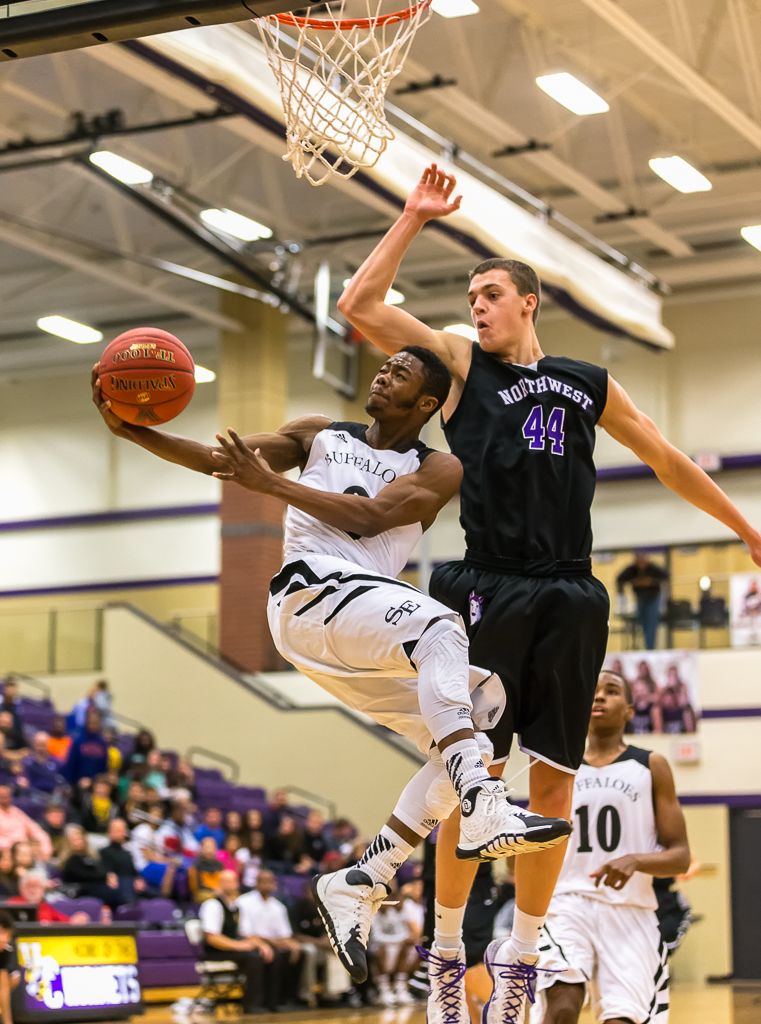
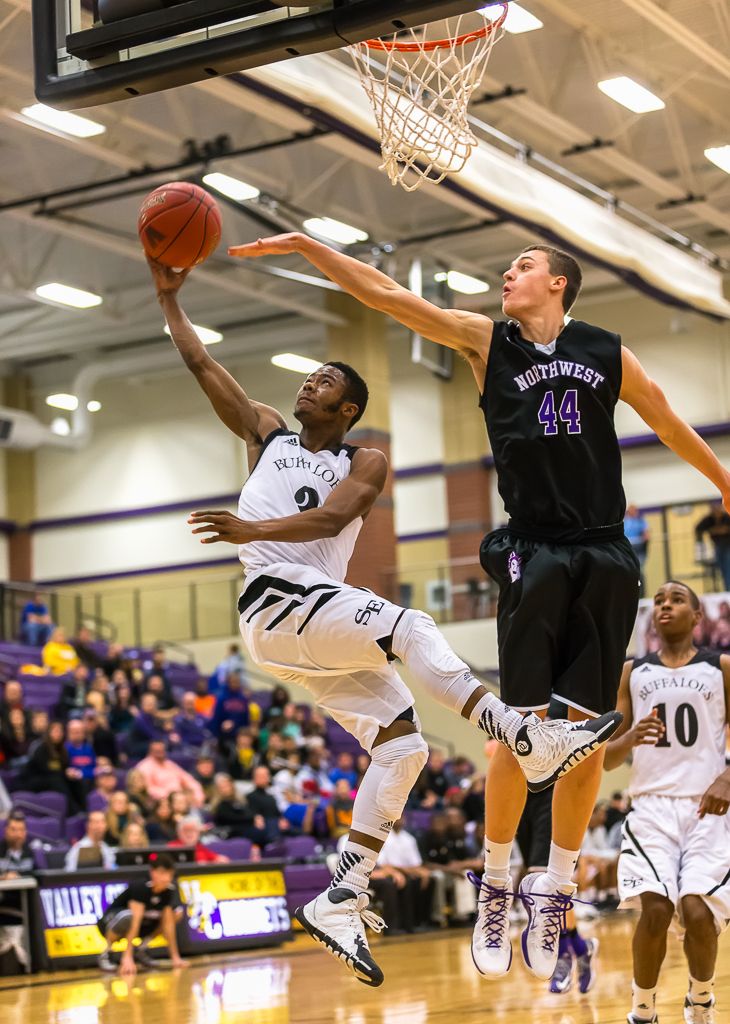
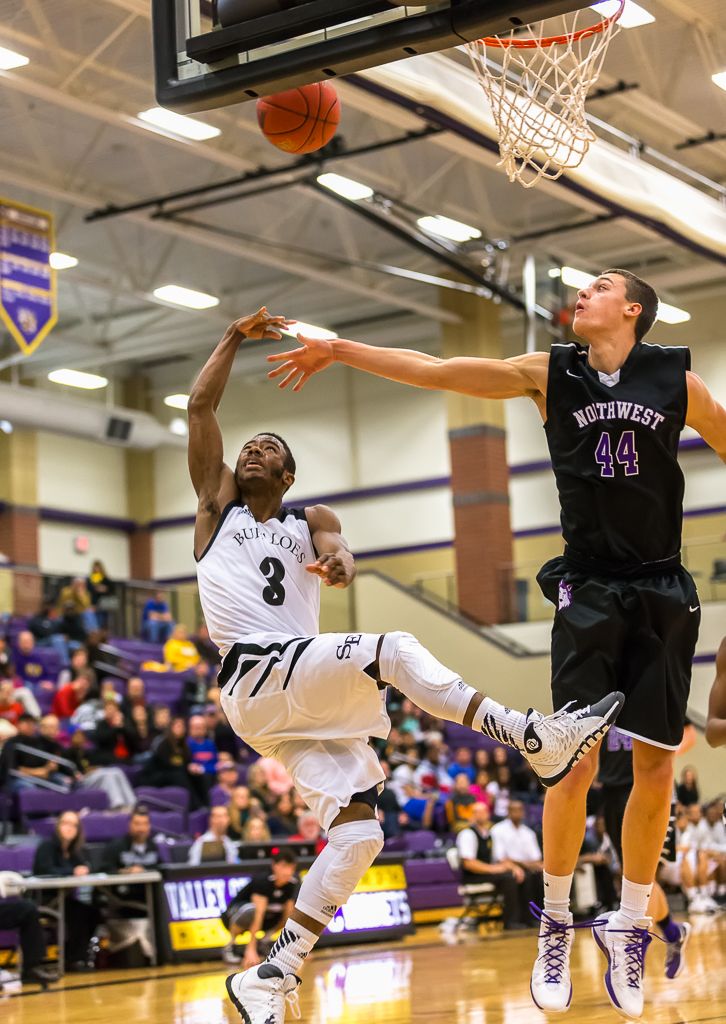
Welcome to the Phil Zivnuska photo blog, Practical Sports Photography. I'll be posting photography tips, relevant images, and hosting discussions on topics related to photography. This is the place for requests, comments, and questions about all things photographic. The emphasis will be on sports but all photography is fair game.
Phil Zivnuska
.
Tell Me a Story
It is said that a picture is worth a thousand words.* As photographers, we have the opportunity to tell a story with our images. One prop that is often available is the scoreboard. When you walk onto the sideline or gym floor, take note of the location of the scoreboard and make some mental notes on how you might be able to use it in different situations.
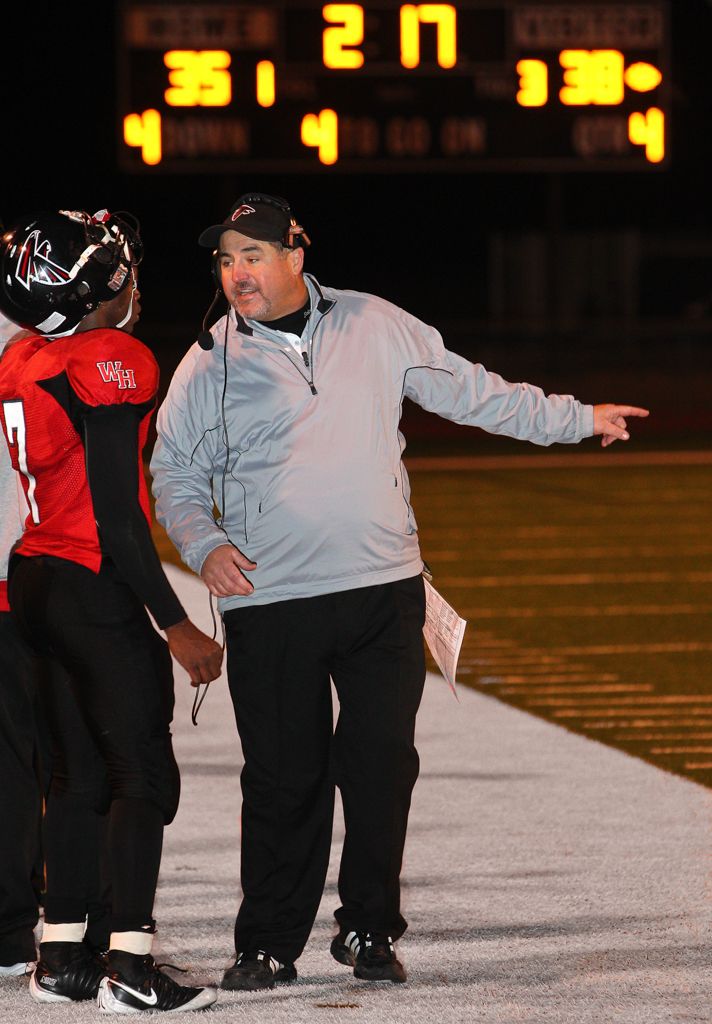
Without the scoreboard, the image below is just a coach talking to his quarterback. Because the scoreboard is included, we can figure out that it is 4th and 4 for the other team who has a 38-35 lead and the ball with only 2:17 to play in the 4th quarter. This quarterback is going to have a tough challenge coming back if/when there is a change of possession because he has only 1 timeout left. Including the scoreboard shows this to be one of the key moments of the game and adds significance to this interaction between coach and player.
1/250 sec. f/3.5. ISO 1600, 200mm, Canon 1D Mark IV, Canon EF 70-200mm f/2.8L IS, flash
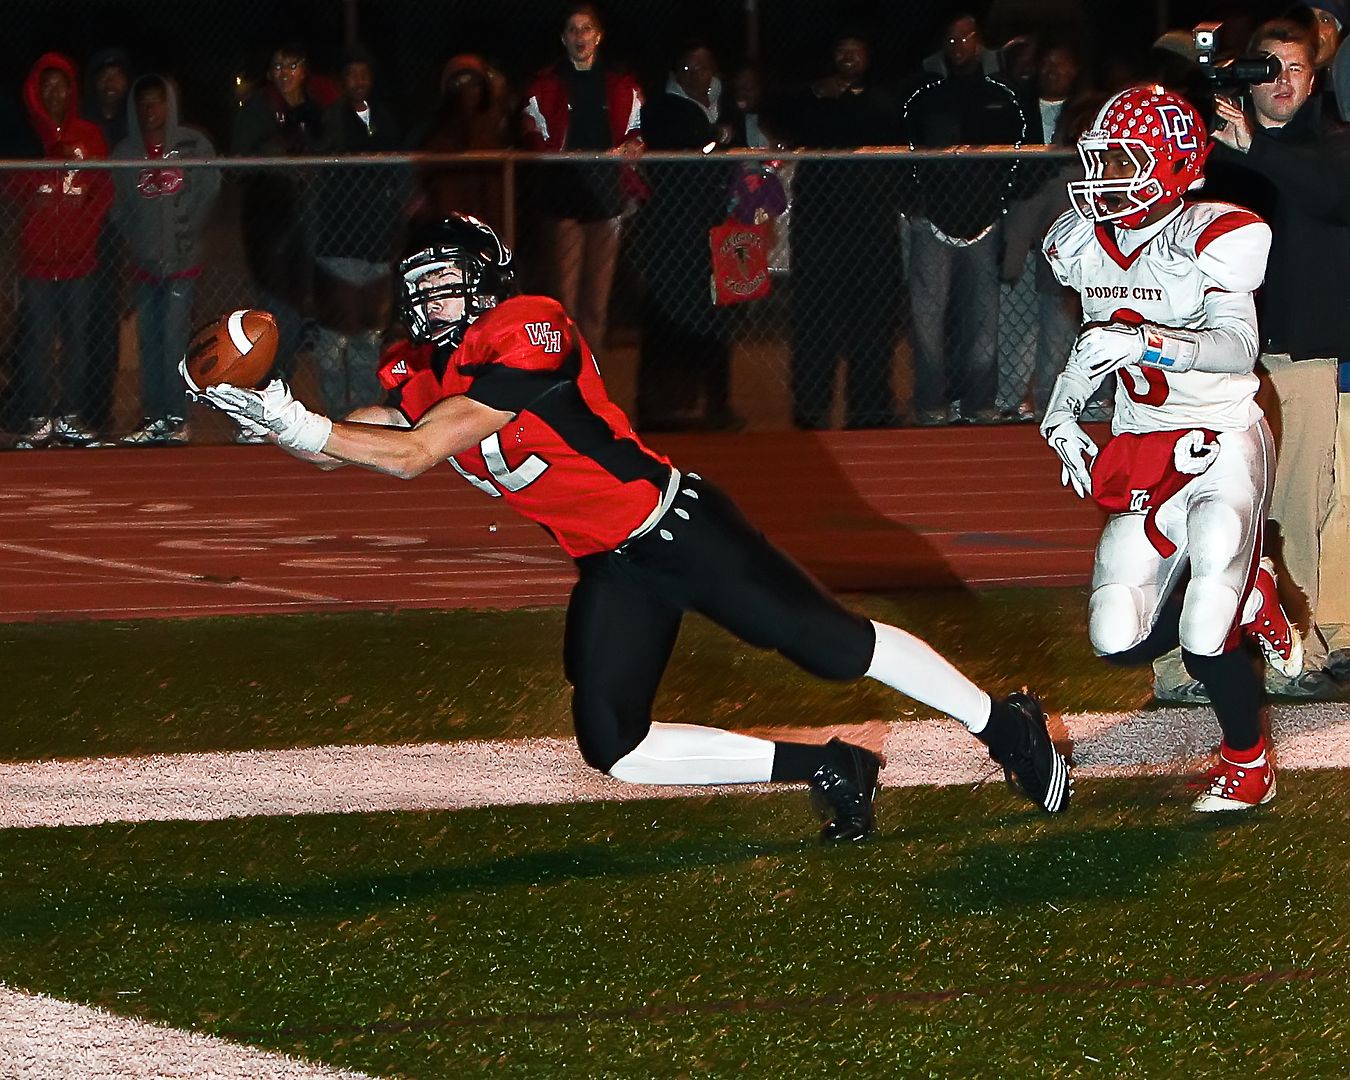
The game was for a berth into the state championship finals. There indeed was a change of possession, the QB did march his team down the field and about two minutes later, he threw this pass into the end zone for a touchdown and the win.
1/250 sec. f/3.5, ISO 1600, 70mm, Canon 1D Mark IV, Canon EF 70-200mm f/2.8L IS, flash
How do you frame this scoreboard shot with the focus you desire?
If you use Back Button Focus as I do, simply put your focus point on your foreground subject, push then release the back button. Your focus is set. Recompose to include the scoreboard and depress the shutter button to fire away. The focus will stay on the spot where you pushed in the back button. The shutter button won't affect the focus. Back Button Focus is a great advantage to the sports photographer because it allows you to have your camera set to servo focus (where it is already set to follow action) and still get the focus where you want it without having to change the location of focus points. That's a huge help when you have only seconds to get the shot focused, change the framing, and then expose the image. The settings to activate a back button and remove the focus from the shutter button will vary with the camera body.
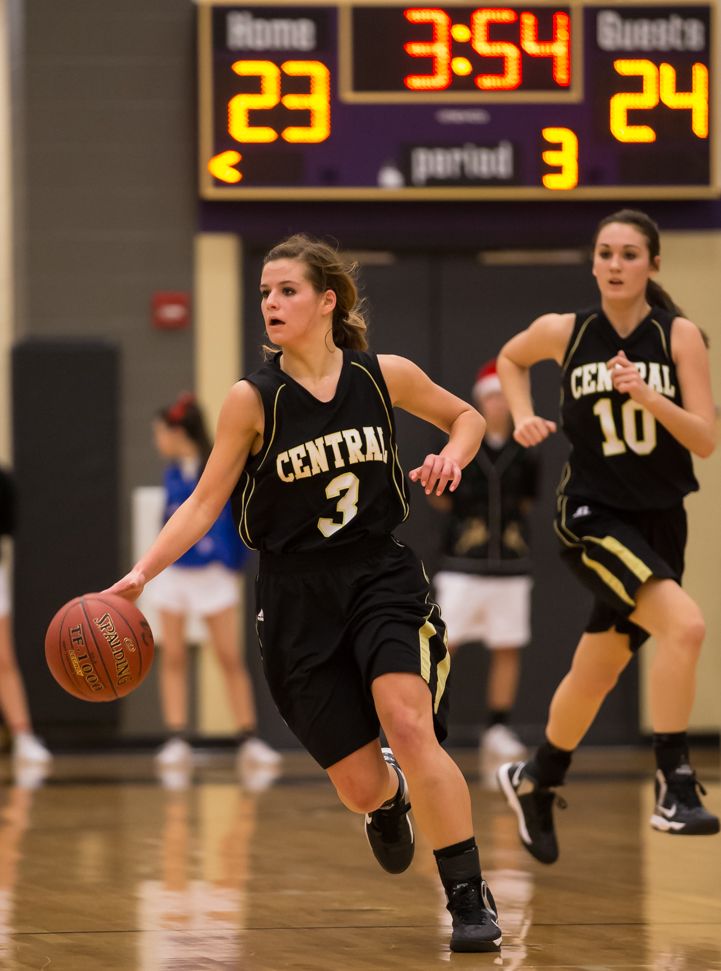
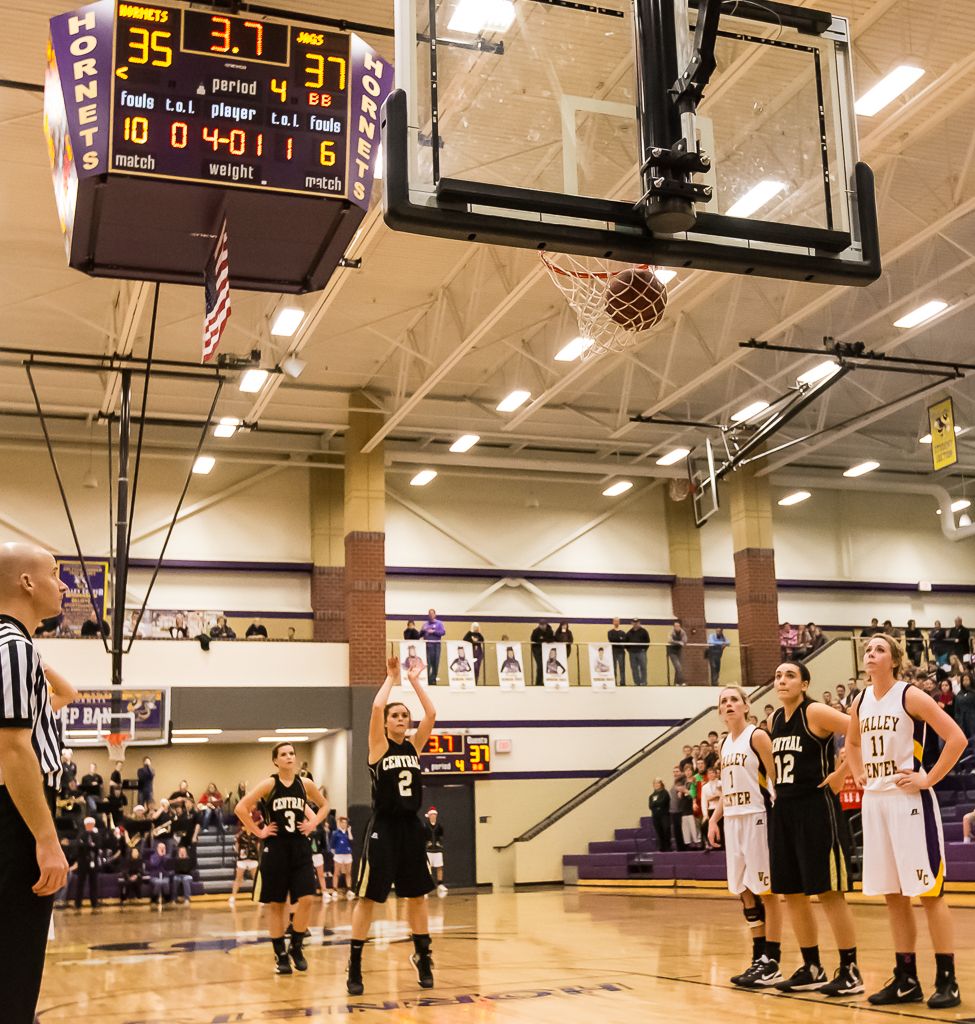
I'll use the same technique in basketball to focus on a free throw shooter and then recompose to include the scoreboard and expose. If it suits your needs, you could then focus on the scoreboard (back button), recompose to include the shooter, and then expose the image (shutter button). Either way, Back Button Focus puts you in artistic control.
1/800 sec. f/2.8, 200mm, ISO 6400, Canon 1D X, Canon EF 70-200mm f/2.8L IS II
1/1000 sec. f/4.5, 105mm, ISO 600, Canon 1D Mark IV, Canon EF 70-200mm f/2.8L IS II
1/800 sec. f/4.0, 27mm, ISO 12,800, Canon 1D X, Canon EF 16-35mm f.2.8L II
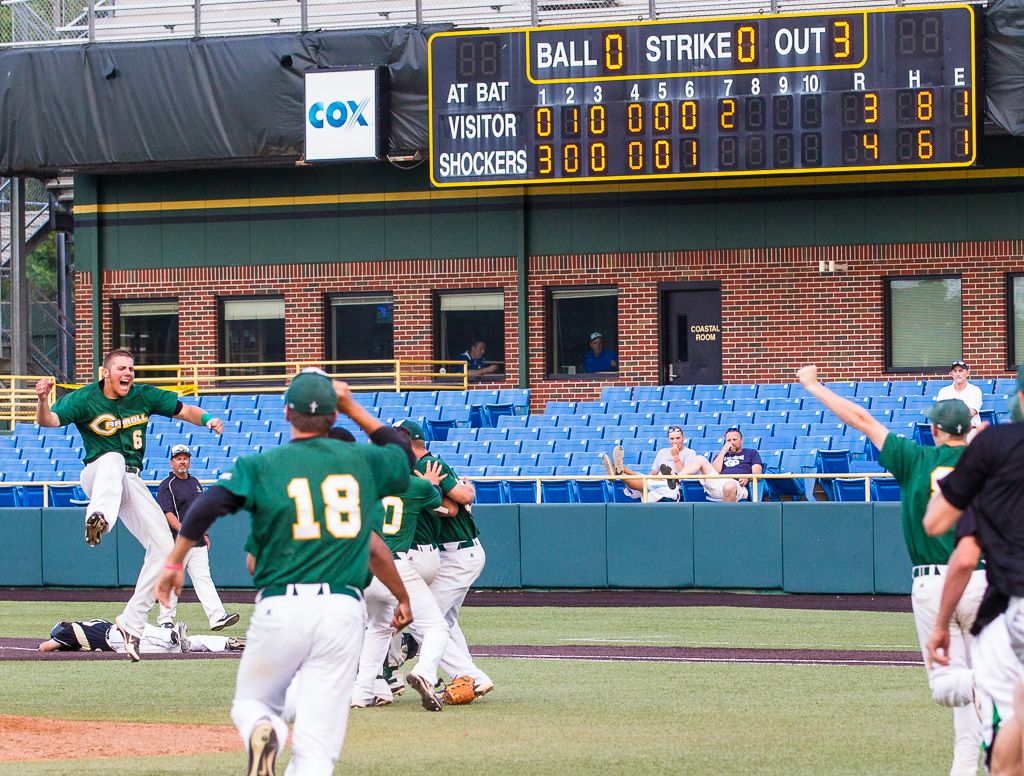
If you want the above shot, think ahead and sit down in a spot where the scoreboard appears next to the backboard but is not obscured by it. As an alternative, this shot could have been made to include the scoreboard on the wall instead. The photographer would need to move to camera right to reveal it unobscured. As photographer, you get to choose how to frame the shot. Plan ahead. Don't rely on luck.
Phil Zivnuska
* "Use a picture. It's worth a thousand words." was originally said by newspaper editor Arthur Brisbane. He was quoted in a 1911 article about journalism. Variations of the quote have also been attributed to Napoleon, an ancient Japanese or Chinese philosopher and also Frederick R. Barnard in 1921.
Mentors
MENTORS
Everyone needs someone to critically evaluate their work. In effect, everyone needs an editor or someone who can look at your images with fresh eyes. This is due to several reasons. We all tend to get in a rut where we make the same mistakes over and over. I see this from photographers who only shoot landscape or just portrait orientation. It can be something we do such as chronically making the white balance too warm or saturation too high on our galleries. On the other hand, it may be something we omit such as the failure to include jube shots or emotional shots of the coaches or fans. Your eyes may lock on the compelling action in an image and fail to notice that you are not paying enough attention to the cluttered backgrounds. Mentors can be hugely helpful in these cases.
The role of mentor is not to be taken lightly. To do this properly, time is required to really look at your photos in detail. Then the mentor must be willing to take the time and effort required to offer a detailed critique. When I say critique, understand that I'm not referring to criticism alone. A proper evaluation should include the positive aspects as well as the negative. We all have egos and an unrelenting barrage of complaints won't be helpful for long. This is something to remember when you are mentoring as well as being mentored. There is an old rule of thumb that says when critiquing, one should start with two things you like about the image(s) before starting in on the items to improve upon for the next shoot. Ideally, this should be someone with a breadth of experience.
Where can you get one of these people who will offer their time and expertise for no money? Surprisingly, there are lots of folks who will do this in the photography community but it may require the establishment of a relationship before you can expect significant help. There are likely many professional or skilled non-professional photographers in your community. Do you know any of them personally? If so, I'd start there. If not, do you know an experienced employee at a photography store? How about an editor at the local paper? Perhaps a person at the high school who edits the yearbook or paper? I've had the privilege of getting to know several highly skilled photographers just by taking the time to introduce myself at high school events where both of us are shooting. When you meet and greet a photog for the third or fourth time, it becomes much easier to engage in a conversation about the art and science of sports photography.
My mentor is Mike "Chico" LaBarbera. We became best friends in 9th grade (46 years ago) and he is the one who encouraged me to start sports photography. I cringe when I think of how terrible my early images actually were and how wonderful I thought they were! Fortunately, Mike was patient and he knew how to suggest just one or two improvements at a time and he was skilled in suggesting things that were appropriate to my skill level. We only see each other in person about once or twice per year. We talk photography once or twice per week and Mike evaluates my images on zenfolio several times per month. That is enormously useful.
The electronic age offers its own opportunities for growth. Photography forums are very helpful. Personally, my current favorite is
photography-on-the.net/forum/
also known as the Canon forum. There is a photo sharing forum for sports where you can post images and get feedback. The critiques can sometimes be harsh but the proper attitude to take is that even an unfairly negative evaluation can contain useful information for future events. It won't take long before you know who is talented and who is a poseur. There are incredibly talented folks who post there (and other forums too) and I'm always pleasantly surprised by how these gifted photographers are willing to share their insights.
This is the best time in the history of mankind to learn photography. Dive in. Join the party. The technology is incredible. Use it to realize your photographic vision. Have a mentor help guide your journey. Make it your task of tasks to do it now.
Phil Zivnuska
Spray and Pray
Spray and Pray
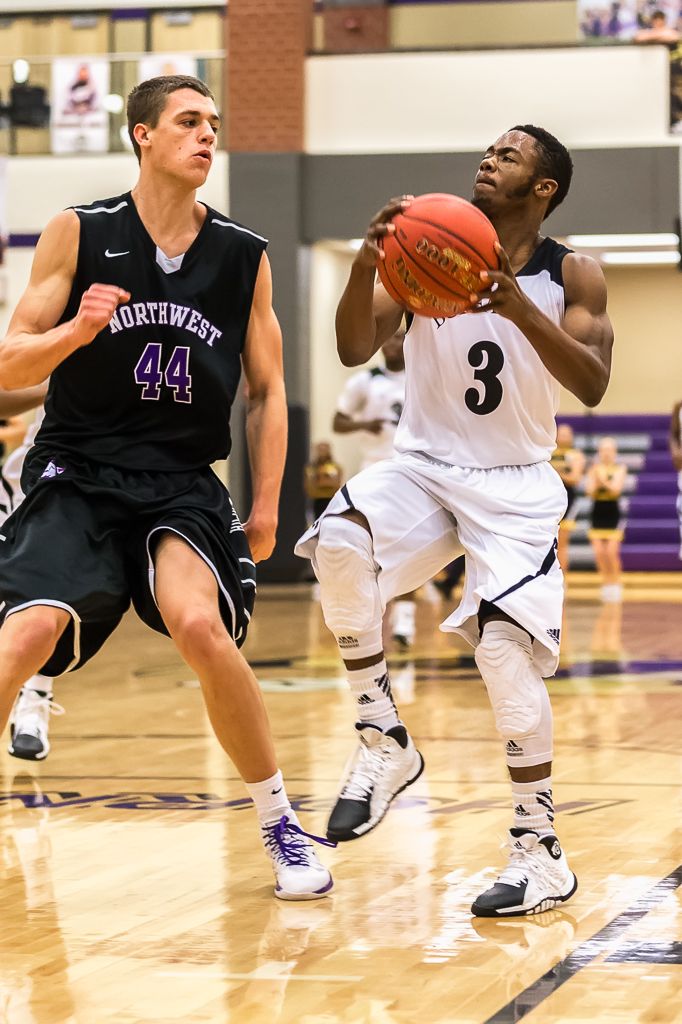
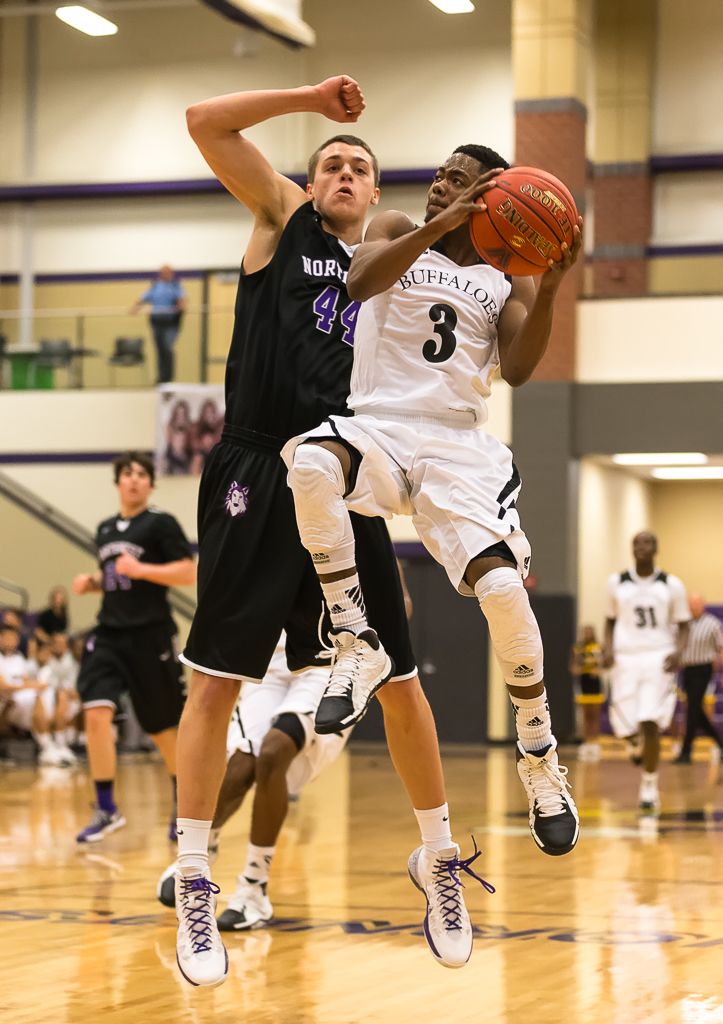
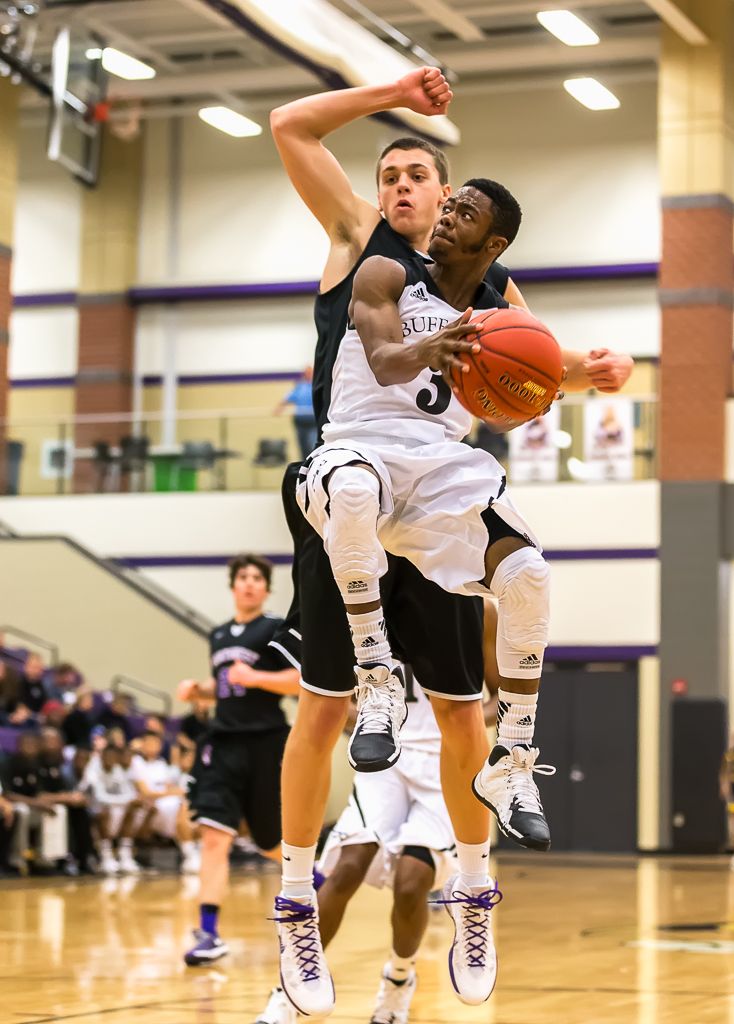
Burst shooting is a valid photographic technique. Which one of the following images would you have captured using a one shot technique?
Depth of Field--A Different View
Depth of Field--A Different View
Many photographers have a very limited understanding of depth of field. That understanding is often limited to the notion that larger apertures (smaller aperture numbers) are associated with a small depth of field. That's useful to clean up distracting backgrounds but there's more the action photographer should know. The focal length of the lens has a huge role in determining the depth of field and that fact is both useful and often unappreciated.
First, let's consider the typical situation, long focal length (300mm) and large (f/2.8) aperture. Here the combination produces a creamy background that makes the player pop off the page.
But what if you want the other effect? A large depth of field.
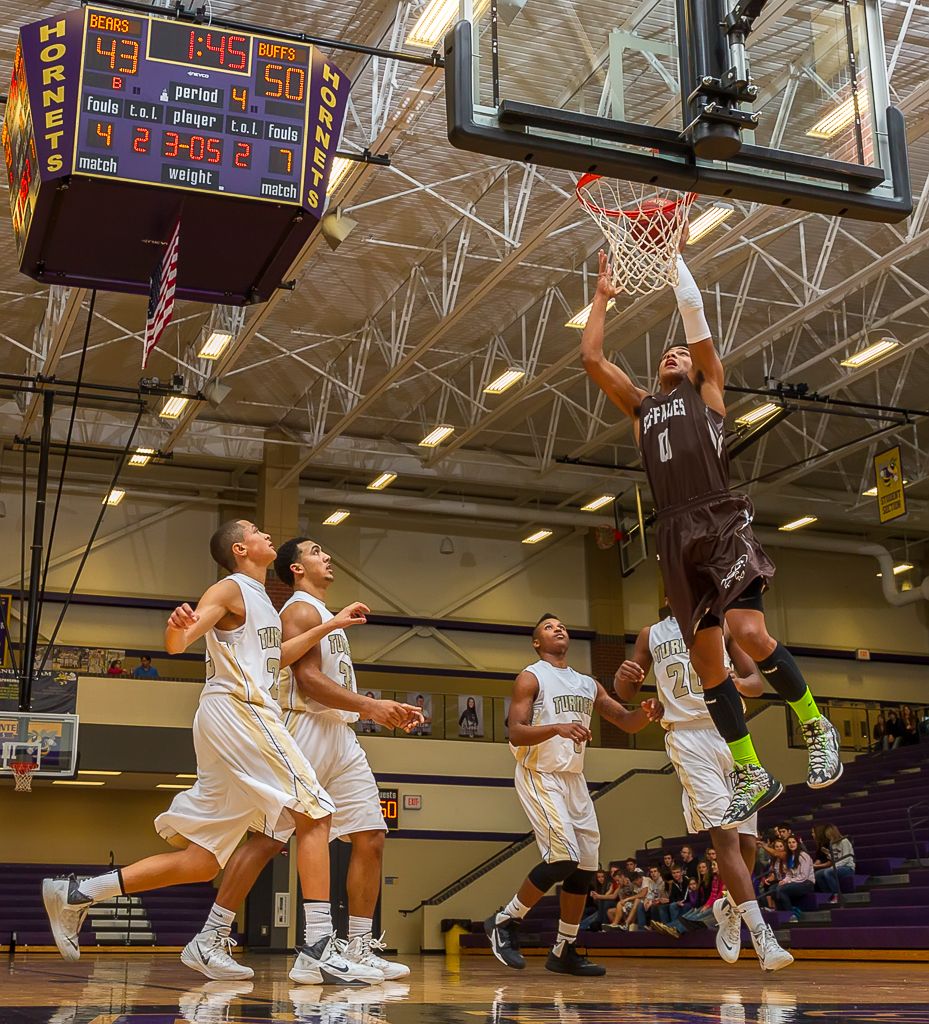
This is exactly the situation I was in two weeks ago. My goal was to capture basketball players on the court and include the overhead scoreboard. Both needed to be in focus. My mentor Mike 'Chico' LaBarbera was visiting from Eau Claire, Wisconsin and he was using my 1D X and the 70-200mm f/2.8 IS II. That left me using the 1D IV with a 24-70mm f/2.8 II. My buddy Mark Weaver had strobe lights set up but wasn't using them for this tournament game. This gave me control over the two key factors--Aperture and Focal Length. The first thing I did was to zoom to the wide (short focal length) end of the lens, 24mm. Then because I was using the stobes, a small aperture was chosen, f/8.0, with only a modest increase in ISO to 640. I pre-focused on the backboard, about 12 feet away.
Small apertures and short focal lengths = large Depth Of Field. So, how large is that DOF?
There is a handy DOF calculator on the internet.
www.dofmaster.com/dofjs.html
Plugging in the values of 1D Mark IV, 24mm, f/8.0, and 12 feet yielded the DOF.
Everything from five and a half feet to infinity was going to be in focus!
Because the DOF was going to be quite large, I modified my technique to take advantage. I always use back button focus so once I pre-focused on the back board, I just avoided the back button and my focus would remain fixed at about 12 feet. There was no need to worry about focusing because everything was going to be in focus. The camera was set on the ground for visual effect and because the focal length was so wide, aiming merely consisted of pointing the camera toward the area of action with a slight upward tilt. No looking through the viewfinder. No focus tracking. Just rough aiming 'from the hip'. Not even from the hip since the camera was literally on the ground.
Here is the result.
The Garden City Buffaloes beat the defense downcourt and seal the win.
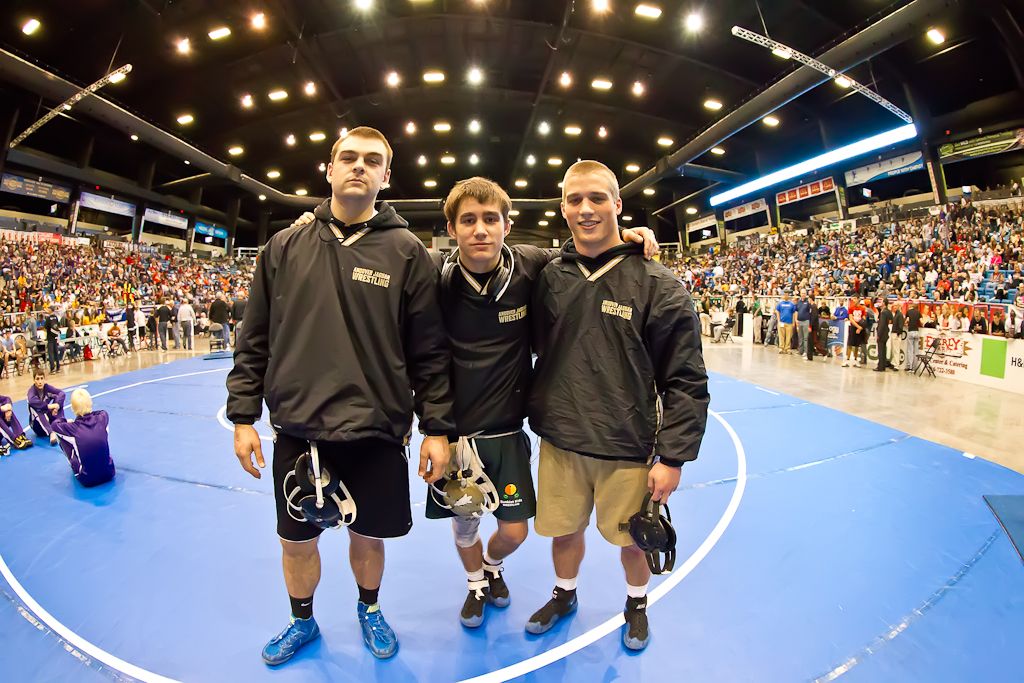
How far can you take these principles? Well, if you want to show three wrestlers and the arena where the state championships are held, you can shoot at 12mm (fisheye) and f/5.0 from 5 feet to get a DOF that extends from 27 inches to infinity. The arena, the crowd and these three top wrestlers are all part of the story.
Let's take a closer look at the role of the lens focal length in depth of field. Consider the case where a photographer is using a Canon 7D to photograph sports and that he is at f/8.0 at a distance of 12 feet. I've been alluding to the fact that focal length is important in calculating DOF. Let's check the DOF at 24mm and at 200mm under those conditions.
24mm focal length DOF = 286 Feet From 6 ft to 292 ft.
200mm focal length DOF = 4 Inches! Just 12 feet +/- 2 inches
Consider focal length before aperture as you plan your depth of field.
Put the depth of field calculator and the principles of DOF to work in your images for your purposes. The focal length of the lens is a key aspect of that calculation.
Phil Zivnuska
PS Don't forget that you can often pre-focus and shoot "From the Hip" when necessary at those wide focal lengths! Think of how you might use this DOF information with a wide angle remote during the upcoming track season to obtain a memorable shot that average shooters won't think to get.
What Makes a Good Sports Photograph?
In this entry of my action sports blog, I'll give you the rules for taking good sports photographs. It's pretty simple really. Focus, Face (especially the eyes), action, and the ball. Let's add one other rule for newspapers; "Two faces and the ball".
Focus is non-negotiable. It has to be sharp. If it isn't, toss the pic in the trash. High ISO noise can be dealt with in post production but if the image is blurry from either motion blur or a misplaced focus, that image cannot be recovered. Second, a good image must have a face and newspapers prefer to see two faces. Shakespeare wrote: "The Eyes are the window to your soul." If your image of the face gets a look at the eyes, that's good. If you are tight enough to have those eyes reveal the emotion, intensity, and character of the athlete, i.e. his soul, that's outstanding.
The action captured should be peak action. If you look at the image and see that it is just after the tag or just after the athlete completed the play and is starting to relax, you've missed the shot. Last, if there is an object used in the sport, that object should be included in the image. It can be a ball, a puck, a shuttlecock, whatever. If the athletes use it, have it in the picture. When you have an image that requires a peculiar crop to include the object, that's probably a sign that the photo won't work.
Now that you know the rules, let's break them. First, consider two of the greatest sports photos of all time. These are iconic images for those old enough to remember them.
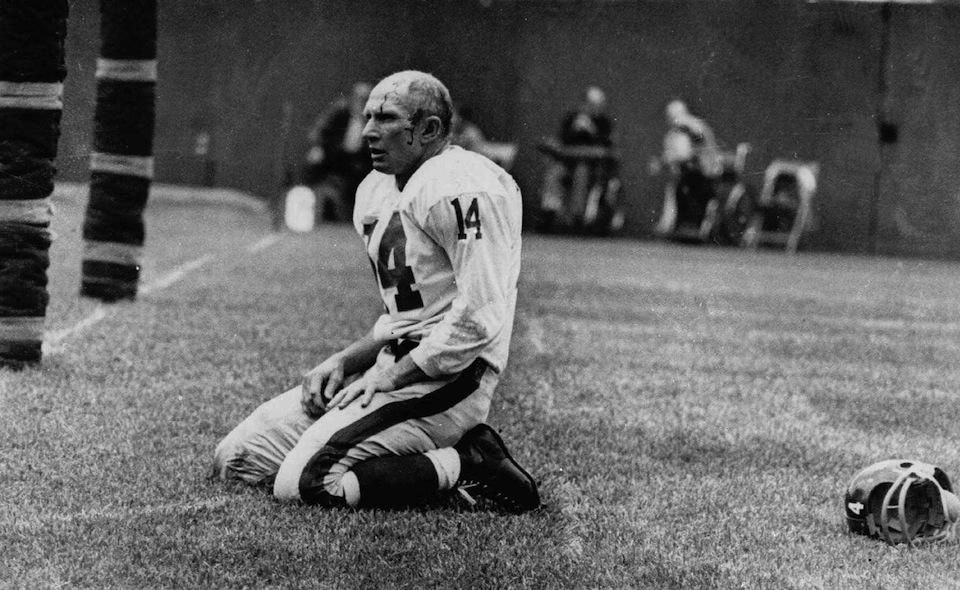
Y.A. Tittle was the NFL MVP in 1963. On this play in late 1964, he suffered a bone-jarring hit while throwing. The pass was intercepted and returned for a touchdown. The 38 year old Tittle, a great and valiant warrior, bloodied and injured, was finished. No game action, no ball here, and the image quality is poor by today's standards, but this memorable moment fifty years ago, yielded one of the most enduring sports images of all time. This photo was taken by the late Morris Berman. Mr. Berman submitted this photo to his editor who refused to print it. He wanted action. The editor knew the 'rules' of a good sports photograph but was too rigid to recognize greatness that fell outside the lines. Grain or noise in the image? Horizon off? Who cares.
Fair Use--Commentary
Muhammad Ali referred to himself as the "Greatest of All-Time." When he defeated Sonny Liston, the world paused to view this brash, supremely talented fighter. This iconic image from 1965 didn't capture the decisive punch and although it wasn't peak action, it was the emotional peak of this fight and his career. Notice all the pro photographers in the background who were in the wrong place at the wrong time. We aren't the only ones who miss great moments! Think of peak action in a larger sense where it can include peak emotion and great storytelling. Once again, we could quibble about image quality (noise and contrast) but that would miss the point.
Fair Use--Commentary
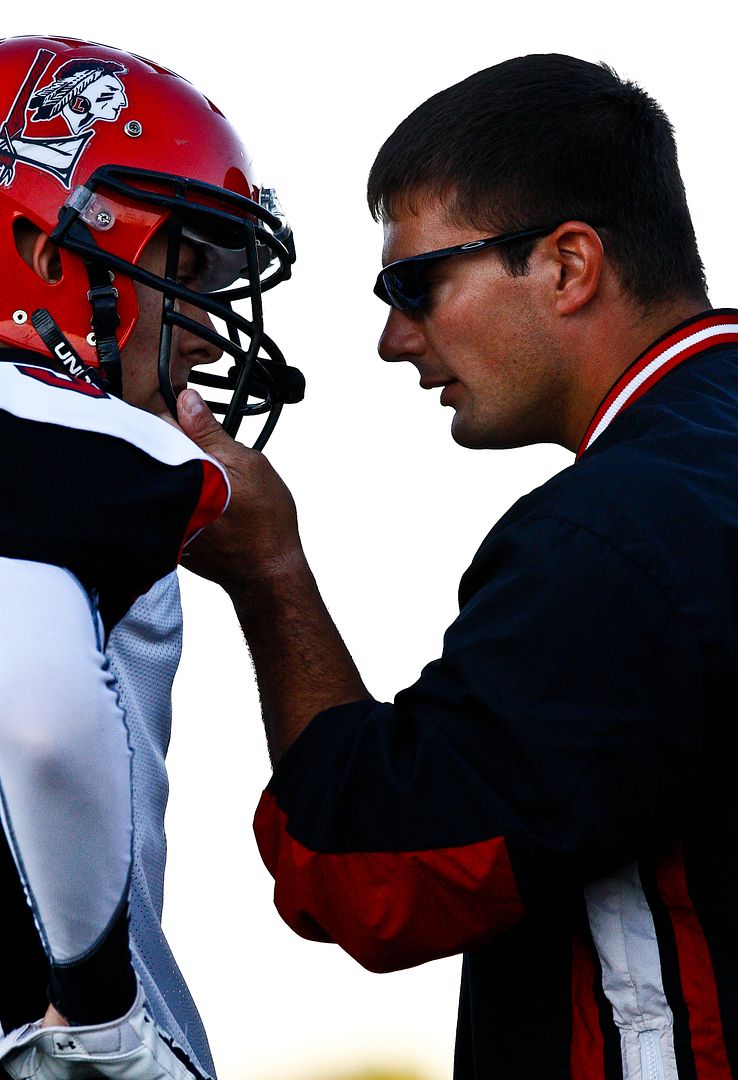
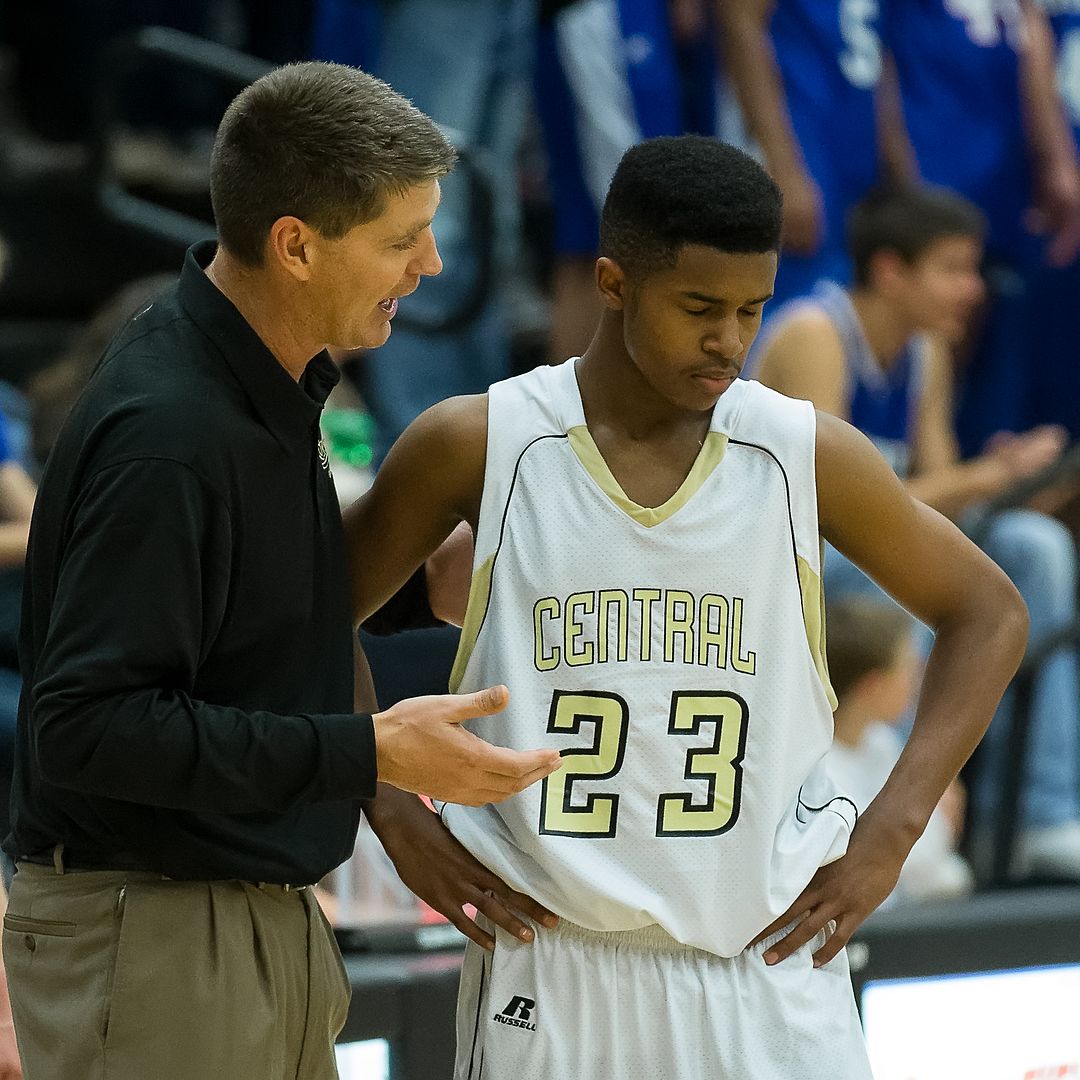
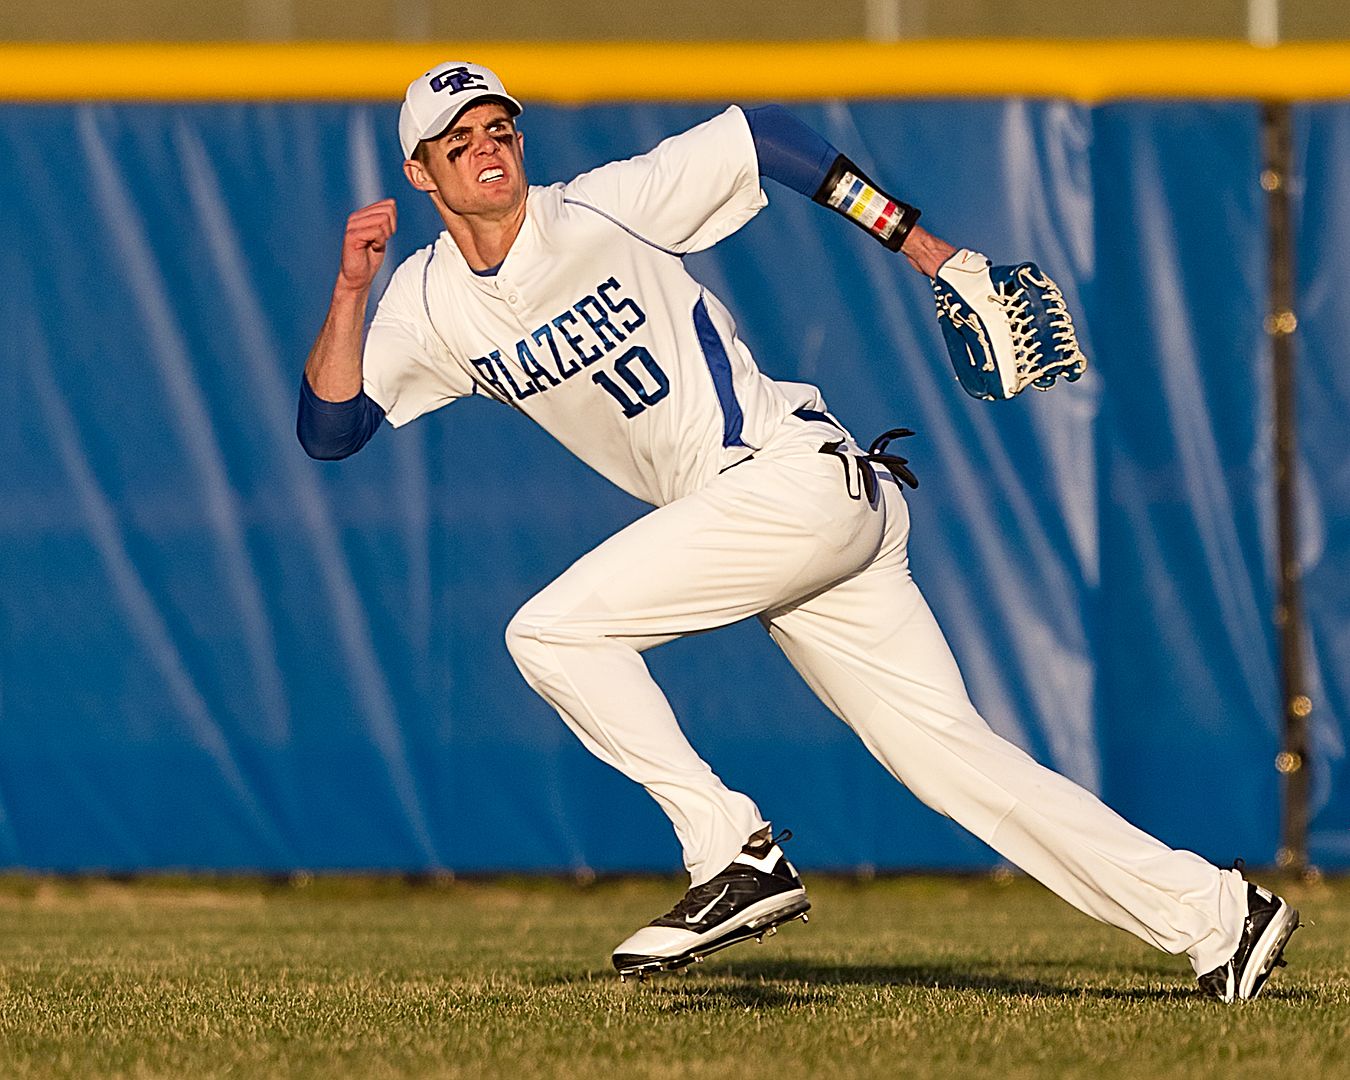
Most of us will never shoot all-time greats but we have the opportunity to shoot excellent images that break the rules. These captures will be a smaller percentage of our total but really add something. Be sure to look for peaks of emotion or intensity--not just action. Jube shots are important examples of this peak emotion. Here are some other examples from high school athletic contests.
Can you hear me now?
1/1600 sec. f/5, 300mm, ISO 1600, Canon 1D Mark III, Canon EF 300mm f/2.8L IS
The talented freshman makes a mistake--and knows it.
1/800 sec. 200mm, f/2.8, ISO 6400, Canon 1D X, Canon EF 70-200mm f/2.8L IS II
Pure athleticism.
1/8000 sec. f/3.2, 400mm, ISO 400, Canon 1D Mark IV, Canon EF 400mm f/2.8L IS
