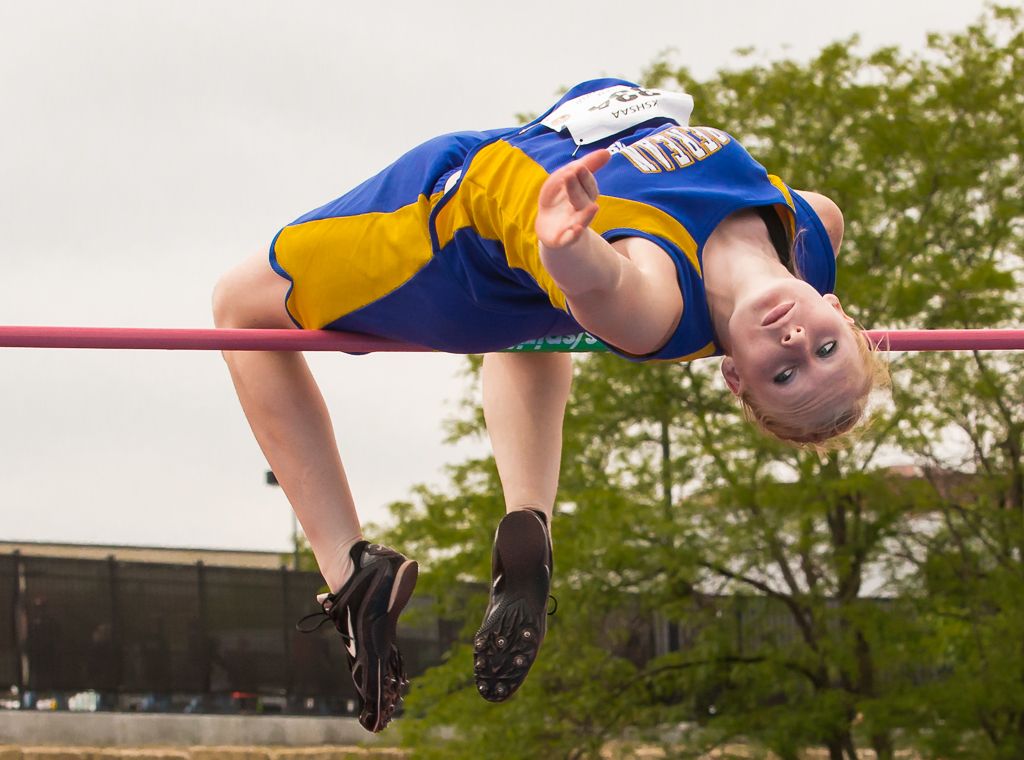
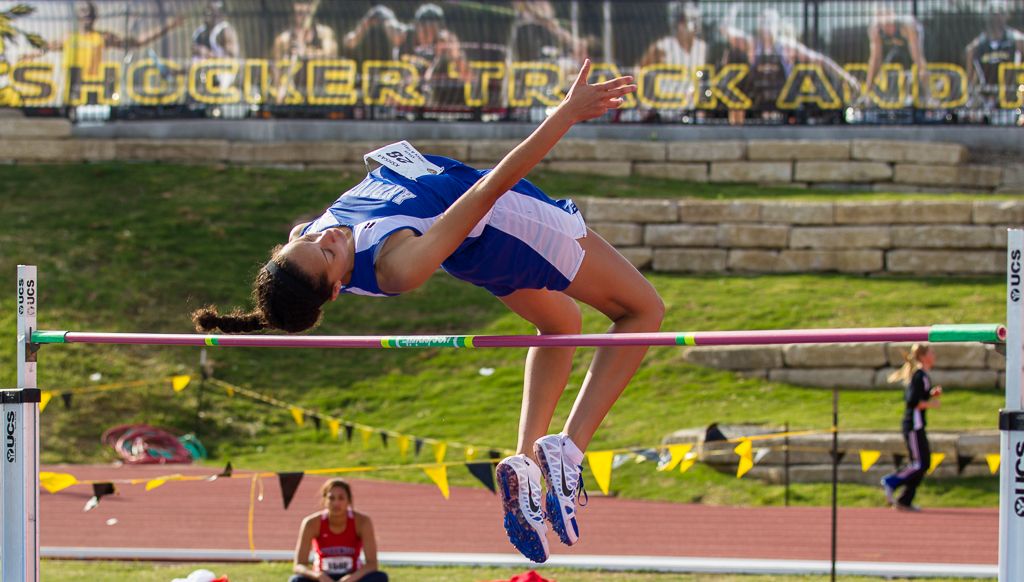
Welcome to the Phil Zivnuska photo blog, Practical Sports Photography. I'll be posting photography tips, relevant images, and hosting discussions on topics related to photography. This is the place for requests, comments, and questions about all things photographic. The emphasis will be on sports but all photography is fair game.
Phil Zivnuska
.
Some Fun Stuff
Some Fun Stuff using Dave Black and Daves Digs
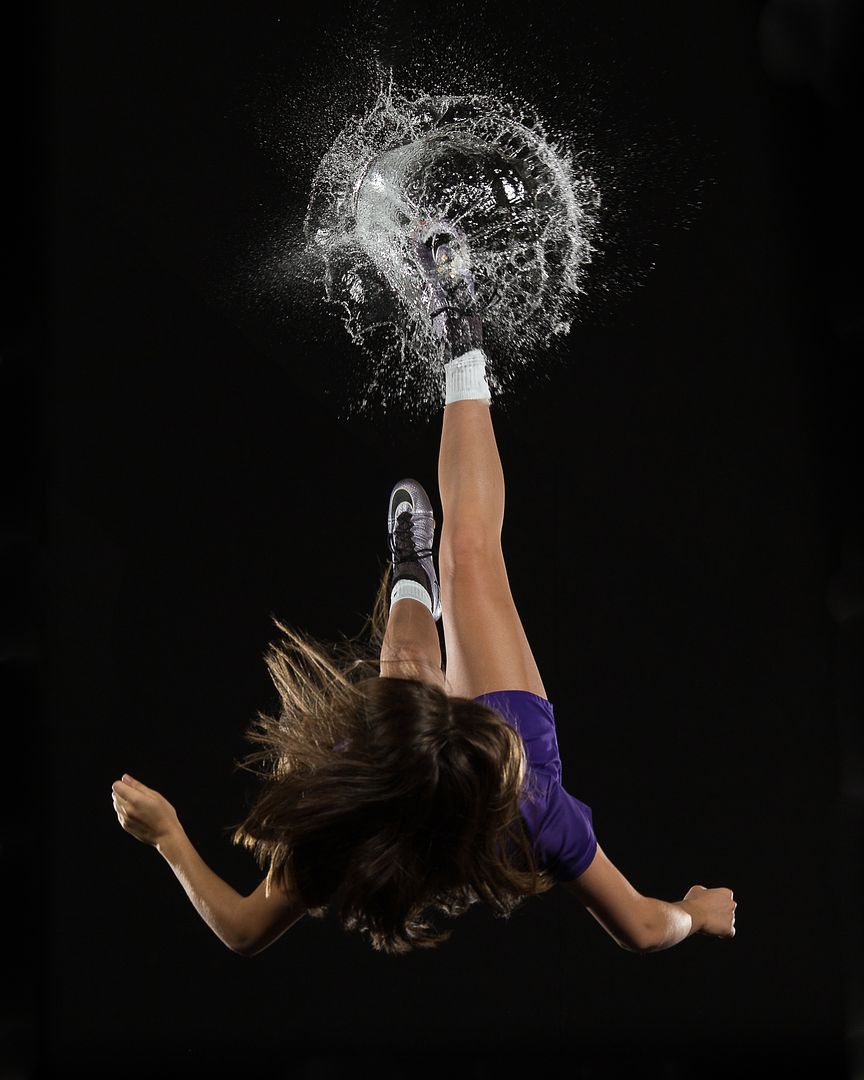
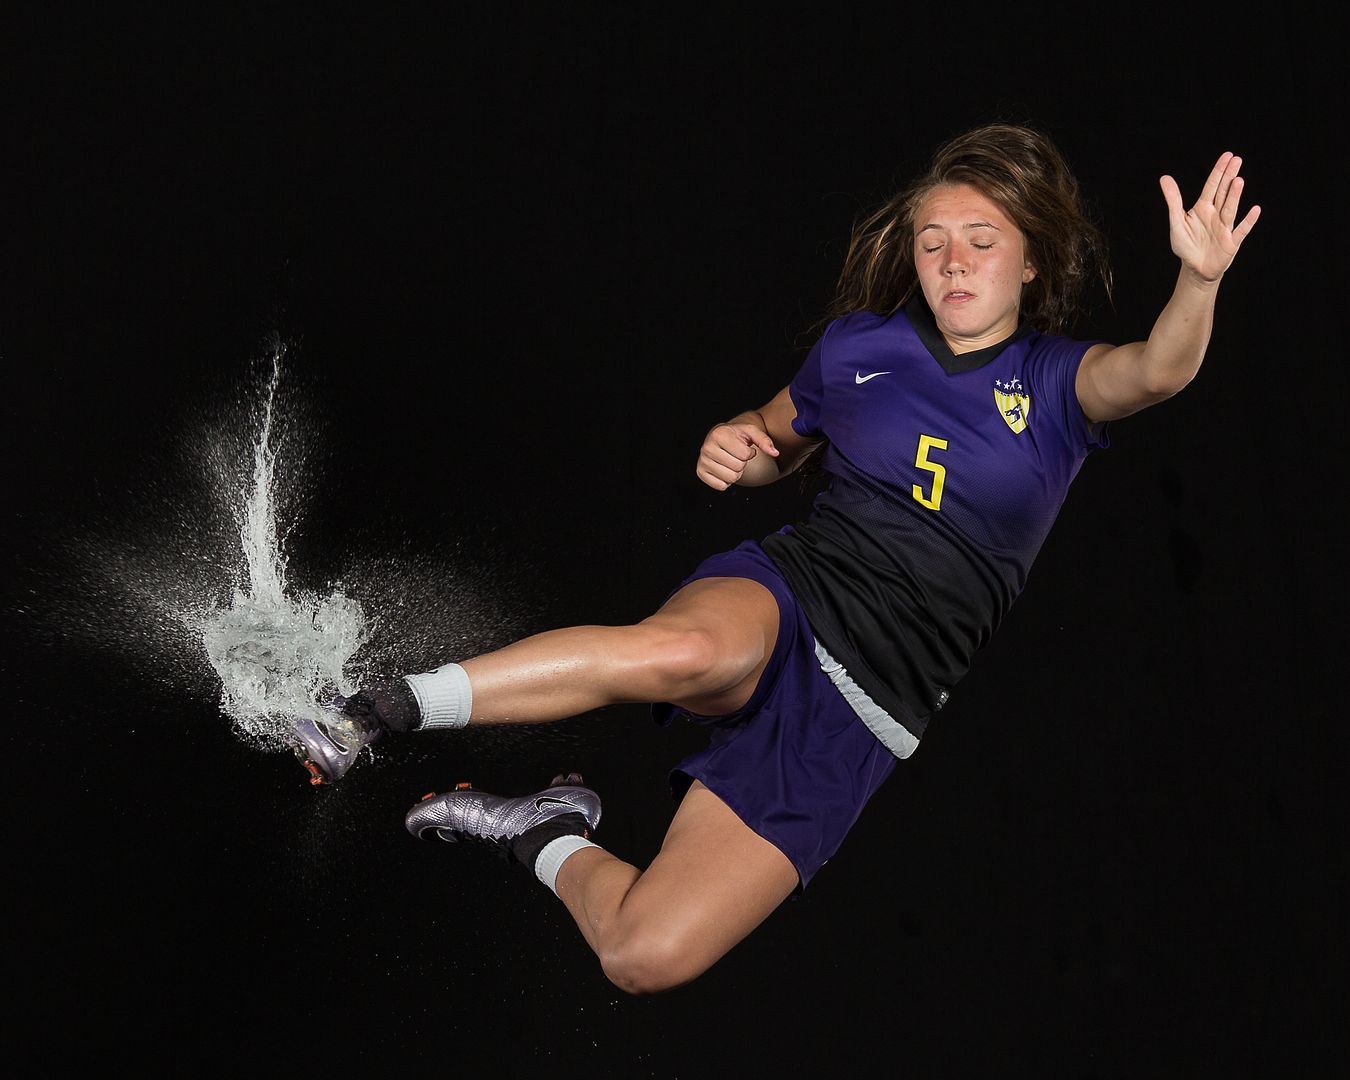
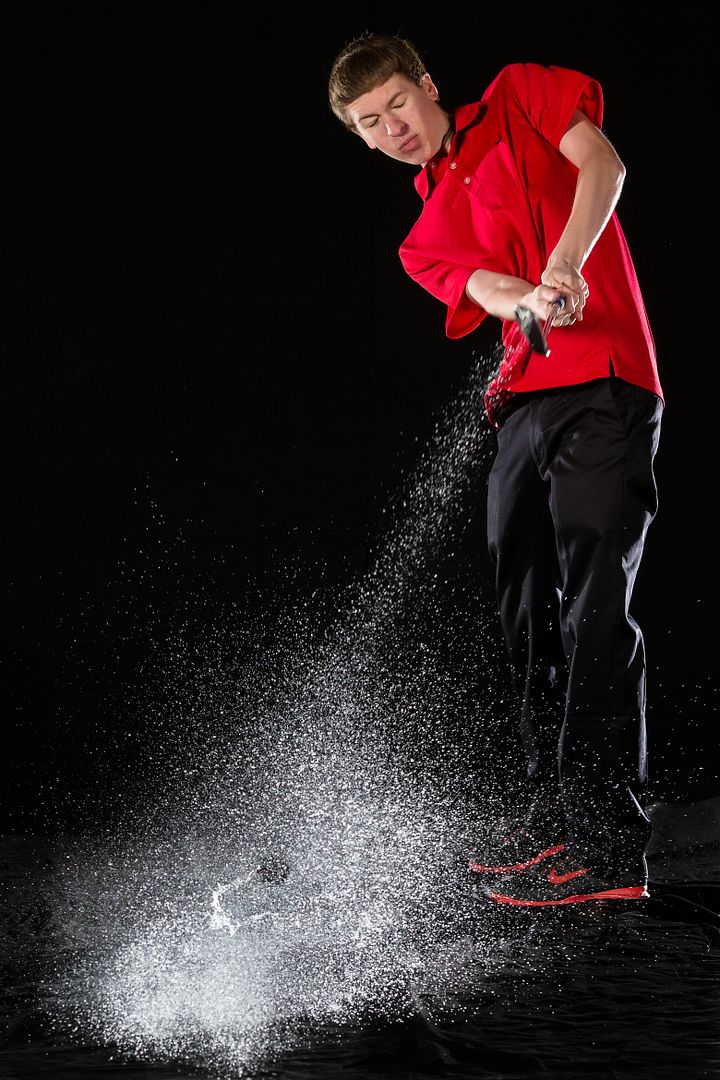
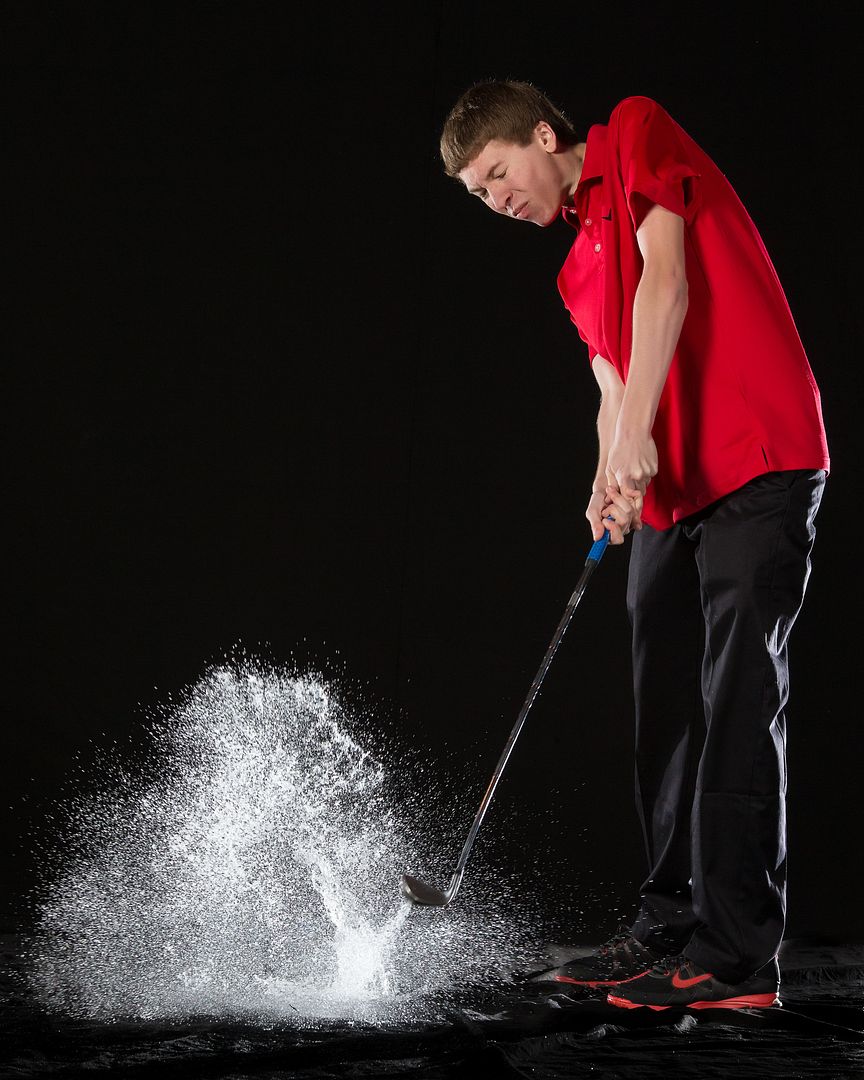
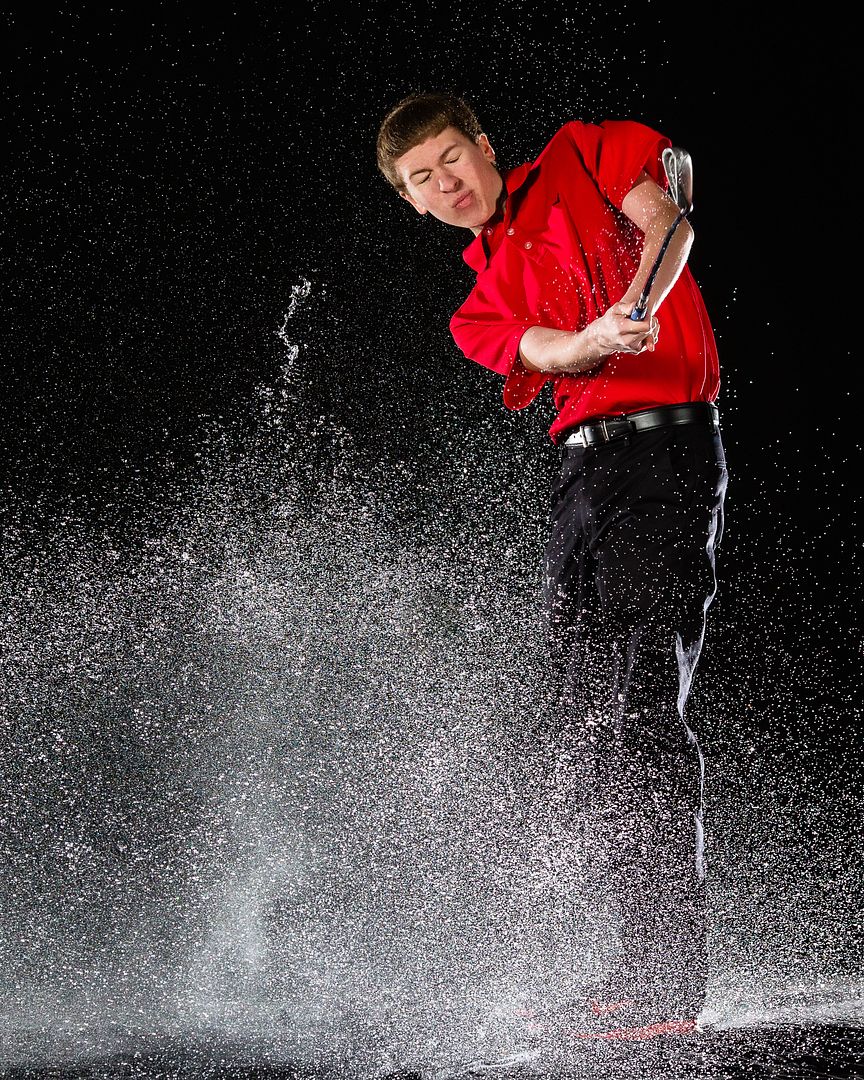
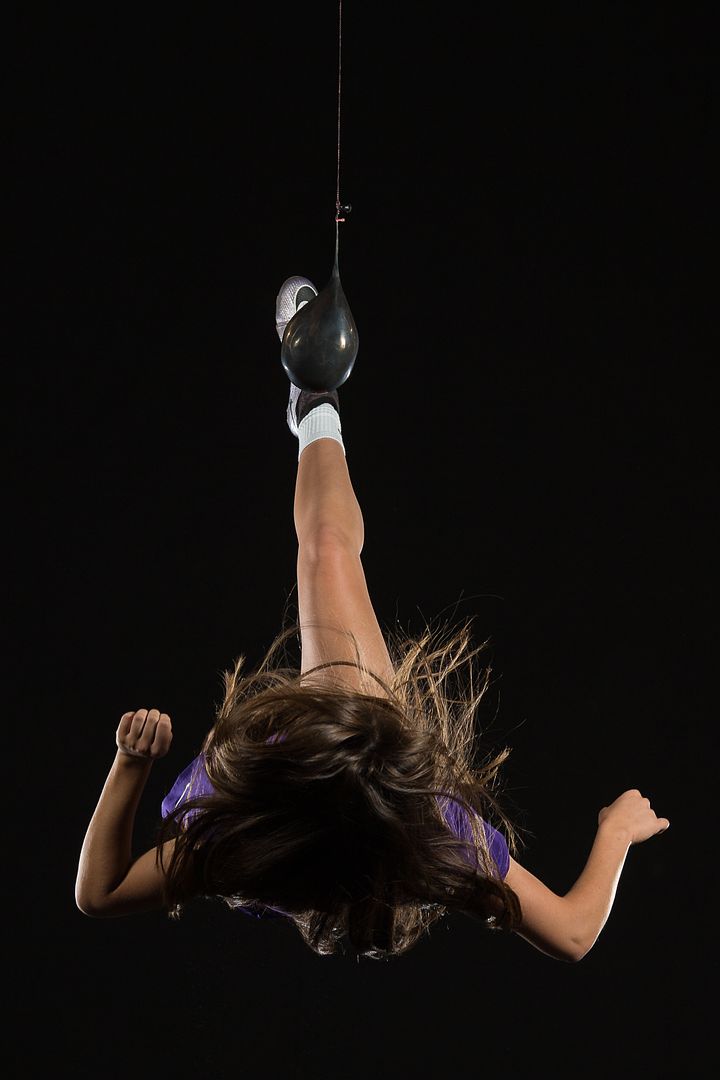
Today I'm going to show you some images using the FourSquare technique of Dave Black and the stop action water technique of Daves Digs. To do this, my friend Mark and I pooled our Canon 600 EX RT flashes along with our FourSquare light boxes. We added a black backdrop and some water balloons and voila!
This technique can be used for other sports as well.
As you can tell, one problem is getting the athlete to keep their eyes open during the shot. Once they get the splash off the first attempt, the urge to flinch is quite strong. Obviously, timing is a huge factor. If you as the photographer are too early, you will get a shot of the water balloon.
Give it a try for baseball! Have fun! FWIW, My settings for most of my soccer pics were 1/2000 seconds, f/5.0, and ISO 400 using my 135mm f/2.0 canon lens and a 1D X. Mark and I had two FourSquare boxes, one camera right and the other camera left, with one flash behind the athlete from each side as sort of a rim light.
Here are some links:
Dave Black:
https://www.youtube.com/watch?v=_ZANzwKXwZs
https://www.youtube.com/watch?v=uclkmd5Zt98
Daves Digs:
https://www.youtube.com/watch?v=qz4Y09v9D9M
Phil Zivnuska
Polarizing Filters
Circular Polarizing Filters (CPL)
Sports photographers, especially new ones, often concentrate so much on capturing action that they neglect factors that affect image quality. One way to improve the vibrance and saturation of colors while reducing haze is to use a circular polarizing filter when conditions warrant. Landscape photographers often use them in their work but they are rarely seen at sporting events. I like them in sports photography whenever my images will include a lot of sky or if I am dealing with low sun angles where reflected light may be an issue. Those days when the skies are an ugly milky white can't always be avoided but a CPL will draw out whatever definition in the clouds is possible.
A circular polarizing filter is a photographic filter that screws on to the end of a lens (usually) and reduces or eliminates reflected sunlight. The size will depend on the size of the lens. Both 77mm and 82mm are popular sizes. Quality is variable and so are the prices. Read the reviews and get a good one. These filters rotate to maximize their effect and so it will be necessary to recalibrate when changing from portrait orientation to landscape. It is important to note that the effect is apparent as one looks through the viewfinder. Simply look in the viewfinder while rotating the filter and you will see the polarizing effect maximize, then minimize, then maximize again. WYSIWYG so when the scene has the best appearance to your eye, that will be the best for your capture. When reflections are gone, the colors will appear richer, skies bluer, clouds whiter, and haze will be reduced. It comes at the expense of 1 to 2 stops of light.
Light loss is less of an issue than you might expect. Remember that we are talking about reflected sunlight so by definition we won't be using it for indoor, night, or even overcast days. That means there will be ample light for fast shutter speeds at fairly low ISOs for good image quality. The polarizer has minimal effect when shooting into the sun or with the sun at your back and it's most useful when shooting at 90 degrees to the sun. It's also possible to have variable effects when shooting with extremely wide angled lenses because different areas of the image will be at different angles to the sun. Check and double check the viewfinder!
What types of sports images can use a circular polarizer?
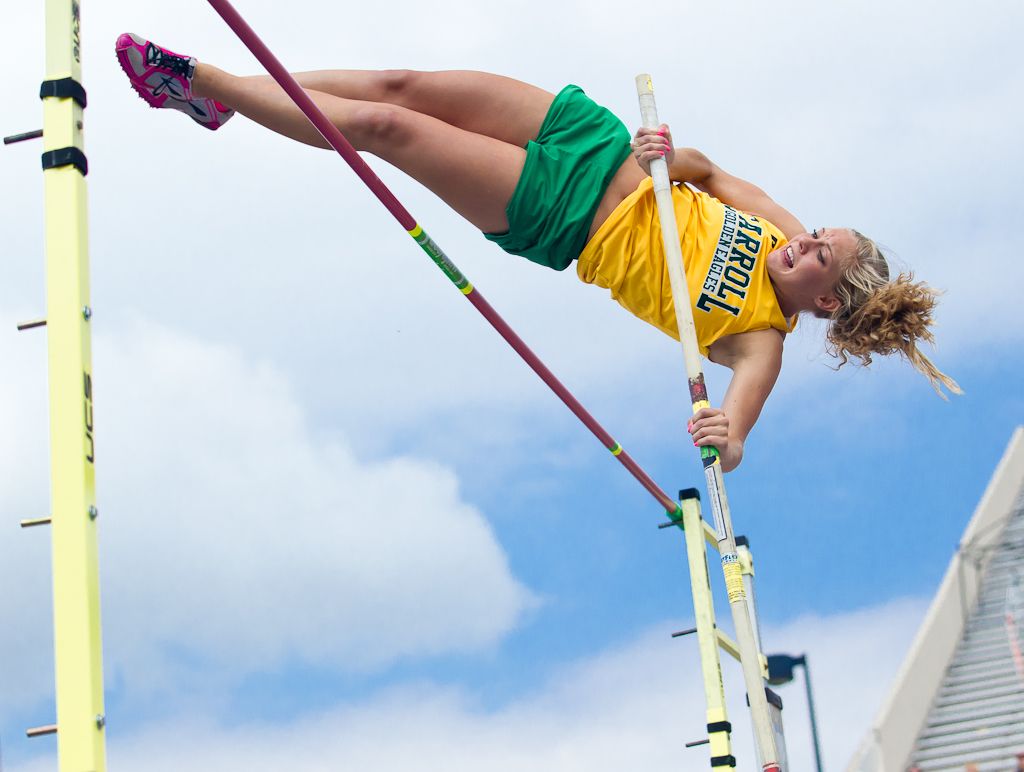
Pole vault. To the naked eye, the sky was almost all a murky white with no definition. With the polarizer, the sky became at least a little interesting.
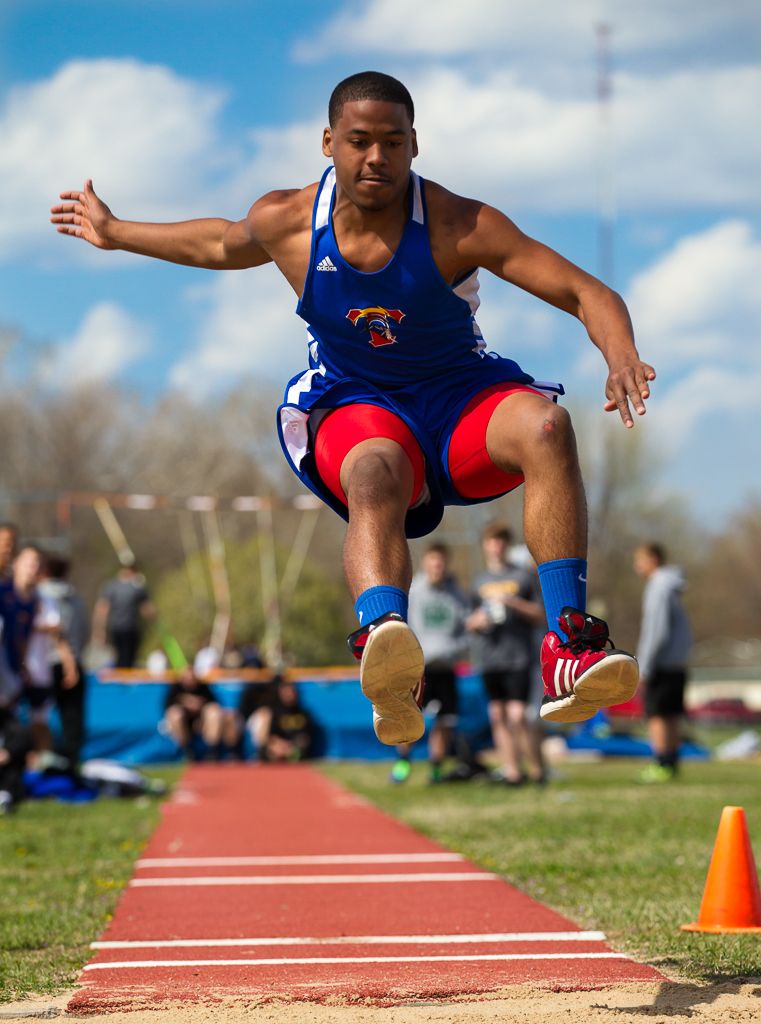
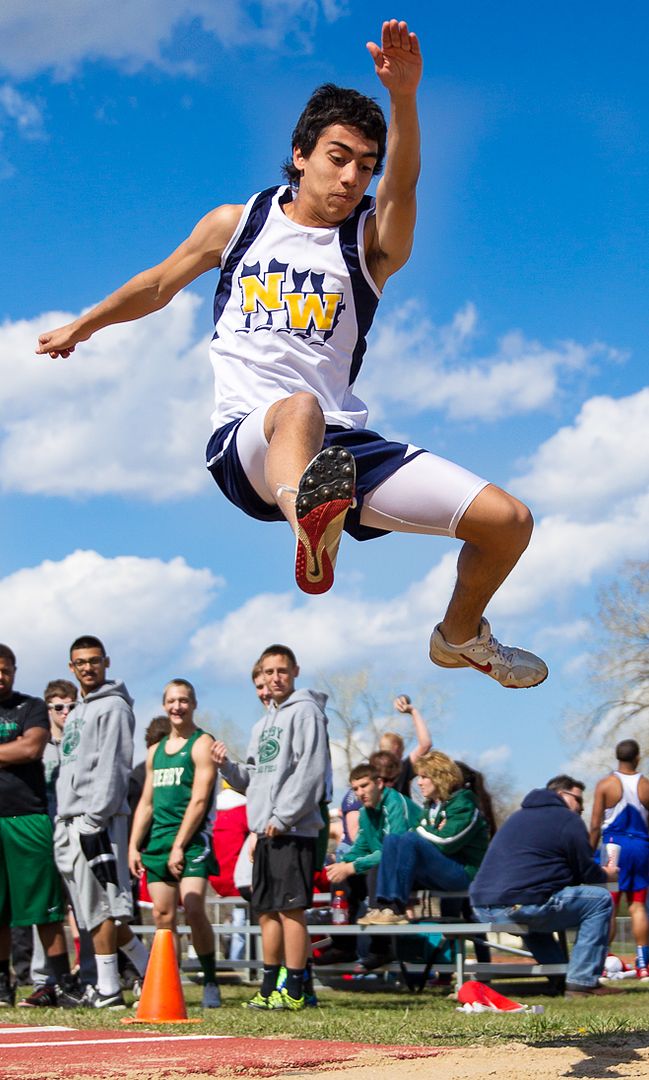
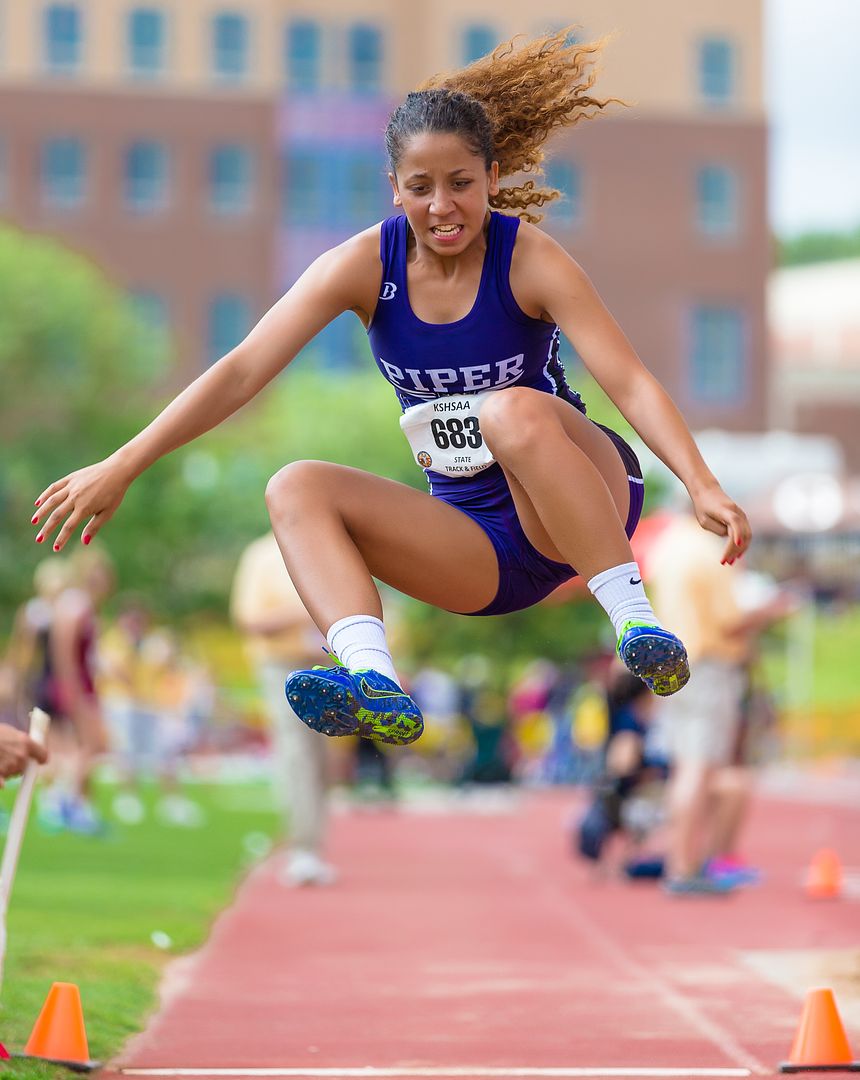
Long jump
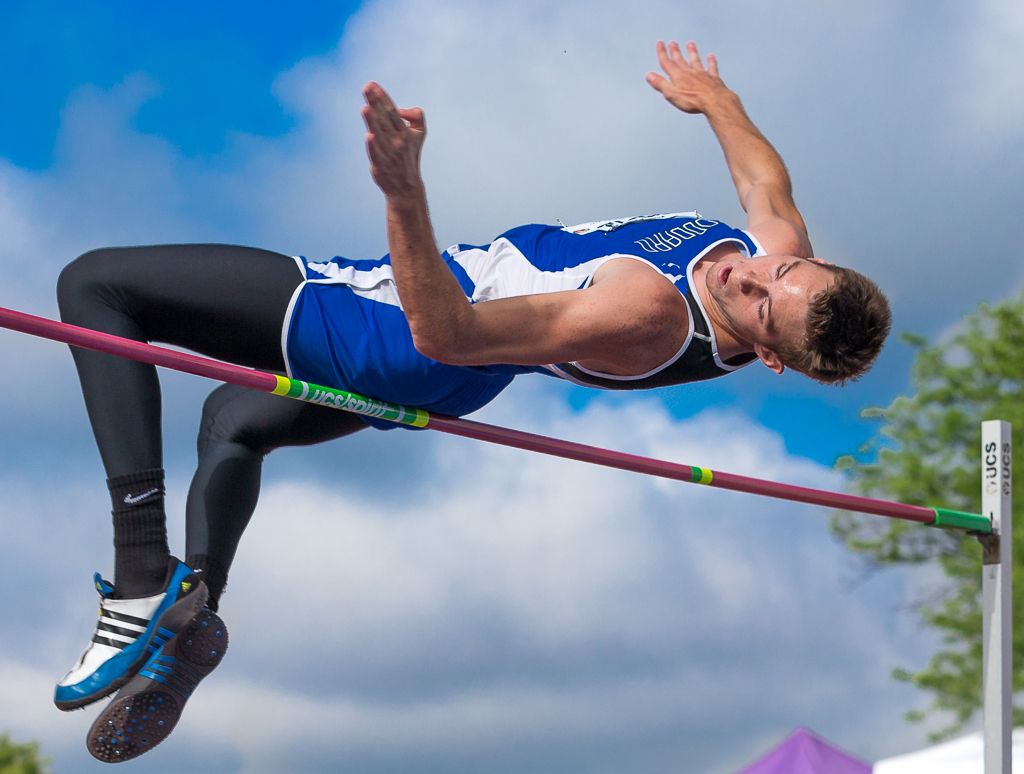
And the high jump
Try a circular polarizing filter for your landscape images and then use those polarizing properties to best advantage in sports. Nearly everyone loves images with bold colors that are free of glare or haze.
Phil Zivnuska
What Makes a Good Sports Photograph?
In this entry of my action sports blog, I'll give you the rules for taking good sports photographs. It's pretty simple really. Focus, Face (especially the eyes), action, and the ball. Let's add one other rule for newspapers; "Two faces and the ball".
Focus is non-negotiable. It has to be sharp. If it isn't, toss the pic in the trash. High ISO noise can be dealt with in post production but if the image is blurry from either motion blur or a misplaced focus, that image cannot be recovered. Second, a good image must have a face and newspapers prefer to see two faces. Shakespeare wrote: "The Eyes are the window to your soul." If your image of the face gets a look at the eyes, that's good. If you are tight enough to have those eyes reveal the emotion, intensity, and character of the athlete, i.e. his soul, that's outstanding.
The action captured should be peak action. If you look at the image and see that it is just after the tag or just after the athlete completed the play and is starting to relax, you've missed the shot. Last, if there is an object used in the sport, that object should be included in the image. It can be a ball, a puck, a shuttlecock, whatever. If the athletes use it, have it in the picture. When you have an image that requires a peculiar crop to include the object, that's probably a sign that the photo won't work.
Now that you know the rules, let's break them. First, consider two of the greatest sports photos of all time. These are iconic images for those old enough to remember them.
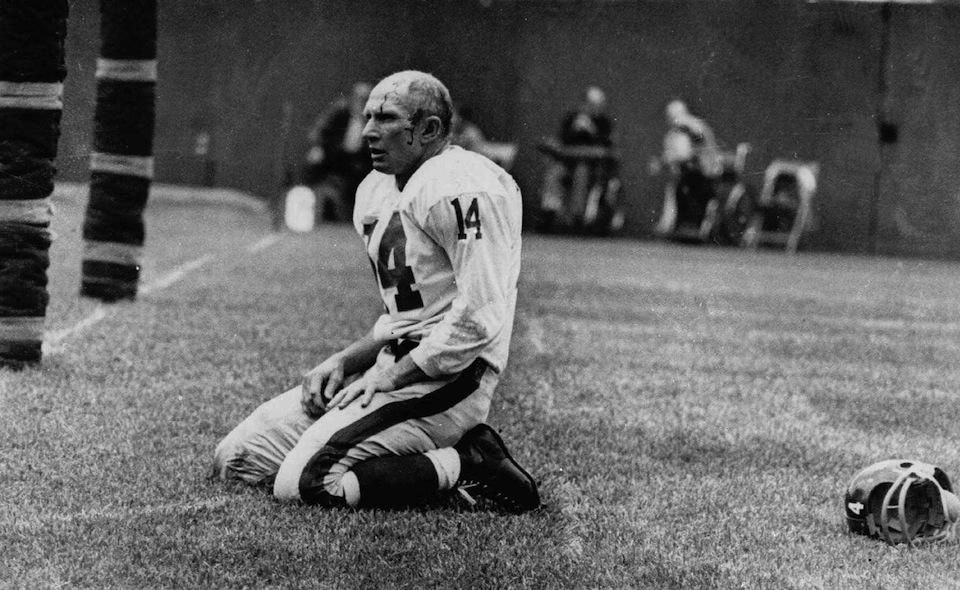
Y.A. Tittle was the NFL MVP in 1963. On this play in late 1964, he suffered a bone-jarring hit while throwing. The pass was intercepted and returned for a touchdown. The 38 year old Tittle, a great and valiant warrior, bloodied and injured, was finished. No game action, no ball here, and the image quality is poor by today's standards, but this memorable moment fifty years ago, yielded one of the most enduring sports images of all time. This photo was taken by the late Morris Berman. Mr. Berman submitted this photo to his editor who refused to print it. He wanted action. The editor knew the 'rules' of a good sports photograph but was too rigid to recognize greatness that fell outside the lines. Grain or noise in the image? Horizon off? Who cares.
Fair Use--Commentary
Muhammad Ali referred to himself as the "Greatest of All-Time." When he defeated Sonny Liston, the world paused to view this brash, supremely talented fighter. This iconic image from 1965 didn't capture the decisive punch and although it wasn't peak action, it was the emotional peak of this fight and his career. Notice all the pro photographers in the background who were in the wrong place at the wrong time. We aren't the only ones who miss great moments! Think of peak action in a larger sense where it can include peak emotion and great storytelling. Once again, we could quibble about image quality (noise and contrast) but that would miss the point.
Fair Use--Commentary
Most of us will never shoot all-time greats but we have the opportunity to shoot excellent images that break the rules. These captures will be a smaller percentage of our total but really add something. Be sure to look for peaks of emotion or intensity--not just action. Jube shots are important examples of this peak emotion. Here are some other examples from high school athletic contests.
Can you hear me now?
1/1600 sec. f/5, 300mm, ISO 1600, Canon 1D Mark III, Canon EF 300mm f/2.8L IS
The talented freshman makes a mistake--and knows it.
1/800 sec. 200mm, f/2.8, ISO 6400, Canon 1D X, Canon EF 70-200mm f/2.8L IS II
Pure athleticism.
1/8000 sec. f/3.2, 400mm, ISO 400, Canon 1D Mark IV, Canon EF 400mm f/2.8L IS
How to Photograph the High Jump
In today's entry, I'll pose a question, claim it can't be answered, and then show you how to answer it. The question of the day is: Where do you position yourself to photograph the high jump? The first thing to consider is that access may be limited. Left side, right side, approach or landing, standing or sitting; any recommendation can be moot if you can't be there. Plus, it seems like every jumper uses a different technique and they are split on what side they should approach from. Every location is the wrong one for one competitor or another. What are we to do?
We must start with fundamentals. In this case, the fundamentals are the elements that will make for a good shot. Those are focus, face, peak action, and backgrounds. For me, faces are essential. In order to see faces, get to the event early and observe the athlete as he/she approaches the bar. Observe the jump to determine what vantage point will give the best facial view. Snap a few practice frames if you need to. It's not as simple as shoot from the opposite/same side as the approach. Plus, some jumpers will photograph better from the landing side, some from approach. This is extremely variable at the lower levels of competition such as middle or high school.
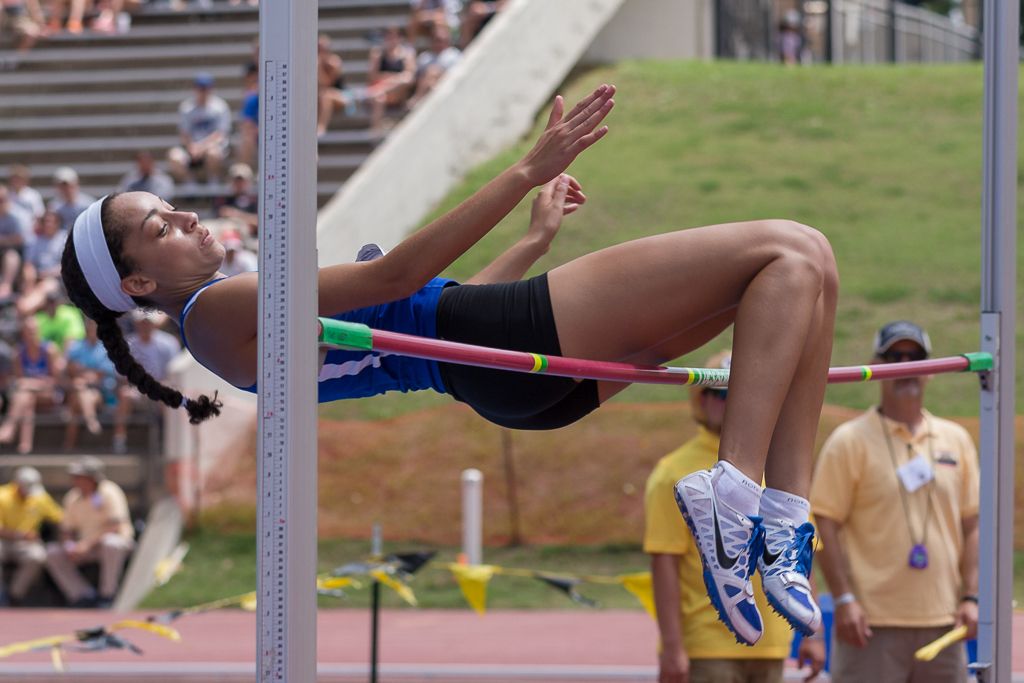
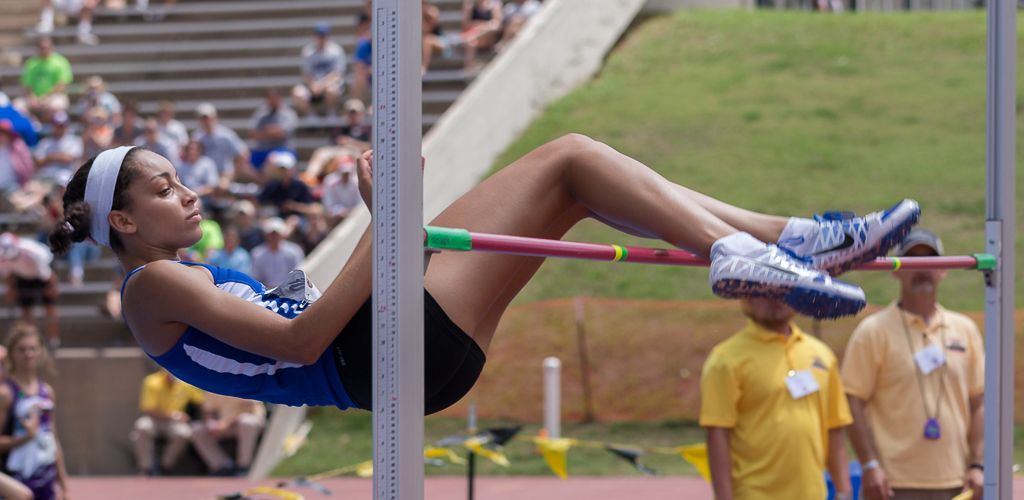
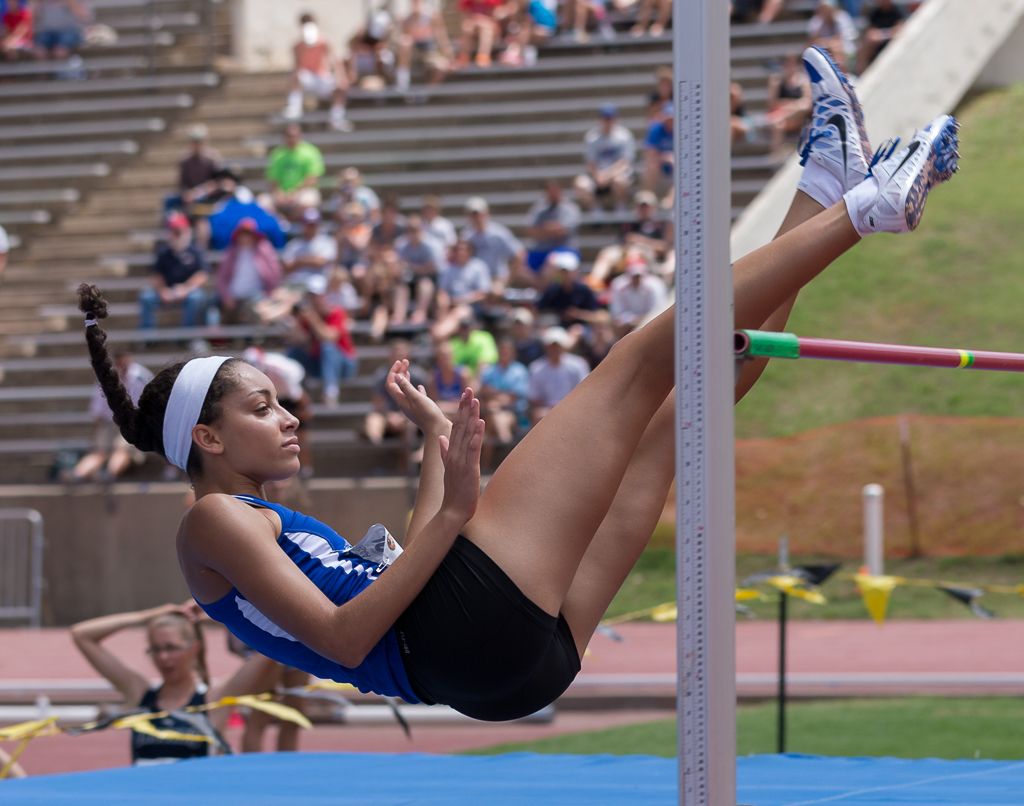
The following athlete throws her head back so her face can be photographed very well from the landing side of the bar.
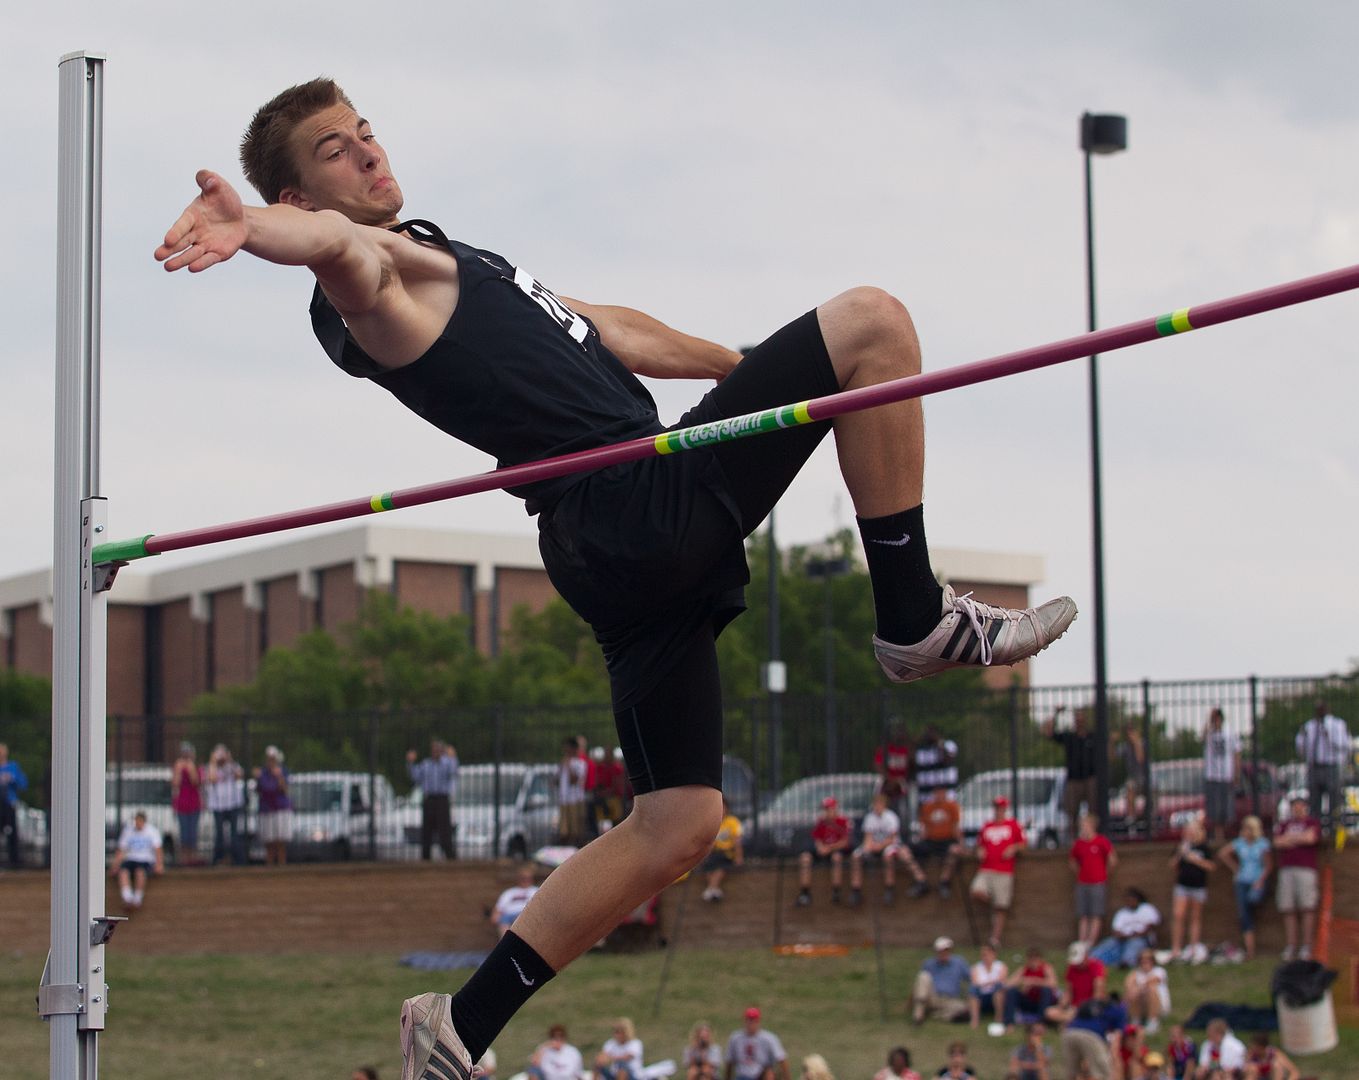
In this shot from the Kansas State Track Meet in 2013, I attempted to photograph this athlete from the landing side. Mediocre result.
In 2014, again at the state meet, I was able to get to a vantage point on the approach side and shoot this burst.
Compare the head position here to that of the jumper in the first shot.
It's the exact same venue, same athlete, just a different side of the bar with a much better view of the face. It's worthwhile to note that the second set of images have a busier background but the better view of the face offsets that fact. However, that does bring us to backgrounds. If you shoot standing, you'll have a better angle to see the face but often a busy background.
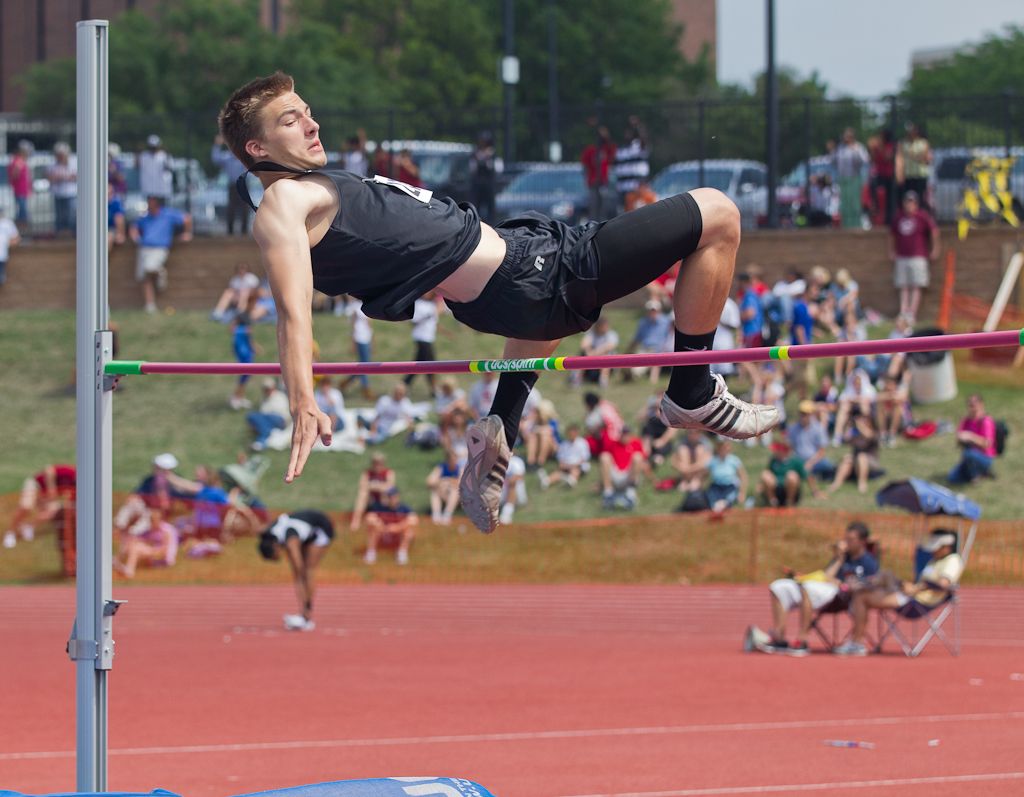
These shots are from 2011. In the first shot, there is nice action but a busy distracting background.
Kneeling or sitting on the ground can correct this problem by projecting the jumper against the sky. Note that with this jumper, the photographer must be on the camera right side of the bar. A polarizing filter might have helped give some definition to an ugly, milky white sky.
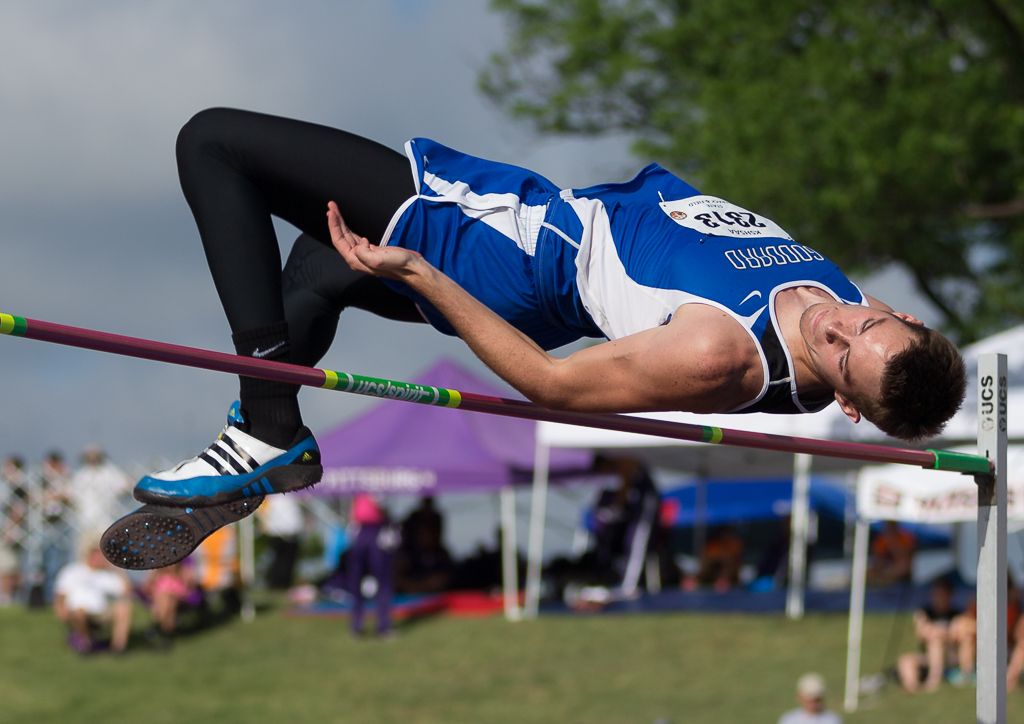
One other item. If you are going to include the sky in the picture, use a polarizing filter to get the most dramatic sky possible. The polarizer will make the blue of the sky bluer and the white clouds far more dramatic. Put all these elements together and you get shots like this from this (May 30, 2014) weekend.
Standing perspective. Both of the following shots use a circular polarizing filter. With this athlete, the photographer must be on the camera left side of the bar to see the face.
Sitting on the ground, shooting skyward. Wonderful isolation and the polarizer renders a pleasing, colorful sky with defined clouds.
Some final issues to deal with. What about focusing? Is it better to track the athlete through the approach or to pre-focus on the bar and let the athlete jump into the focus plane? If I can track the athlete through the whole approach, I will track in servo focus through the jump. That is often not possible when shooting from the landing side due to obstacles and/or because the athlete takes an extreme angle during his approach. In those cases, I back button pre-focus on the label in the center of the bar and shoot a burst as the athlete jumps. In this case, I prefer to use a smaller aperture to give me extra latitude from an expanded depth of field. At 70mm focal length, full frame, 15 feet away from the bar, using f/5.6, I'll have a depth of field of about 4.8 feet. If you are shooting against the sky, there is no need for background blur so make the focusing easy on yourself by using a small aperture. A fast shutter speed is easy to obtain outdoors. Use 1/1000sec or faster.
Conclusions
Watch the warm ups to determine what possible camera location has the best view of the jumpers face. Check the possible backgrounds. If you can shoot from a low vantage point, the athlete may be isolated against the sky instead of a cluttered stadium Consider using a circular polarizing filter to make the sky more striking. Use large apertures to blur a cluttered background. A small aperture will give more leeway in depth of field and can be helpful when background blur isn't needed (ex. sky background). Different jumpers may need to be shot from different locations.
Next time, more on circular polarizing filters.
Phil Zivnuska
Shot Put: Beauty and the Beast
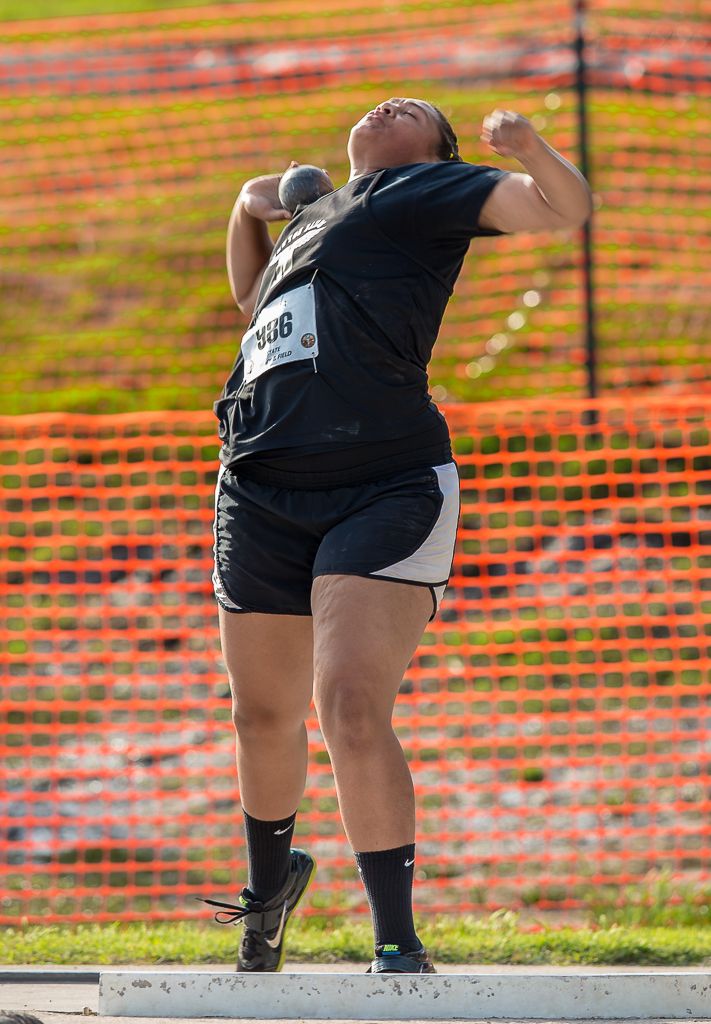
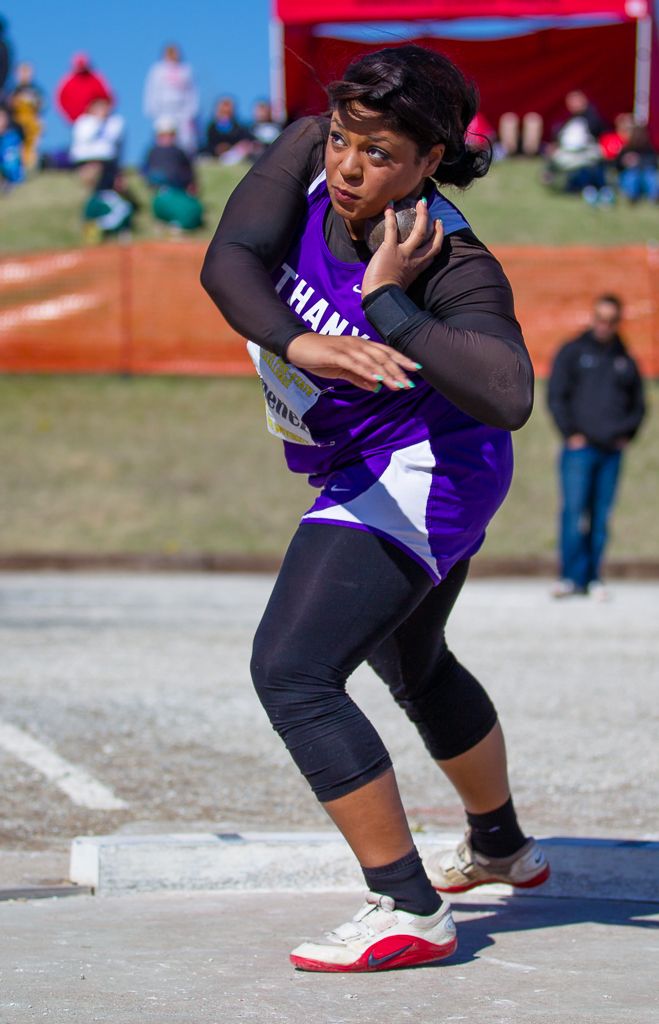
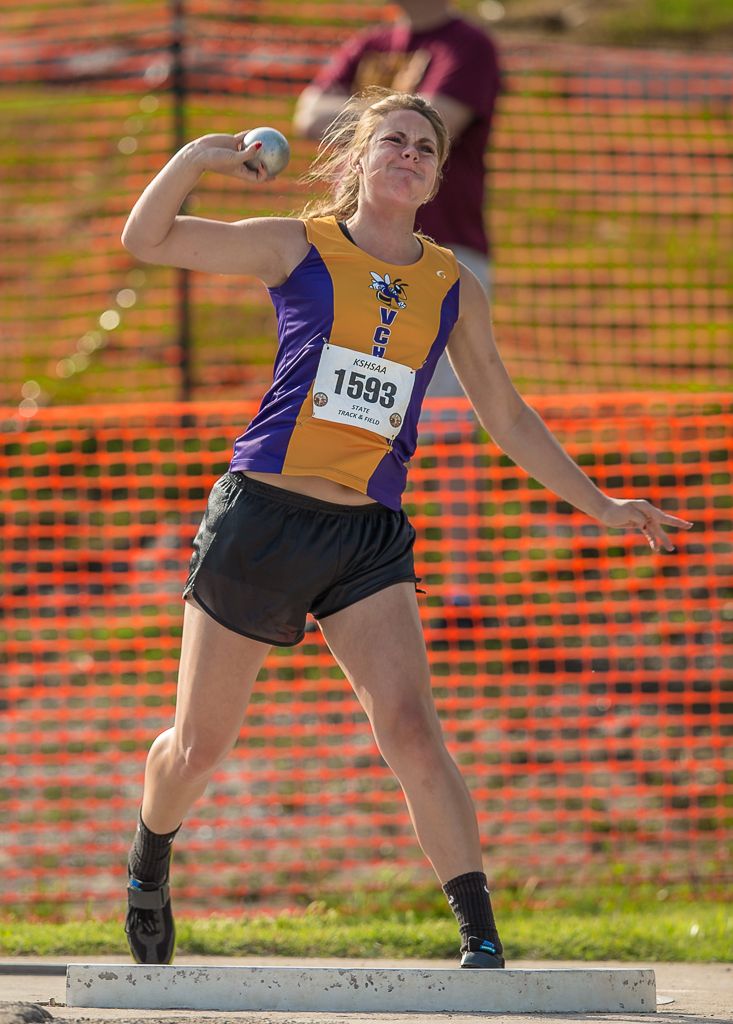
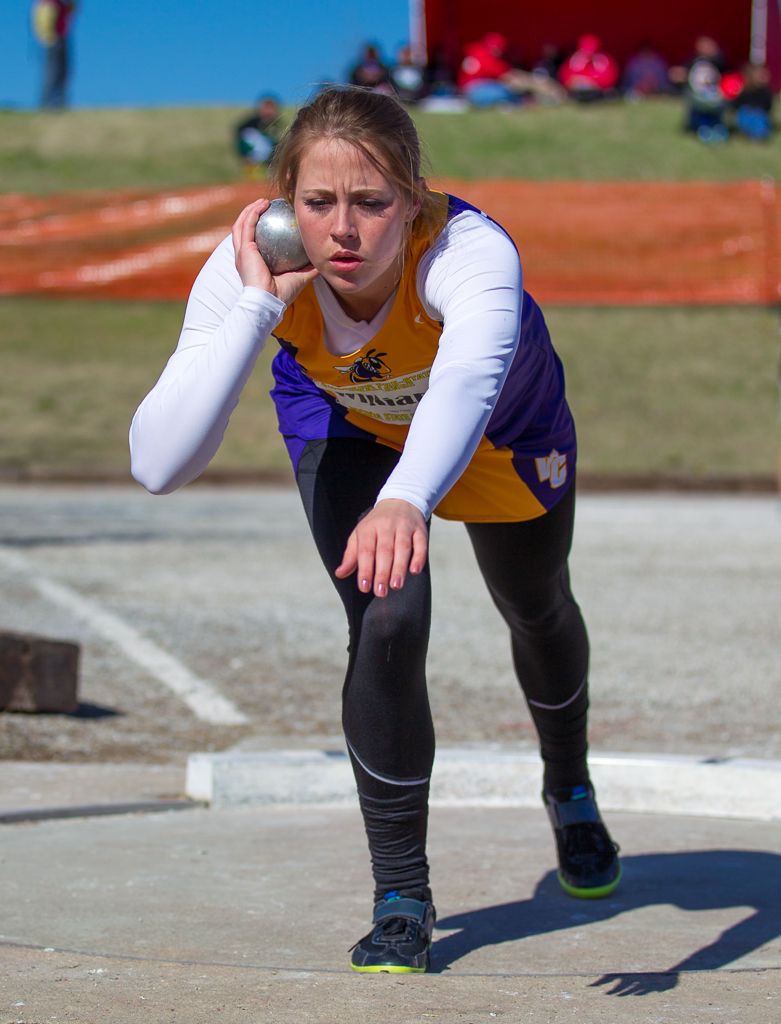
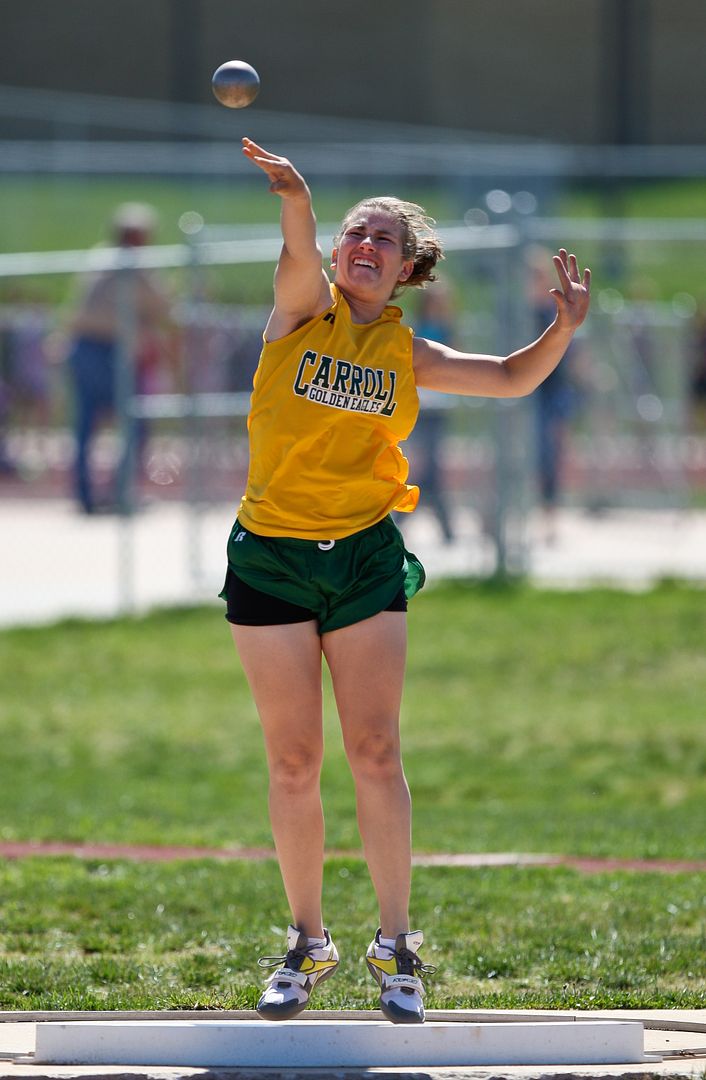
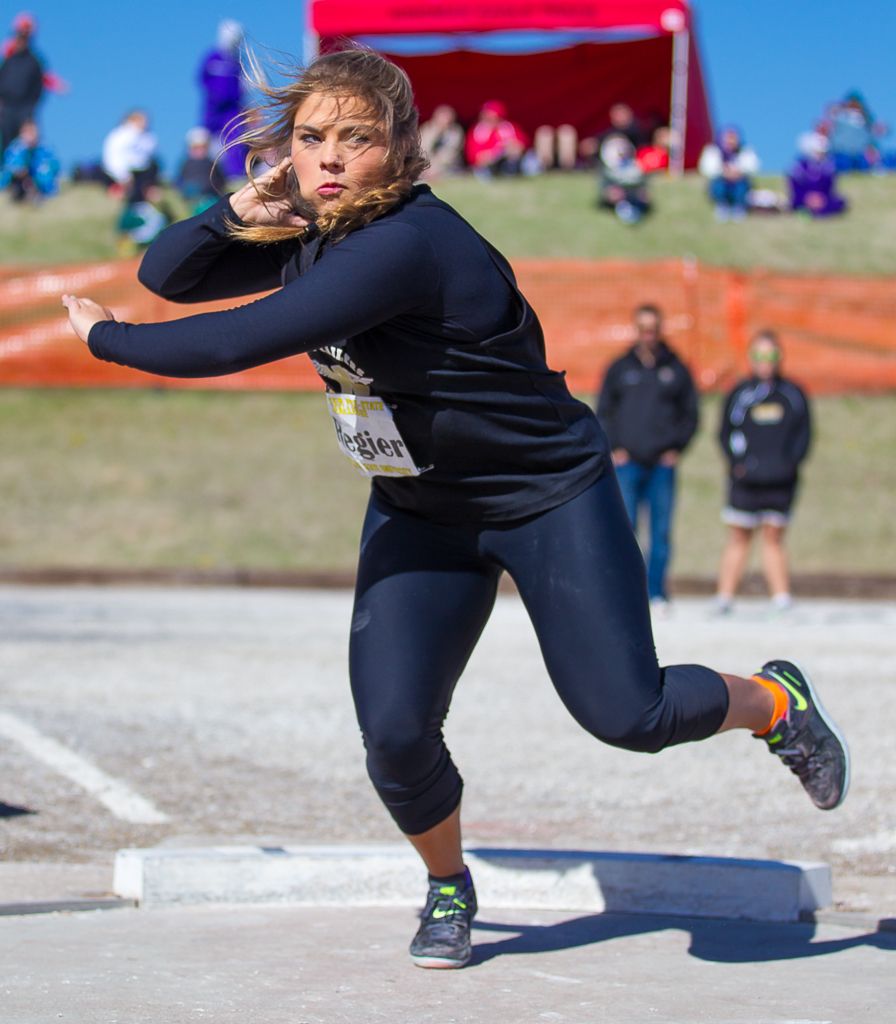
The Shot Put is an event for powerful men and ladies. If you shoot high school sports, it can be a challenge to photograph this event in a way that is complimentary to the appearance of both ladies and the men. For men, there is usually less of a problem if the athlete's face is contorted. High school girls may be more sensitive about how they appear in photos. Depending on how the image is to be used, both men and women might like to have a photo of themselves competing that shows intensity yet is pleasing from a photogenic aspect.
Here's an approach that can be used for both sexes and also might be helpful if access is limited, the background is distracting, or the sun angle is troublesome. Consider shooting from behind the athlete instead of the conventional position in front.
Consider the problems with this:
Compared to this:
Or this:
Compared to this:
Or this:
Compared to this:
This is not to say that shooting behind the athlete will always be a better vantage point. The same issues of light and background can conspire to work in the opposite direction. Additionally, the action of the launch of the shot put can be compelling and gender stereotypes of what looks appealing may just be flat wrong. What I am suggesting is that when you go to photograph the shot put, consider the light, background, access, desires of the athlete, and how the image is to be used when you choose where you, the photographer, should position yourself.
Phil Zivnuska
