Welcome to the Phil Zivnuska photo blog, Practical Sports Photography. I'll be posting photography tips, relevant images, and hosting discussions on topics related to photography. This is the place for requests, comments, and questions about all things photographic. The emphasis will be on sports but all photography is fair game.
Phil Zivnuska
.
Baseball--Through the Fence
So you got a new dslr for Christmas and now you want to take some photographs of your son or daughter playing baseball, softball or t-ball. You'd like to shoot the batter or pitcher but there is a fence obstructing your view. Don't worry, the solution is easy. Shoot right through it. It doesn't matter if the fence is a net made of string or a chain-link type. Both can be dealt with quite easily. When the lens is focused at a distance, near objects partially obscuring your view will seem invisible to your camera.
The first thing to do is to get your lens as close as possible to the fence or net. I don't place the lens touching the fence, just close. It can be so close that your left hand touches the fence at the end of your lens cap. If you are behind the plate, be sure you and your lens won't be hit by a deflected pitch. Have your lens location such that the spaces between the links are maximized for the clearest view.
Second, use a fast lens. You want the largest diameter lens you can use. That will maximize the view and minimize the effect of your obstruction.
Third, try to shoot perpendicular to the fence. Anything more than a very slight angle and the metal or net will have a greater and greater effect in degrading the image quality.
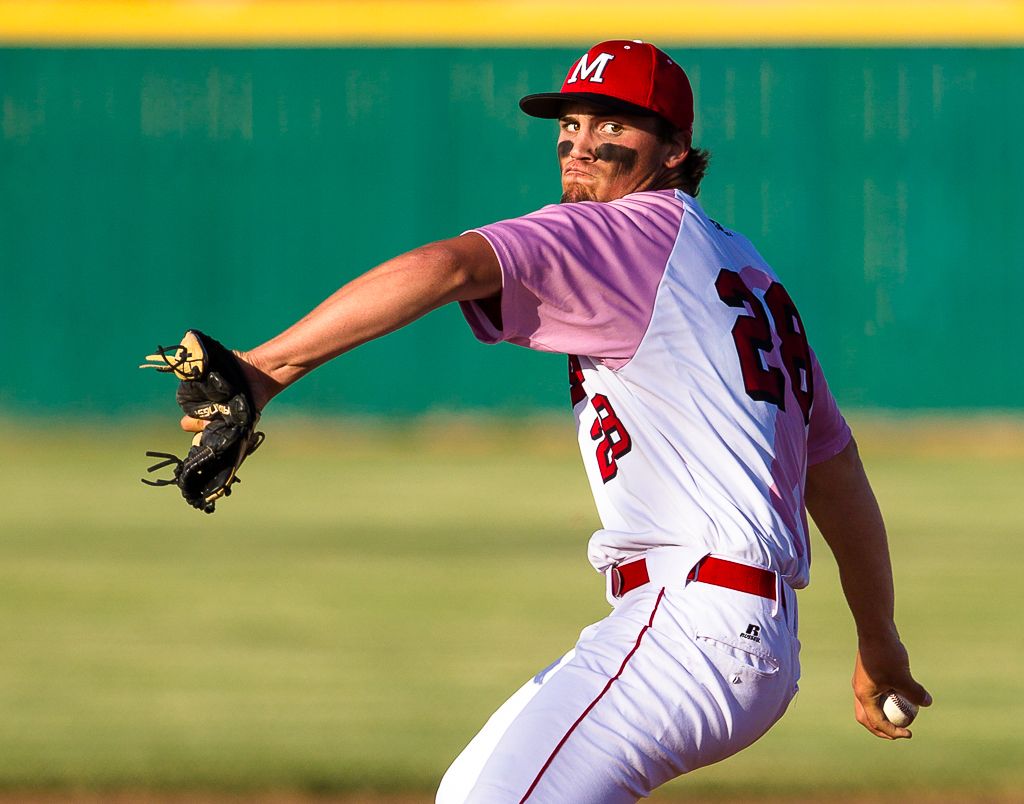
Here is an image taken with the 400mm f/2.8L IS and a 1D Mark IV through a chain link fence. This large diameter lens is more than a match for a chain-link fence. You can see the detail and sharpness.
This was taken using the 300mm f/2.8 IS and again the 1D Mark IV.
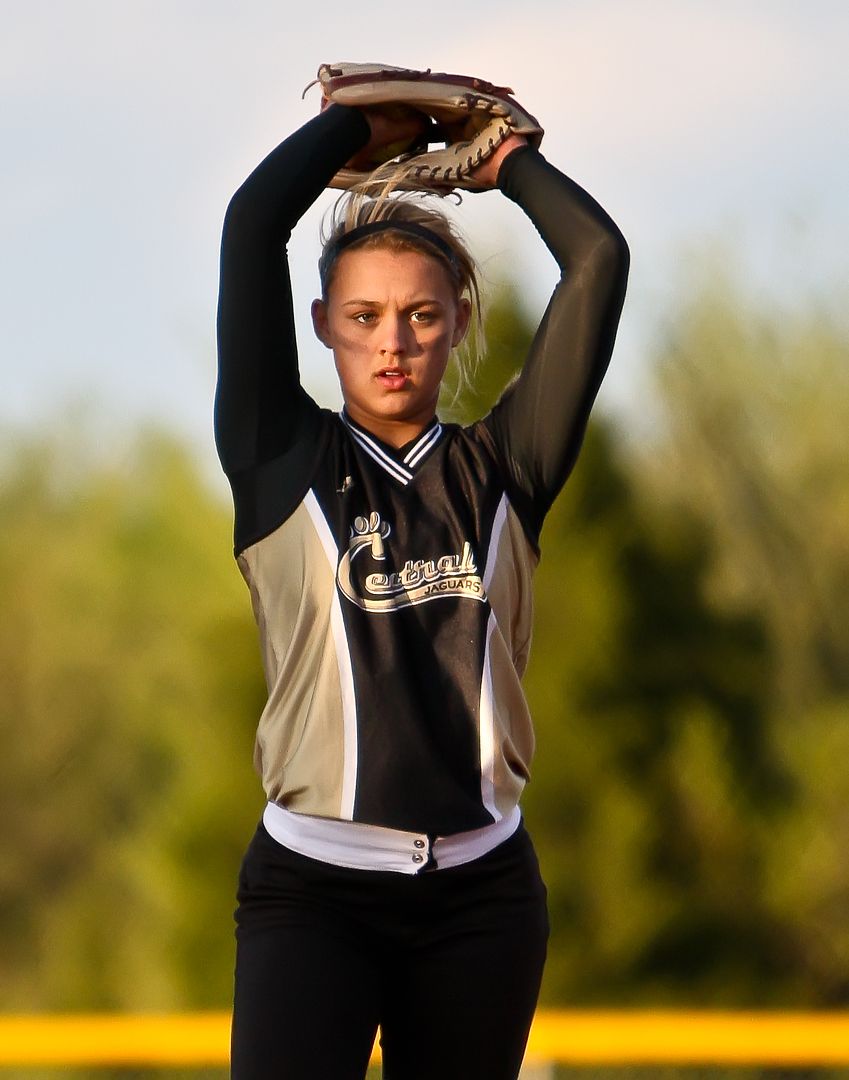
While the larger diameter super-telephoto lenses are best, fine images can be obtained using something far less expensive. Here a 70-200mm f/2.8L IS is used through chain-link moments before sundown. The body is a 1D Mark III in this photo from 2010.
Pixel peepers will be able to tell that there is a slight loss of detail in images shot through a fence but that will only be apparent at very large print sizes and even then, the differences will be subtle. Remember, use fast, long lenses, get close to the fence and shoot directly through the spaces. One last tip: These images are exceptional in part because of the light. Late afternoon golden hour light is low in the sky. When the diamond is laid out in the conventional orientation, that light will come from the west and illuminate the face and especially the eyes of the right handed pitcher without a shadow from the cap.
Phil Zivnuska
How to Photograph the Long Jump
How to Photograph the Long Jump
By Phil Zivnuska
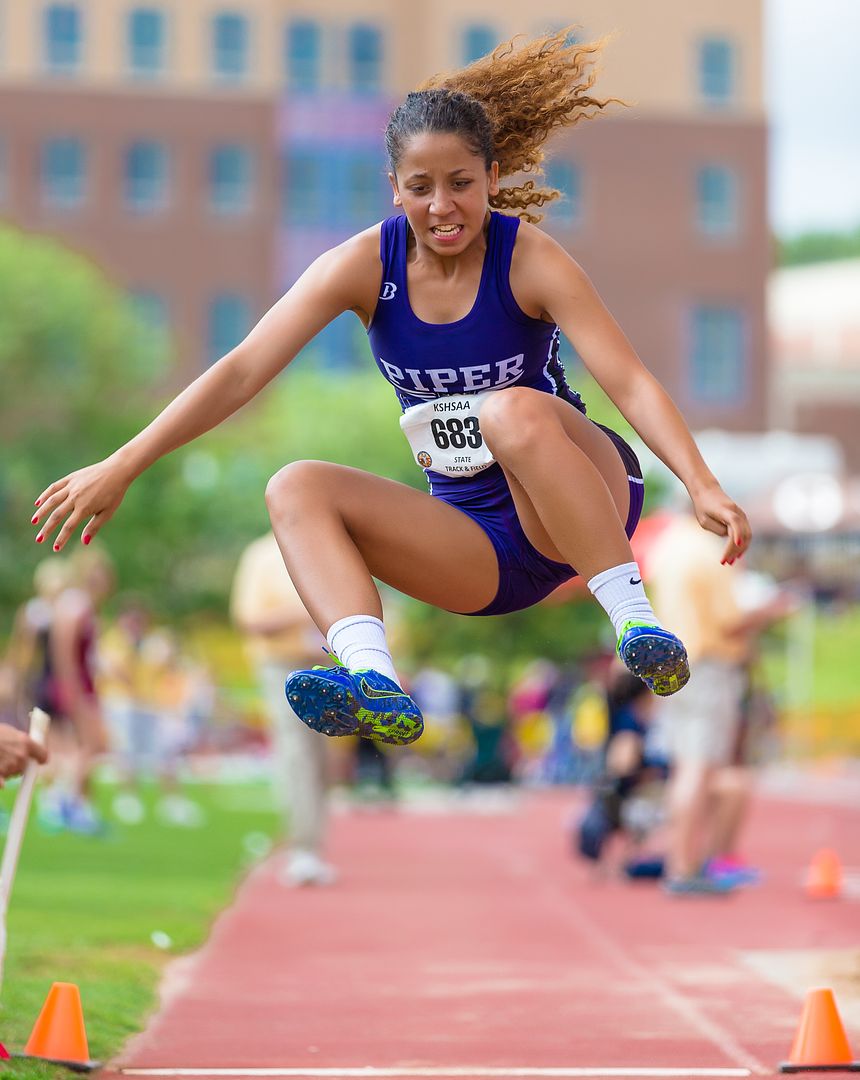
The Long Jump and its cousin the Triple Jump are relatively straight forward to photograph but there are several simple techniques to improve your ordinary images and make them noteworthy.
The biggest photographic problems are poor backgrounds. The typical high school track meet will have numerous obstructions in the background and other competitors will be standing, sitting, loitering, or otherwise just be hanging out in the area you would prefer to be clean for your image. Nothing says "Who Cares" like a disinterested high school student appearing in the background of your capture. Additionally, the athletes who aren't competing at that moment will be wearing an assortment of coats, hoodies, shirts etc. and they will often look a bit tattered.
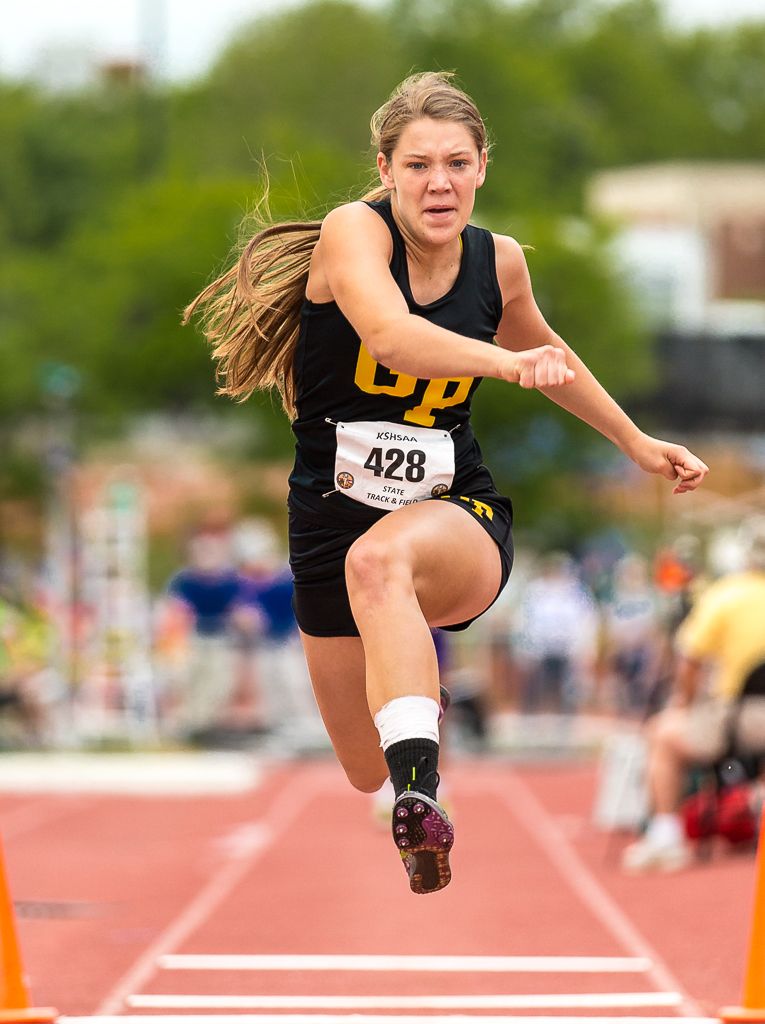
Fortunately, there are strategies to employ. First, the runway has to be clear for the long jumper to run on his approach. If you are lined up directly in line with the runway, that will allow you to have at least the area directly behind the jumper clear.
Next, be sure you are shooting at a large aperture, perhaps f/2.8 or at least something close to that. That will assure as much background blur as possible.
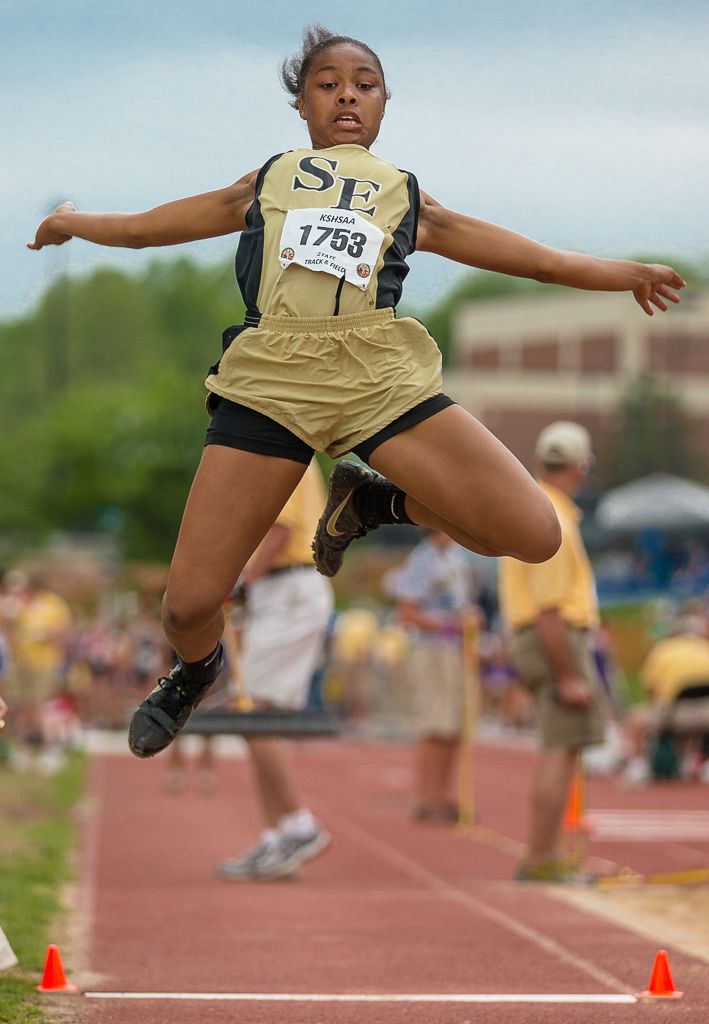
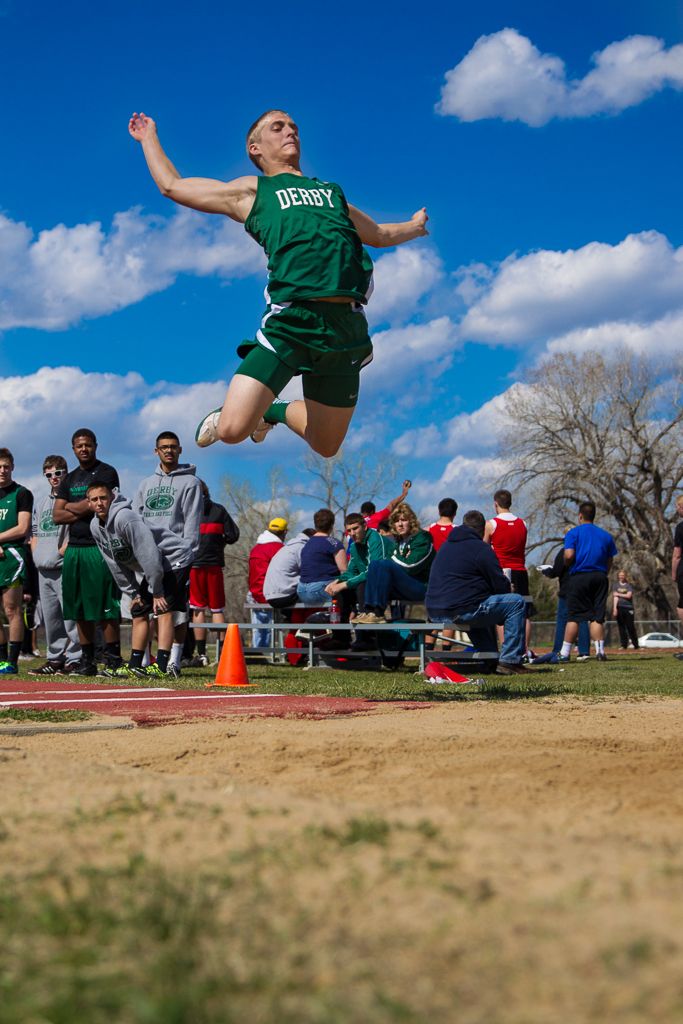
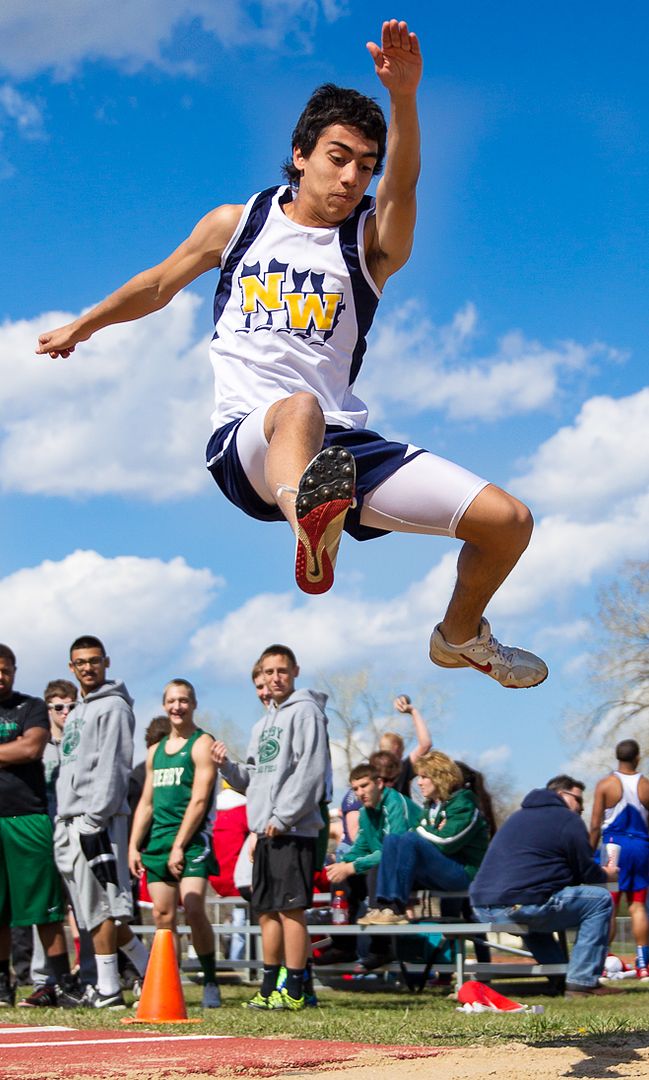
Third, get low. A low angle allows you to view the jumper against the sky. For this shot, I was literally laying in the dirt with my elbows on the ground. My position was right next to the officials with the rakes.
This extreme position was required to isolate the jumper against the sky instead of the cluttered group of onlookers.
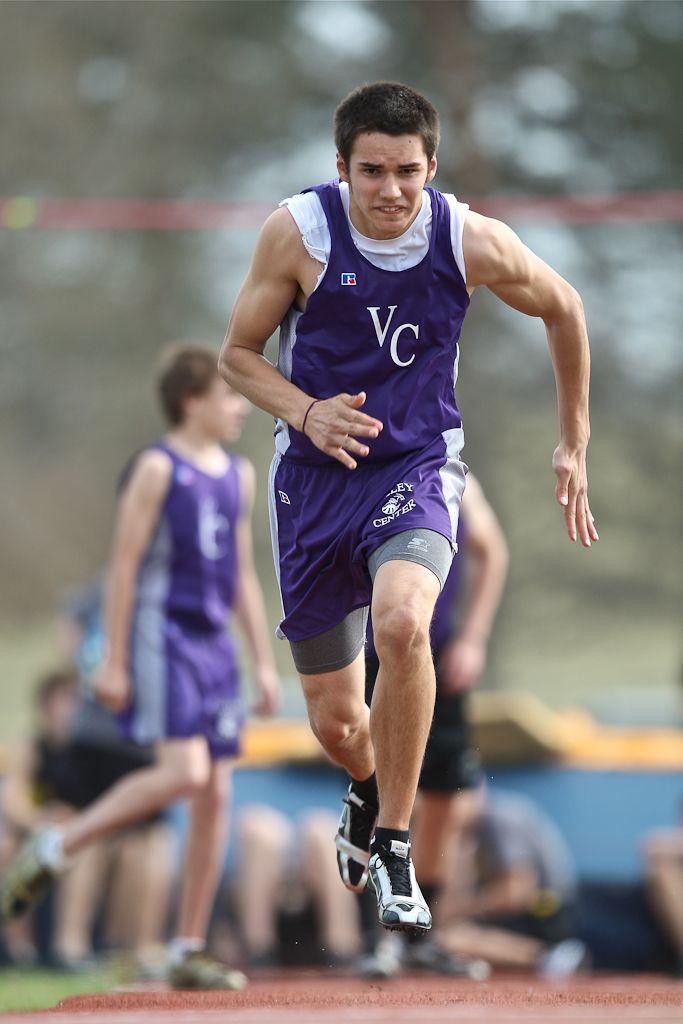
When you are about to shoot a jumper, keep an eye on them all the way through from beginning to end. There can be a lot of intensity as the athlete runs to the takeoff point.
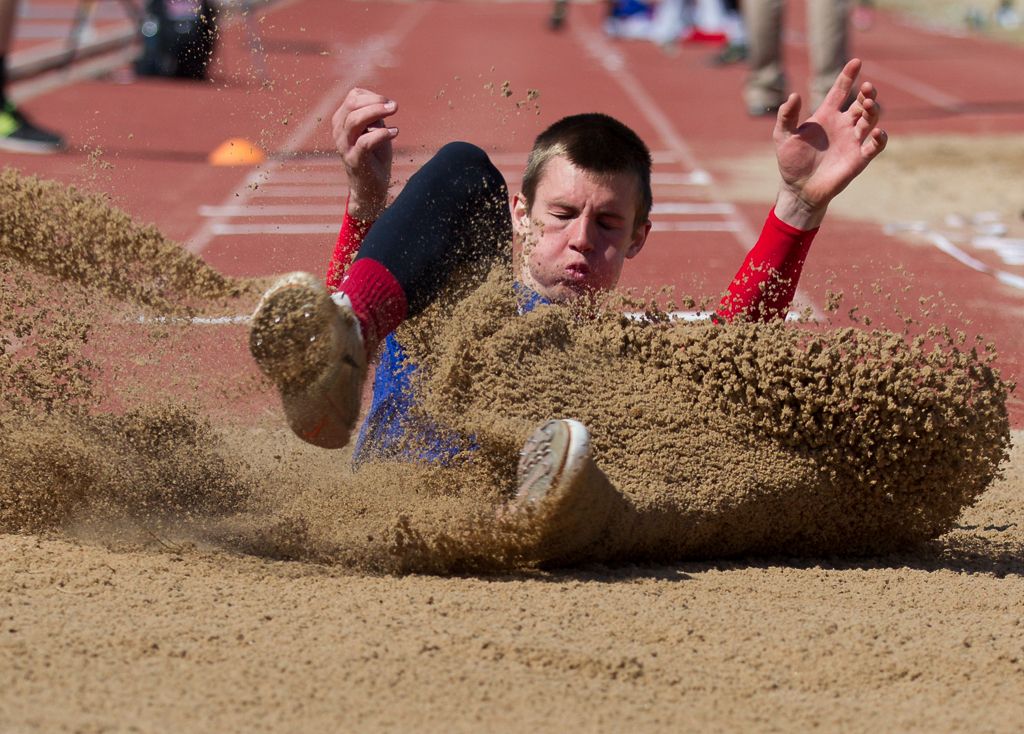
The landing is always a popular shot due to the spray of sand.
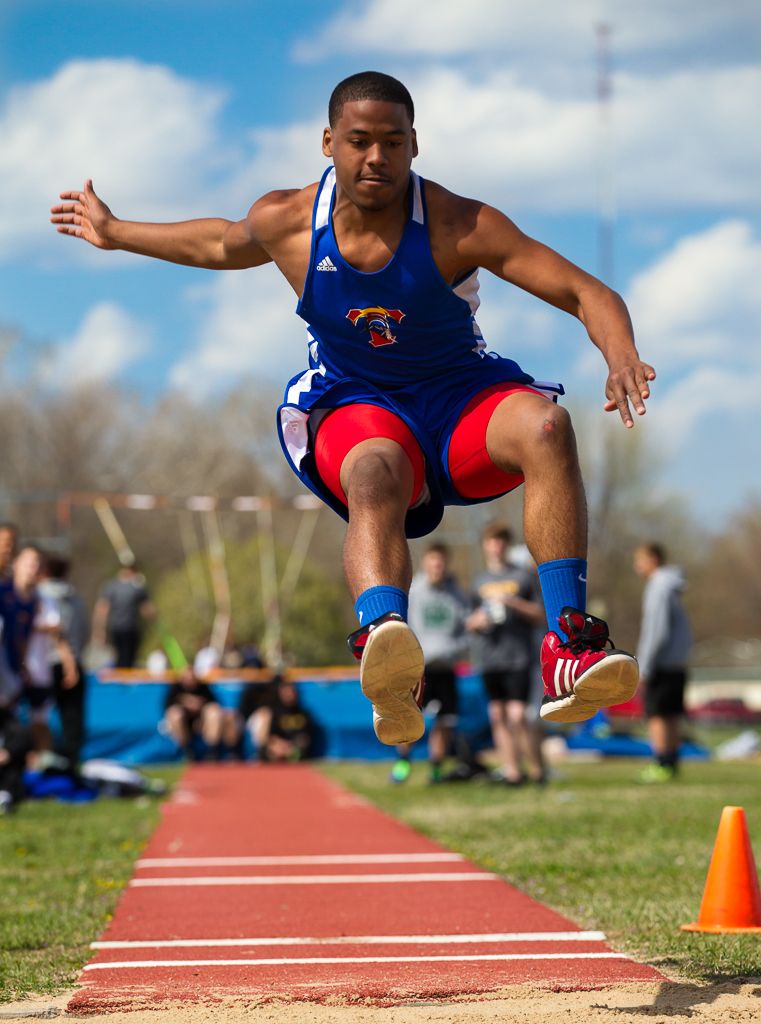
I wrote earlier about aligning yourself with the runway. At most high schools, the football field runs north and south. The long jump and triple jump areas also often run north and south on the edge of the field. In the typical 'after school' track meet, this means that the shadows from the setting sun will divide the face of the jumper into sun and shadow. In strong sun, that can make for a compromised image (see immediately above and below).
Moving to the side of the pit will help with the sun angle but as seen earlier, be sure to get extremely low to view the jumper against the sky instead of obstacles. One last tip: If you are going to shoot against the sky as your backdrop, consider using a circular polarizing filter. The sky will be bluer, the clouds look whiter, and the colors will pop.
A polarizing filter was used for the last two images as well as the Derby jumper (in green) further above.
Sometimes, the long jump is pictured directly from the side. This emphasizes the height reached by the competitor. In this case, the background is even more critical to the success of the shot. Consider shooting this with the sun at your back or even shooting into the sun and having the athlete silhouetted against the sky for an artistic view of the event.
Phil Zivnuska
From 2009:
http://photography-on-the.net/forum/showthread.php?t=735799
Depth of Field--A Different View
Depth of Field--A Different View
Many photographers have a very limited understanding of depth of field. That understanding is often limited to the notion that larger apertures (smaller aperture numbers) are associated with a small depth of field. That's useful to clean up distracting backgrounds but there's more the action photographer should know. The focal length of the lens has a huge role in determining the depth of field and that fact is both useful and often unappreciated.
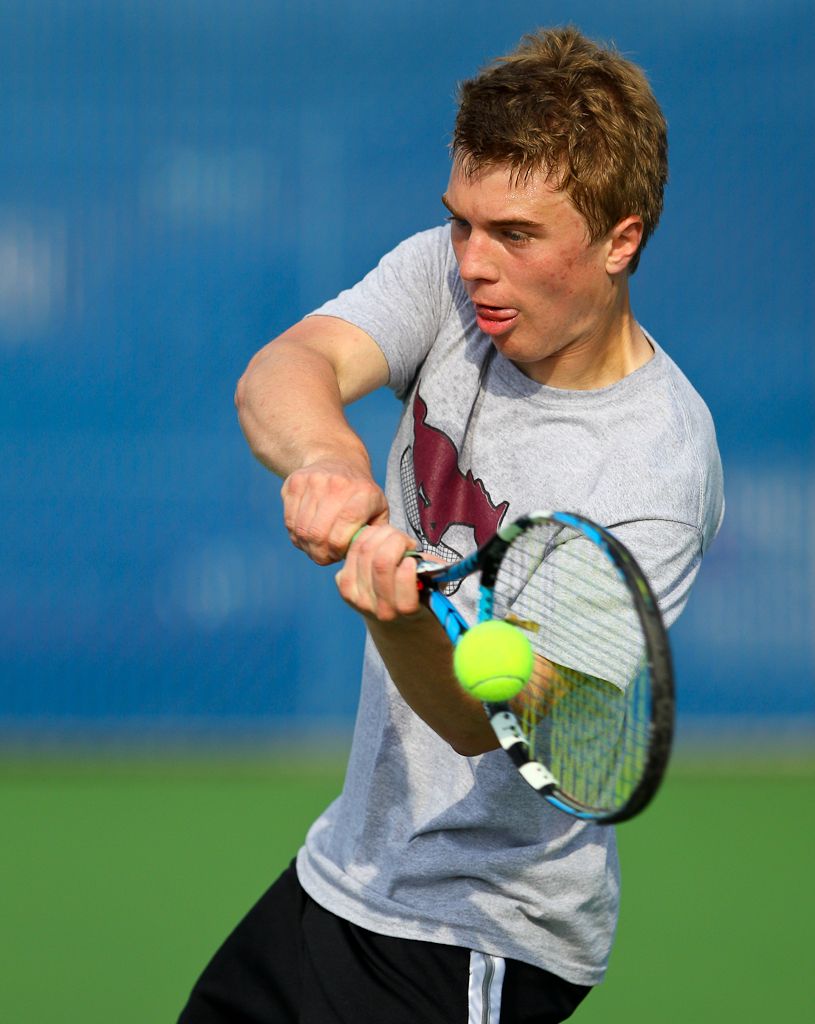
First, let's consider the typical situation, long focal length (300mm) and large (f/2.8) aperture. Here the combination produces a creamy background that makes the player pop off the page.
But what if you want the other effect? A large depth of field.
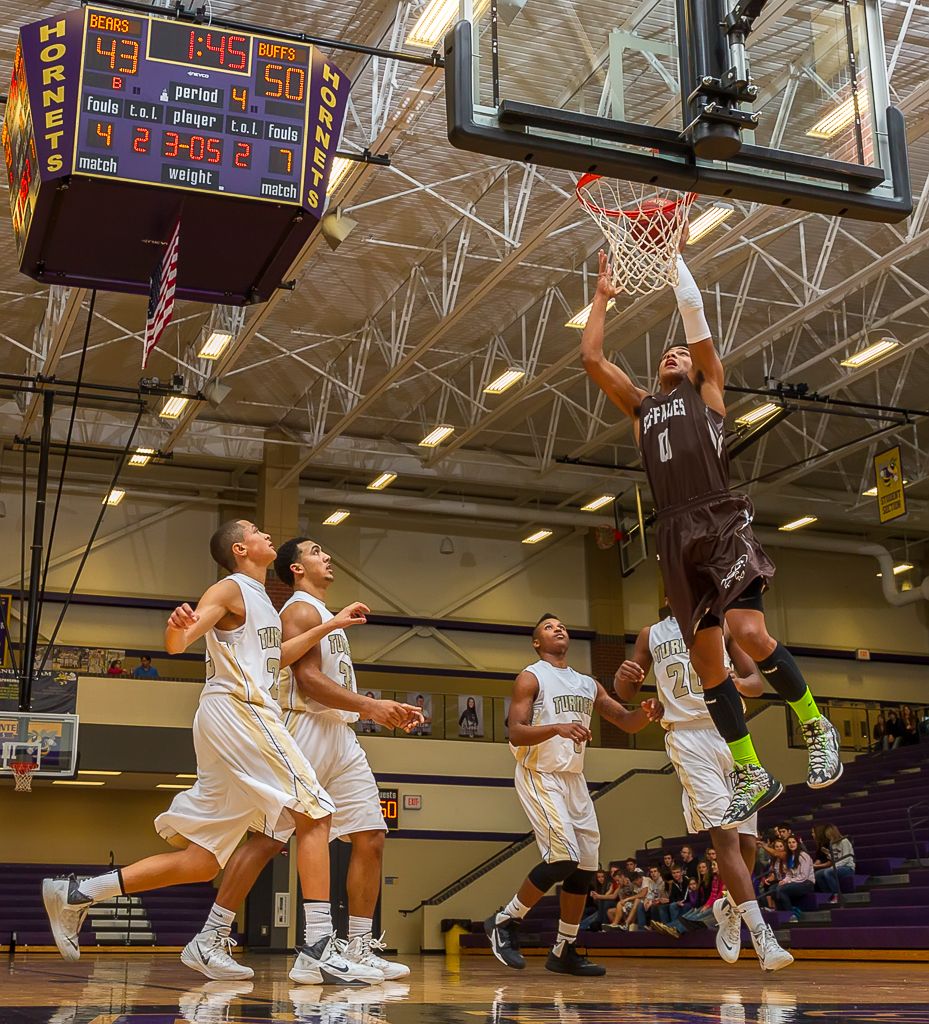
This is exactly the situation I was in two weeks ago. My goal was to capture basketball players on the court and include the overhead scoreboard. Both needed to be in focus. My mentor Mike 'Chico' LaBarbera was visiting from Eau Claire, Wisconsin and he was using my 1D X and the 70-200mm f/2.8 IS II. That left me using the 1D IV with a 24-70mm f/2.8 II. My buddy Mark Weaver had strobe lights set up but wasn't using them for this tournament game. This gave me control over the two key factors--Aperture and Focal Length. The first thing I did was to zoom to the wide (short focal length) end of the lens, 24mm. Then because I was using the stobes, a small aperture was chosen, f/8.0, with only a modest increase in ISO to 640. I pre-focused on the backboard, about 12 feet away.
Small apertures and short focal lengths = large Depth Of Field. So, how large is that DOF?
There is a handy DOF calculator on the internet.
www.dofmaster.com/dofjs.html
Plugging in the values of 1D Mark IV, 24mm, f/8.0, and 12 feet yielded the DOF.
Everything from five and a half feet to infinity was going to be in focus!
Because the DOF was going to be quite large, I modified my technique to take advantage. I always use back button focus so once I pre-focused on the back board, I just avoided the back button and my focus would remain fixed at about 12 feet. There was no need to worry about focusing because everything was going to be in focus. The camera was set on the ground for visual effect and because the focal length was so wide, aiming merely consisted of pointing the camera toward the area of action with a slight upward tilt. No looking through the viewfinder. No focus tracking. Just rough aiming 'from the hip'. Not even from the hip since the camera was literally on the ground.
Here is the result.
The Garden City Buffaloes beat the defense downcourt and seal the win.
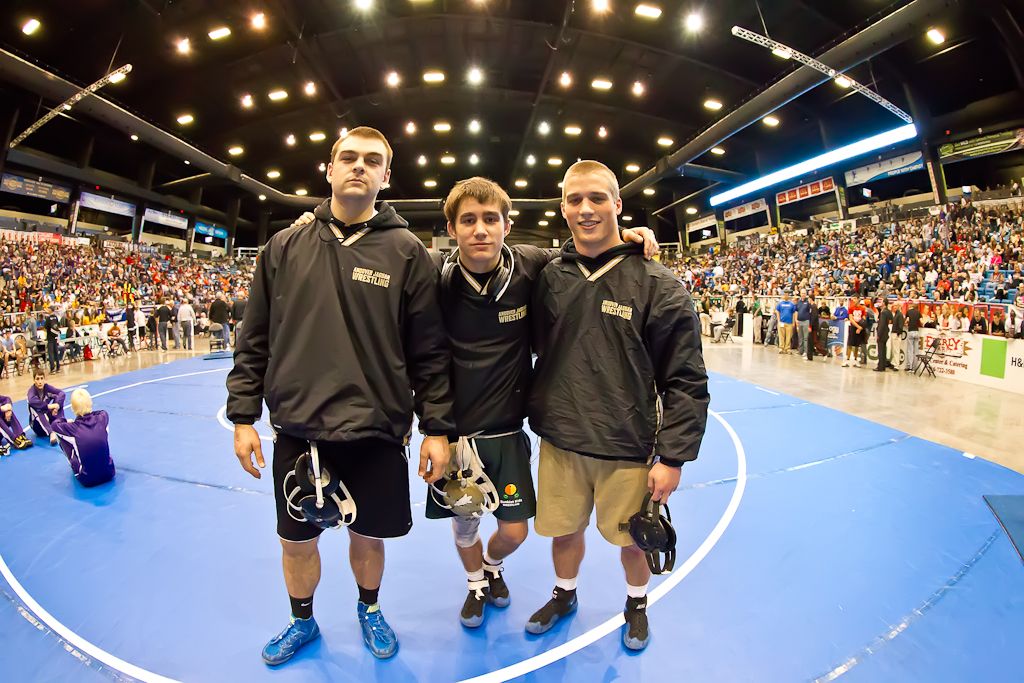
How far can you take these principles? Well, if you want to show three wrestlers and the arena where the state championships are held, you can shoot at 12mm (fisheye) and f/5.0 from 5 feet to get a DOF that extends from 27 inches to infinity. The arena, the crowd and these three top wrestlers are all part of the story.
Let's take a closer look at the role of the lens focal length in depth of field. Consider the case where a photographer is using a Canon 7D to photograph sports and that he is at f/8.0 at a distance of 12 feet. I've been alluding to the fact that focal length is important in calculating DOF. Let's check the DOF at 24mm and at 200mm under those conditions.
24mm focal length DOF = 286 Feet From 6 ft to 292 ft.
200mm focal length DOF = 4 Inches! Just 12 feet +/- 2 inches
Consider focal length before aperture as you plan your depth of field.
Put the depth of field calculator and the principles of DOF to work in your images for your purposes. The focal length of the lens is a key aspect of that calculation.
Phil Zivnuska
PS Don't forget that you can often pre-focus and shoot "From the Hip" when necessary at those wide focal lengths! Think of how you might use this DOF information with a wide angle remote during the upcoming track season to obtain a memorable shot that average shooters won't think to get.
Some Fun Stuff
Some Fun Stuff using Dave Black and Daves Digs
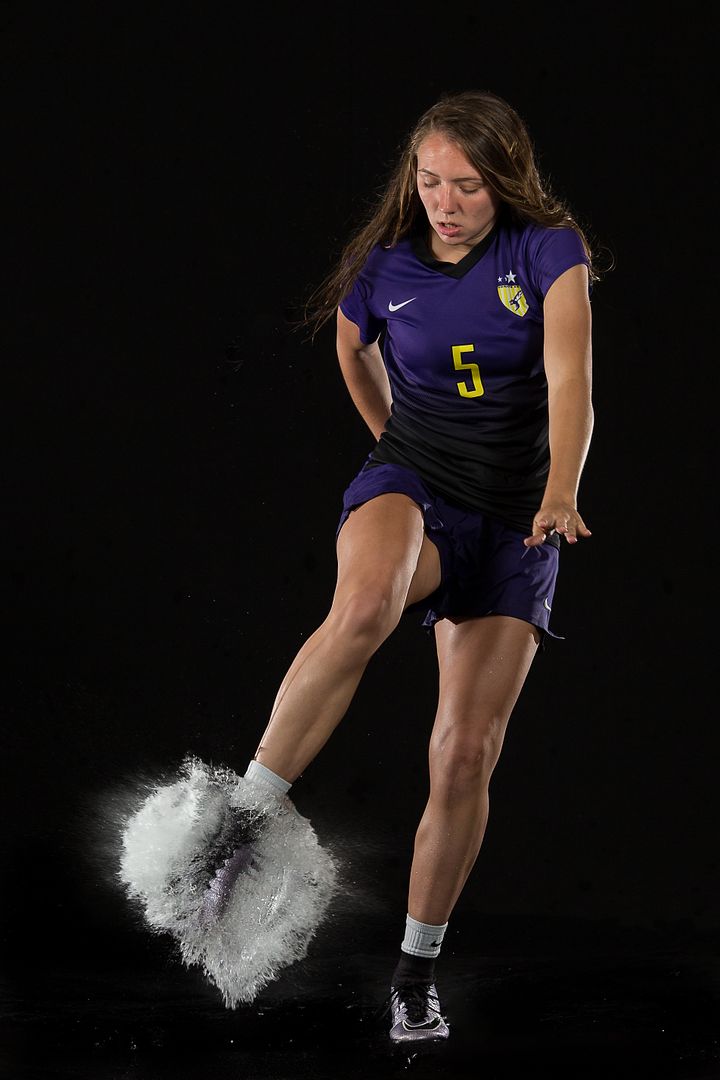
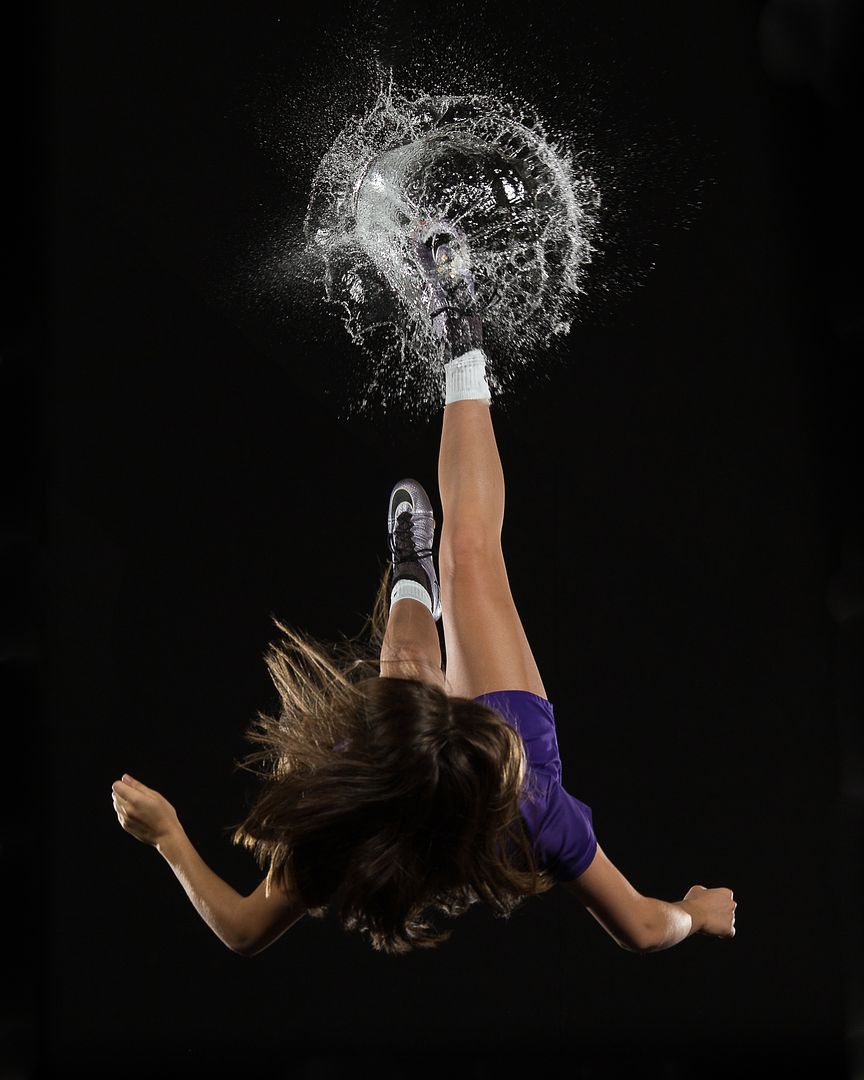
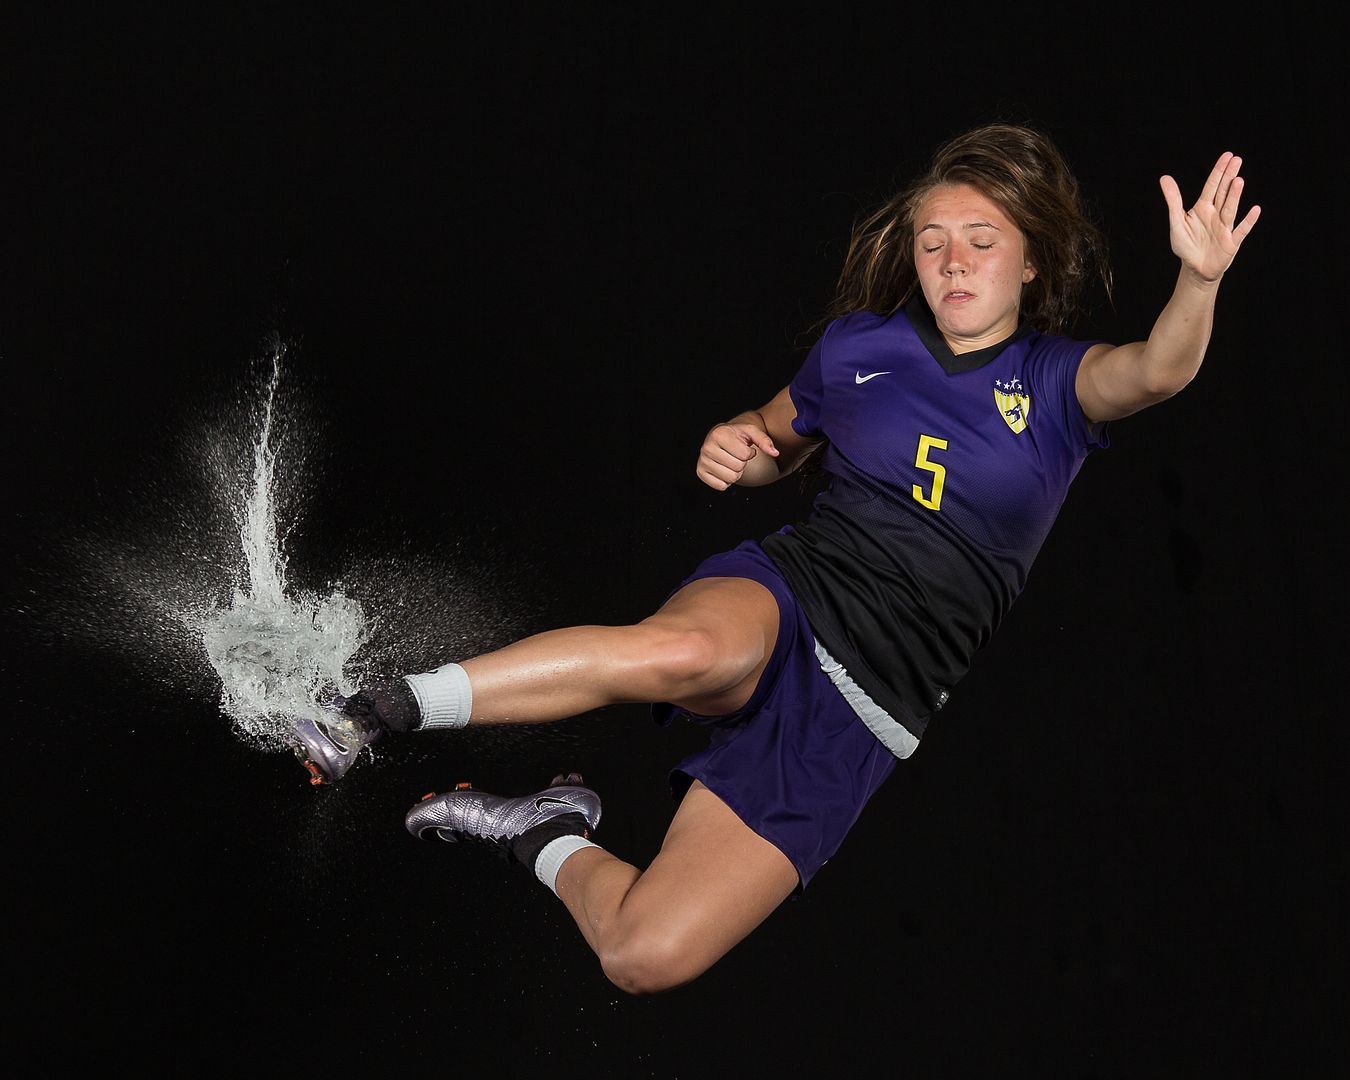
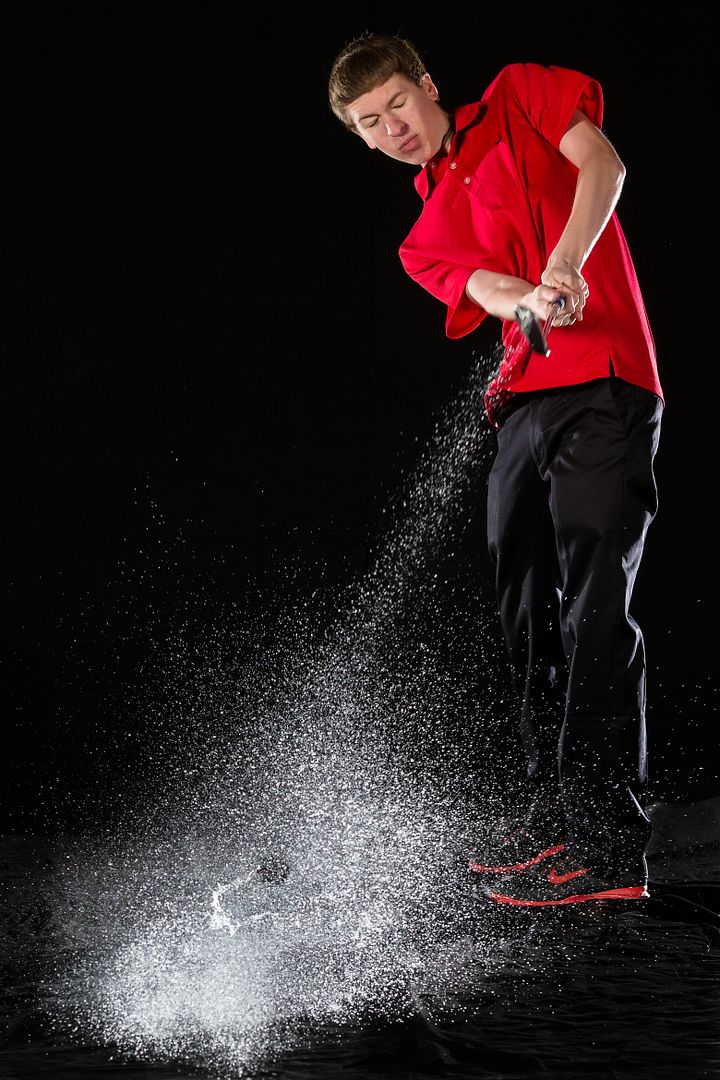
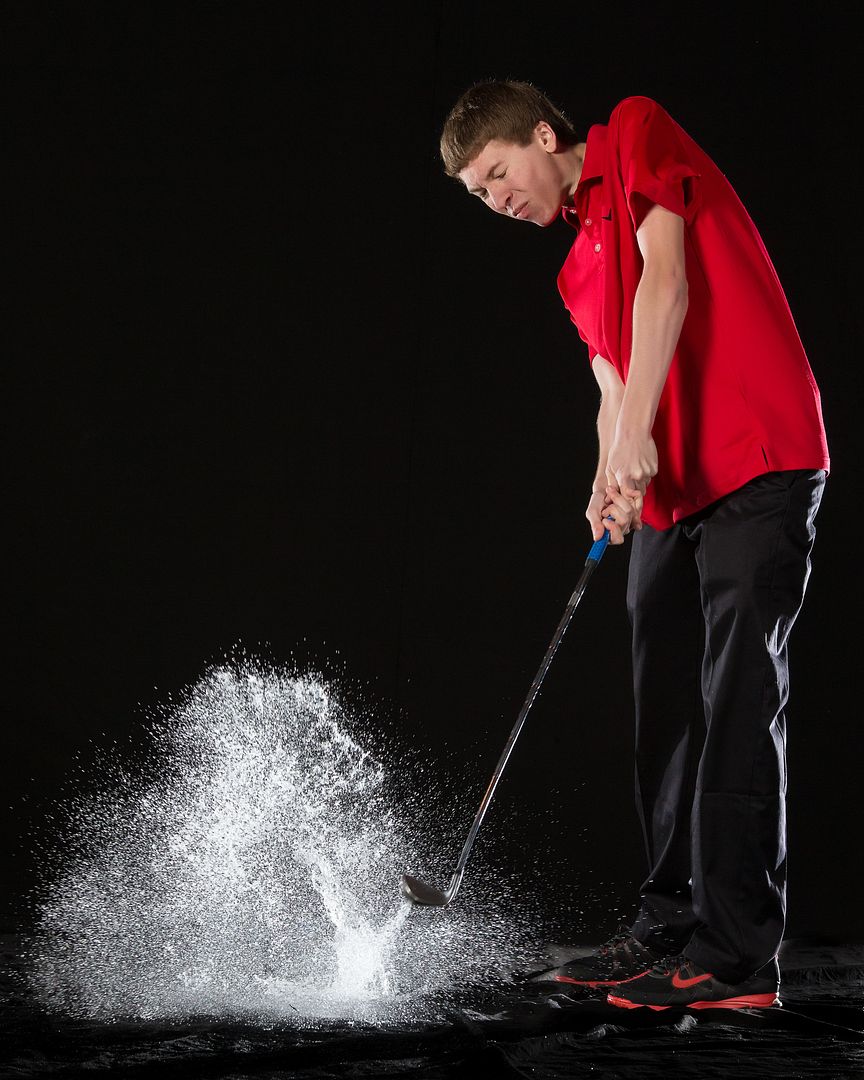
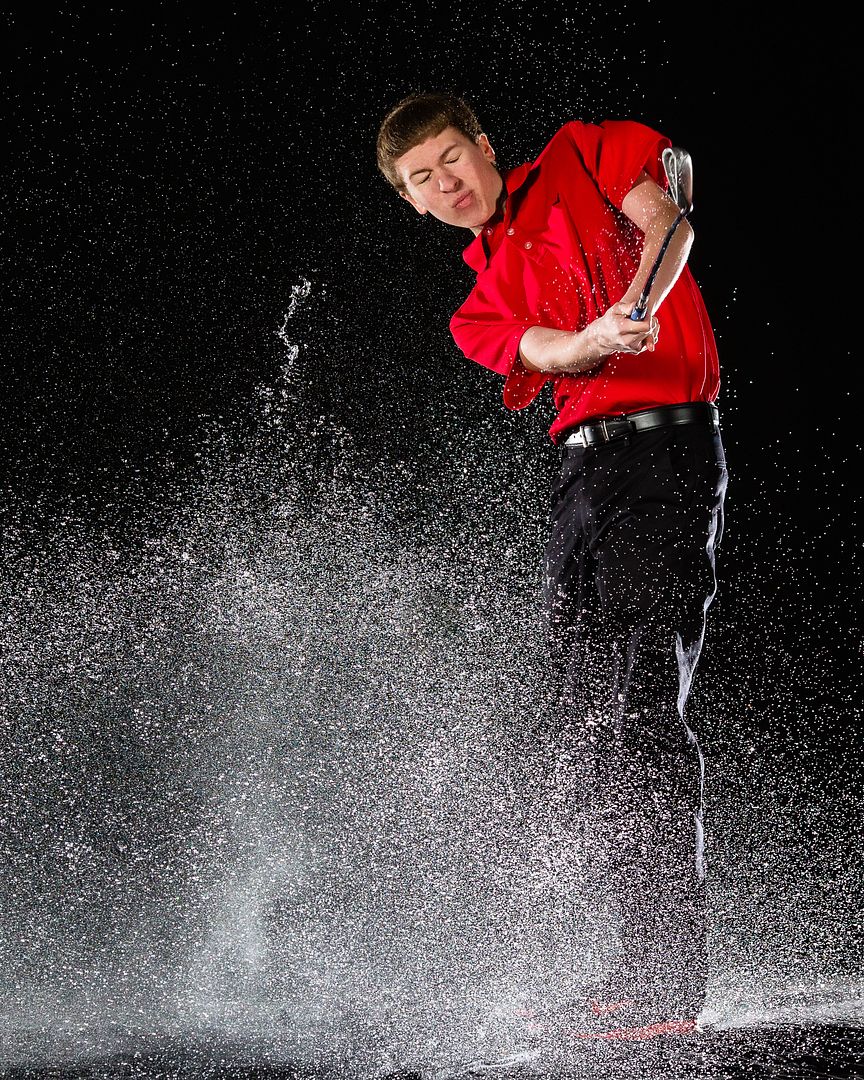
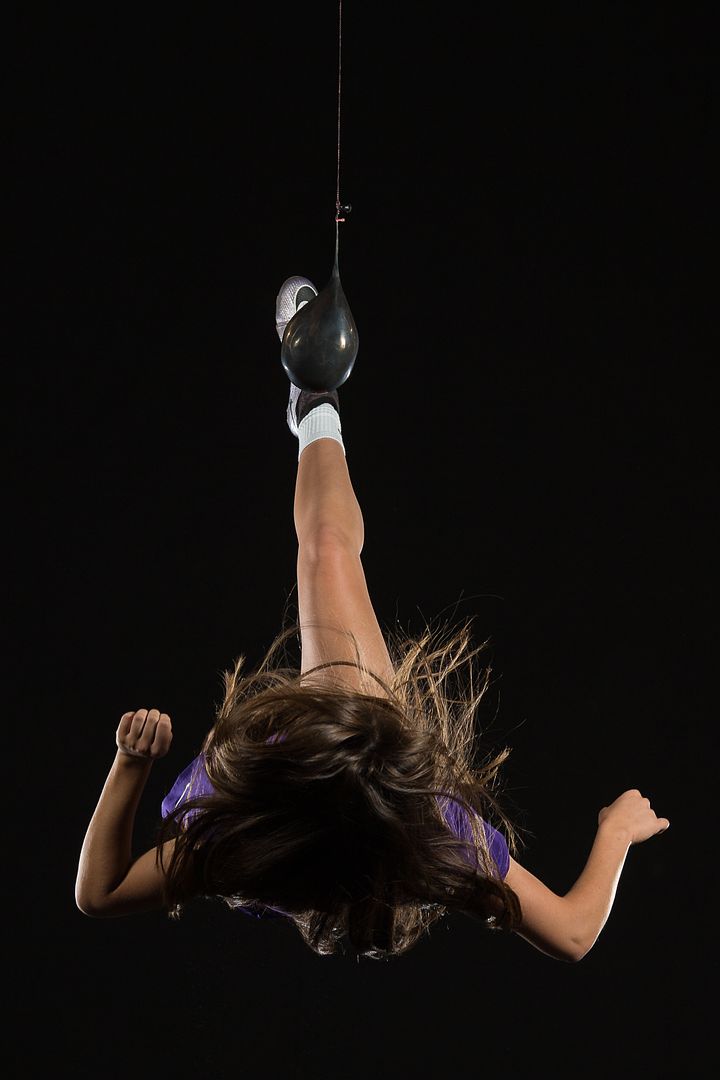
Today I'm going to show you some images using the FourSquare technique of Dave Black and the stop action water technique of Daves Digs. To do this, my friend Mark and I pooled our Canon 600 EX RT flashes along with our FourSquare light boxes. We added a black backdrop and some water balloons and voila!
This technique can be used for other sports as well.
As you can tell, one problem is getting the athlete to keep their eyes open during the shot. Once they get the splash off the first attempt, the urge to flinch is quite strong. Obviously, timing is a huge factor. If you as the photographer are too early, you will get a shot of the water balloon.
Give it a try for baseball! Have fun! FWIW, My settings for most of my soccer pics were 1/2000 seconds, f/5.0, and ISO 400 using my 135mm f/2.0 canon lens and a 1D X. Mark and I had two FourSquare boxes, one camera right and the other camera left, with one flash behind the athlete from each side as sort of a rim light.
Here are some links:
Dave Black:
https://www.youtube.com/watch?v=_ZANzwKXwZs
https://www.youtube.com/watch?v=uclkmd5Zt98
Daves Digs:
https://www.youtube.com/watch?v=qz4Y09v9D9M
Phil Zivnuska
Polarizing Filters
Circular Polarizing Filters (CPL)
Sports photographers, especially new ones, often concentrate so much on capturing action that they neglect factors that affect image quality. One way to improve the vibrance and saturation of colors while reducing haze is to use a circular polarizing filter when conditions warrant. Landscape photographers often use them in their work but they are rarely seen at sporting events. I like them in sports photography whenever my images will include a lot of sky or if I am dealing with low sun angles where reflected light may be an issue. Those days when the skies are an ugly milky white can't always be avoided but a CPL will draw out whatever definition in the clouds is possible.
A circular polarizing filter is a photographic filter that screws on to the end of a lens (usually) and reduces or eliminates reflected sunlight. The size will depend on the size of the lens. Both 77mm and 82mm are popular sizes. Quality is variable and so are the prices. Read the reviews and get a good one. These filters rotate to maximize their effect and so it will be necessary to recalibrate when changing from portrait orientation to landscape. It is important to note that the effect is apparent as one looks through the viewfinder. Simply look in the viewfinder while rotating the filter and you will see the polarizing effect maximize, then minimize, then maximize again. WYSIWYG so when the scene has the best appearance to your eye, that will be the best for your capture. When reflections are gone, the colors will appear richer, skies bluer, clouds whiter, and haze will be reduced. It comes at the expense of 1 to 2 stops of light.
Light loss is less of an issue than you might expect. Remember that we are talking about reflected sunlight so by definition we won't be using it for indoor, night, or even overcast days. That means there will be ample light for fast shutter speeds at fairly low ISOs for good image quality. The polarizer has minimal effect when shooting into the sun or with the sun at your back and it's most useful when shooting at 90 degrees to the sun. It's also possible to have variable effects when shooting with extremely wide angled lenses because different areas of the image will be at different angles to the sun. Check and double check the viewfinder!
What types of sports images can use a circular polarizer?
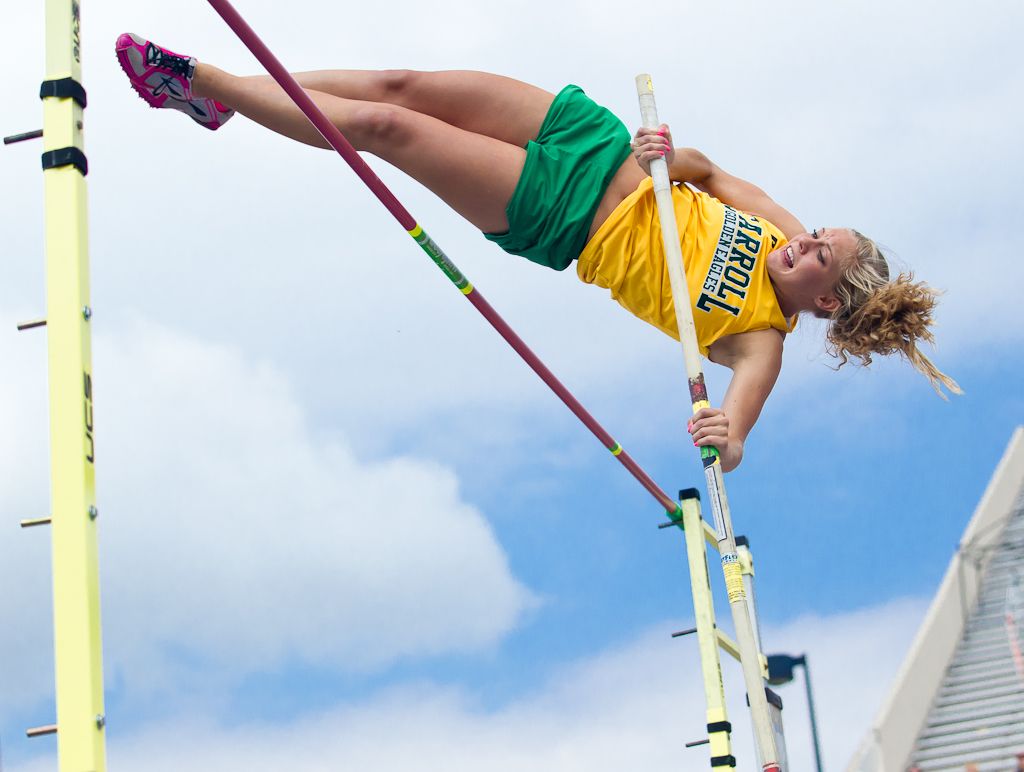
Pole vault. To the naked eye, the sky was almost all a murky white with no definition. With the polarizer, the sky became at least a little interesting.
Long jump
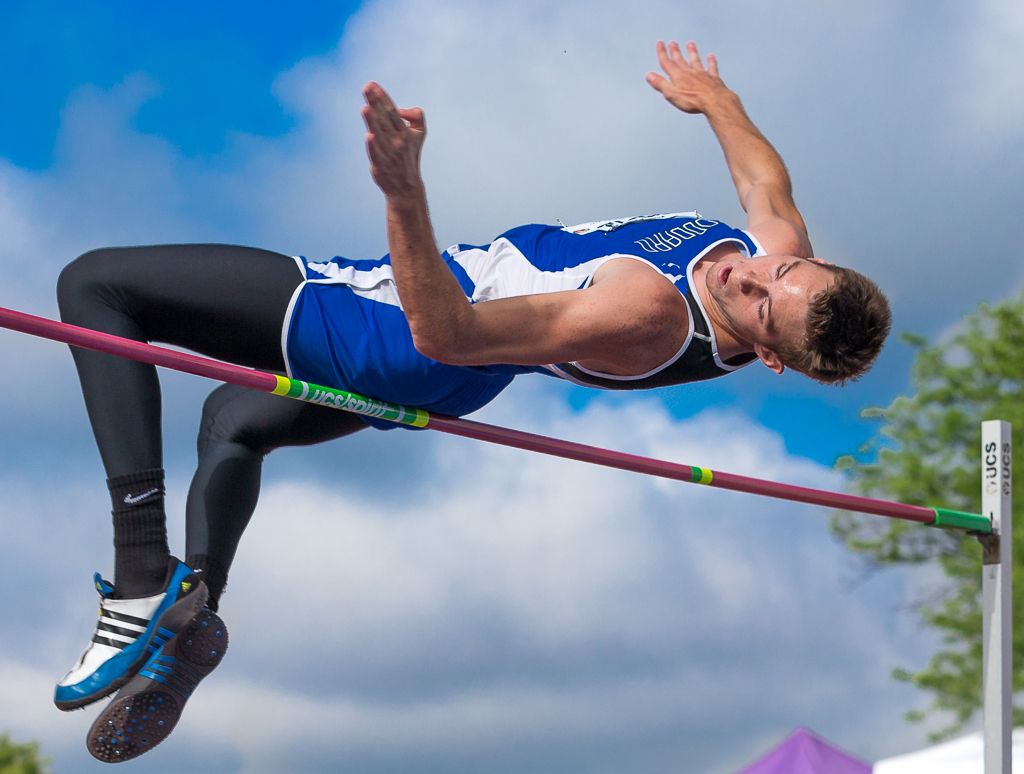
And the high jump
Try a circular polarizing filter for your landscape images and then use those polarizing properties to best advantage in sports. Nearly everyone loves images with bold colors that are free of glare or haze.
Phil Zivnuska
