Welcome to the Phil Zivnuska photo blog, Practical Sports Photography. I'll be posting photography tips, relevant images, and hosting discussions on topics related to photography. This is the place for requests, comments, and questions about all things photographic. The emphasis will be on sports but all photography is fair game.
Phil Zivnuska
.
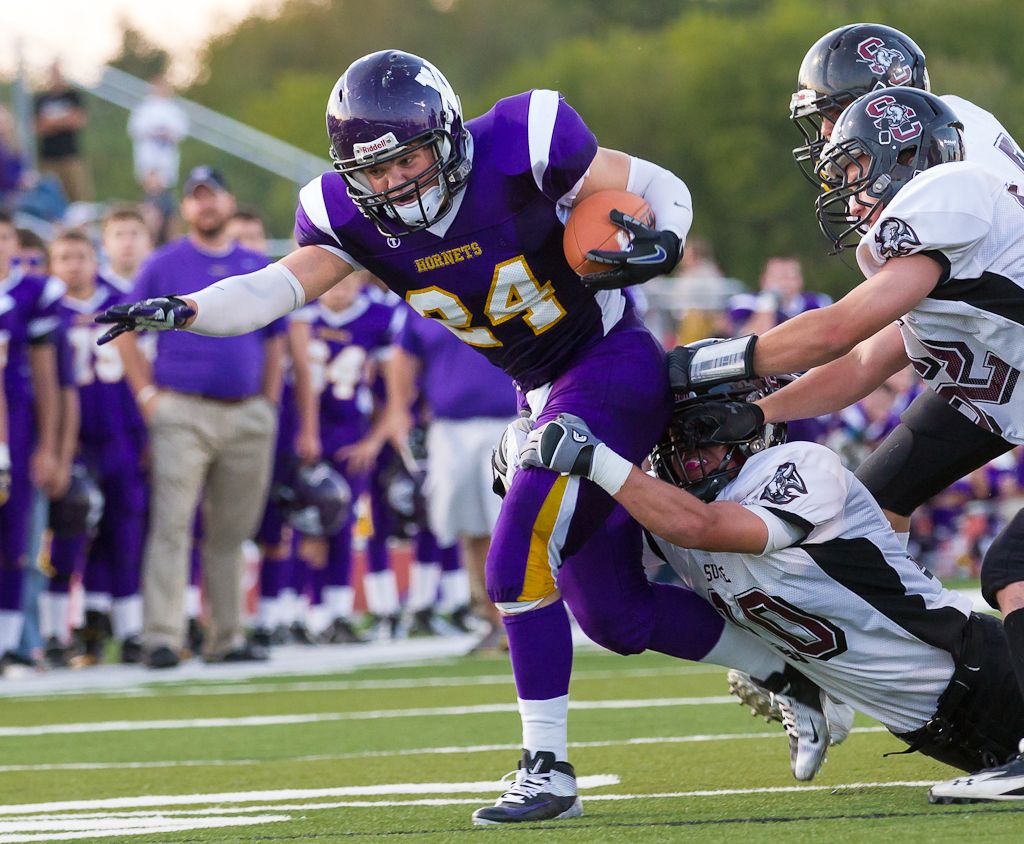
Daylight for High School Football?
Shooting high school football is challenging for several reasons including managing the transition from daylight to dark. If you are shooting for a school yearbook, school paper, or just for fun; I advise shooting the games in the beginning of the season and to be sure to get your shots in the first quarter or two. Daylight is fleeting in September and the sun makes it possible to get some "Golden Hour" light with its wonderful skin tones and color rendition. How much sunlight is available and for how long depends on your location within the time zone. The sun sets in the west so locations in the western part of the time zone will have daylight later in the day.
Consider two cities in the central time zone; Pensacola, Florida (east) and Garden City, Kansas (west) and look at the difference in sunset times and how fast the days are getting shorter at each location.
Sunsets for each city September 1 September 30
Pensacola 7:12 pm 6:36 pm
Garden City 8:14 pm 7:29 pm
As you might expect, there is about an hour's difference in the sunsets across the time zone. That's huge in determining your technique and the value of shooting early in the game. Exploit every minute of sunlight.
Professional photojournalists and avid enthusiasts will have the equipment to deal with dark conditions but even then, images captured in daylight will be far more compelling than the same capture at night--and a lot easier to get. If you have a choice, shoot early. Early in the game and early in the season give the best results.
1/640 sec, f/3.5, 155mm, ISO 1600, Canon 1D Mark IV, Canon EF 70-200 f/2.8L IS II
September 21, 2012; 7:16pm ; Wichita, Kansas
___________
October 31, 2008; 7:04pm; Wichita, Kansas; Opening Kickoff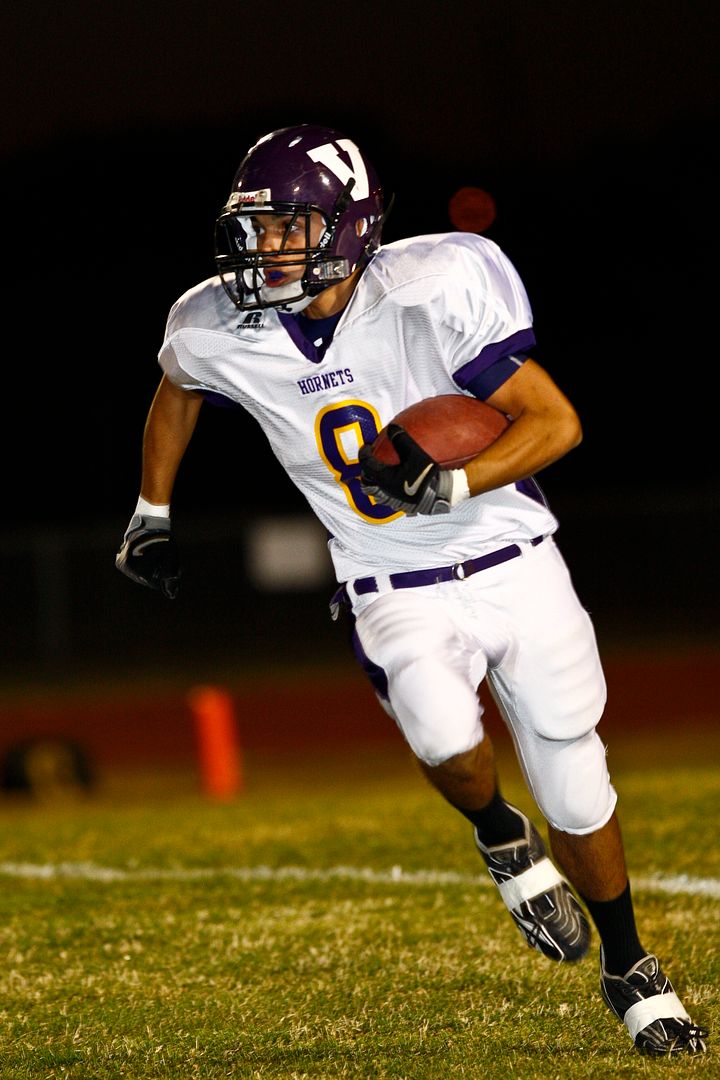
1/300 sec, f/3.5, 300mm, ISO 1250, Canon 1D Mark III, Canon 300mm f/2.8L IS, flash ETTL +1/3
Phil Zivnuska
Tennis with the X
Most of my blog posts are directed to the new to intermediate level sports shooter. Today, however, I'm writing about the top of the Canon line 1DX and a feature unique to that pro level camera.
When I shoot an event, I like to try different things to attempt to improve my images. It might involve a new angle or tweaking my settings to trade SS for ISO or aperture. I'm always trying something to work the images. Recently, a tennis tournament was held at my favorite tennis venue. Access and backgrounds at Goddard, Kansas are the best for tennis in this area. It was a perfect opportunity to try a new technique--new to me at least.
Last fall, there was a ladies high school tournament at that site. When shooting from the end of the court across the net to the other end, I had the 400mm f/2.8L IS II and was trying to capture the player when hitting either the forehand or backhand. The problem was in choosing where to select the focus point. If the forehand placed the player on camera right and the ball and racquet on the left then the backhand was the reverse and the situation was the opposite for left handers. There wasn't enough time to move focus points between strokes so I tried something else. I tried a few shots with the 61 point auto selection AF mode plus iTR (face recognition) AF so I could stay focused on the athlete regardless of which side of the court he/she moved toward. It seemed to work but I needed to test it further.
With this springs mens tournament at Goddard, I decided to shoot the whole tournament with the full 61 point auto selection with iTR and just see how well it worked out.
It was great!
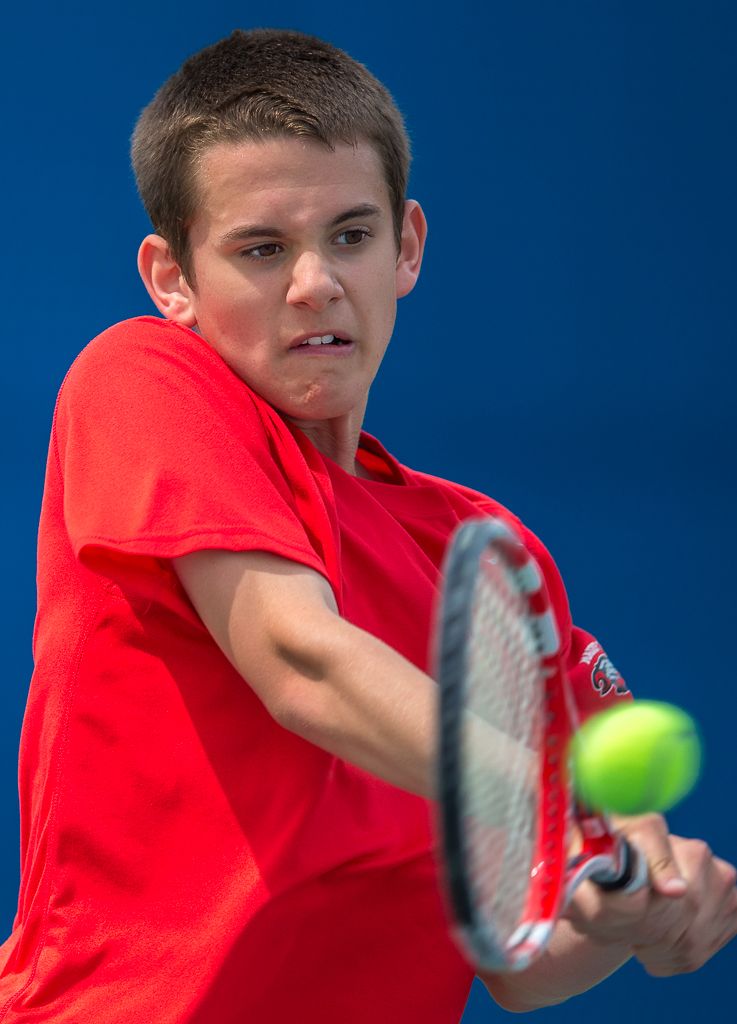
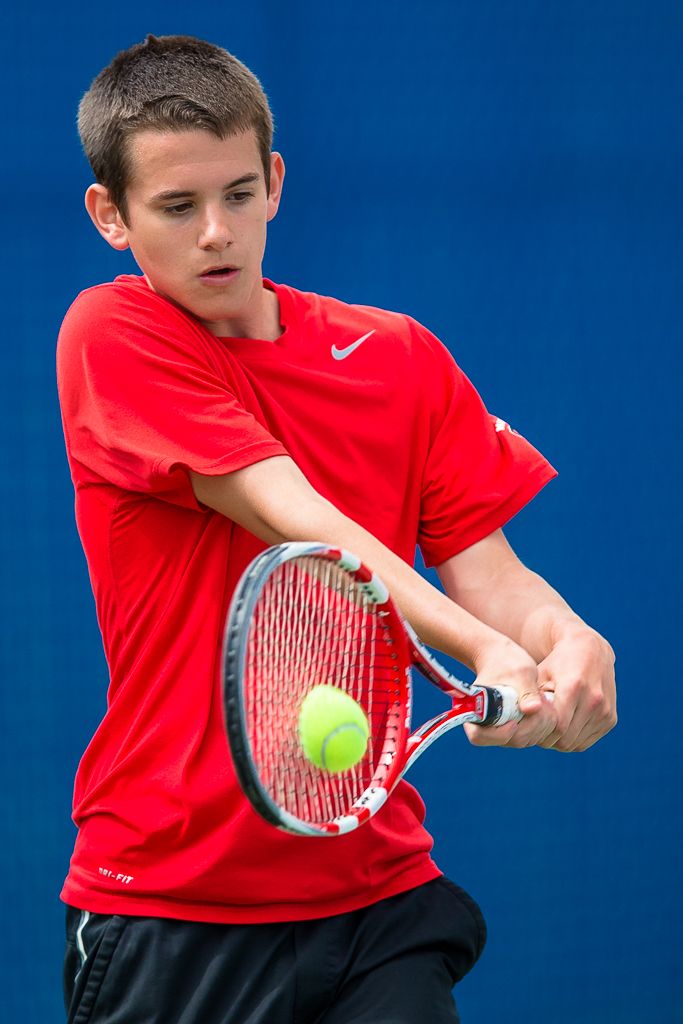
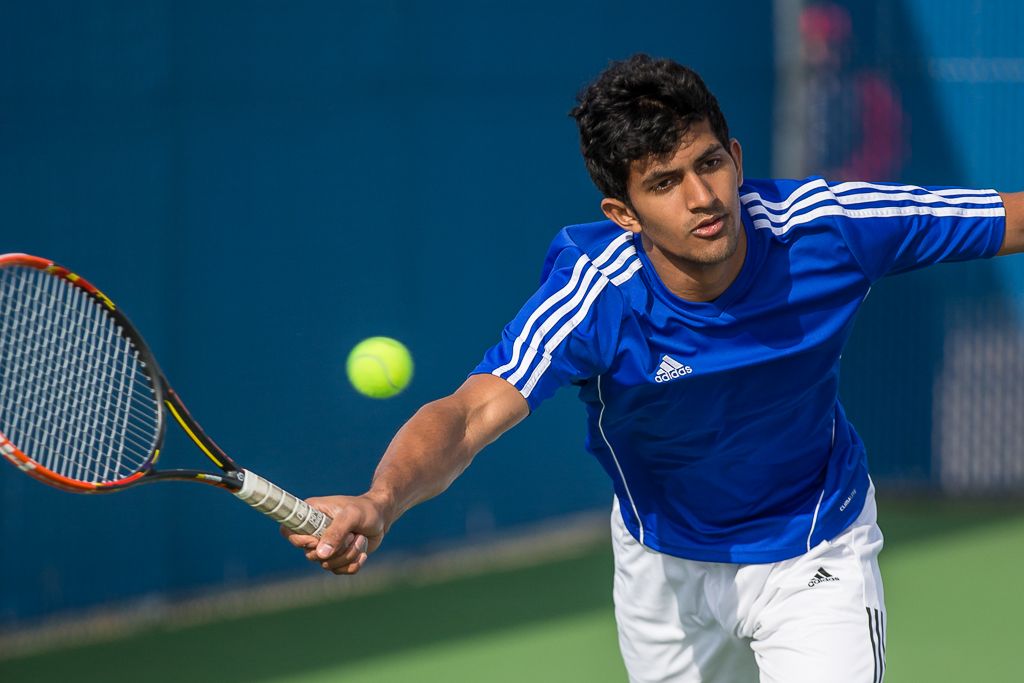
Goddard has wonderful backgrounds that become a soft buttery blue blur when shooting with the 400 at a large aperture (f/2.8 to f/3.5). When the player has a solid colored uniform, it makes it easy for the camera to use color to help track the skin tones against the solid colors. Additionally, the face recognition technology has an excellent opportunity to perform. The photographer simply initializes the focus on the player's face and the X will track that face as long as it stays within the focus area. The camera displays which of the 61 points are being used so you can easily see if the camera is locked on the appropriate spot. The day of this tournament was marked by winds from 25 to 35mph and I had my hands full keeping a steady aim. Whenever I messed up my aiming, the displayed focus points clearly and immediately showed that fact and I was able to re-acquire the proper target. Unlike yours truly, the 1DX was flawless. I was stunned to see that not only was the player in focus but the face recognition technology kept the eyes sharp. Every time. Wow. Let me be clear, I make plenty of mistakes but the X did not. It was remarkable.
It also worked with the 70-200mm
Keep in mind that at 30 feet, the 400mm will have a depth of field of about 4 inches. On these shots, I'm able to count the young man's eyelashes in each shot. Originally, I was skeptical of this technology but now I'm a believer--for tennis anyway.
Rudy Winston of Canon recommended giving this a try (on one of his training videos) and I'm glad he did. Try it!
Phil Zivnuska
Dioptric Adjustment
Dioptric Adjustment
Action photographers will often spend large sums of money, as much as they can afford, in order to purchase a camera body with the most advanced focusing system possible. They will tweak the focus point location, the number of auxiliary focus points, how fast or slow the focus changes from one object to another, the case of focus tracking and how the camera will react to acceleration. Sadly, many photogs will omit adjusting the adjustment available on almost all dslrs that assists your most important focus aid--Your Eyes!
It's vitally important to be able to discern when your camera's focus system is locked on the desired subject and when the camera has locked onto a subject close to the desired but not exactly the one intended. That can be the difference between a tack sharp image and one that is disappointingly soft. If you can't tell the difference in the viewfinder, don't be surprised if you camera's focus remains locked momentarily off target even if you've re-aimed the focus point properly. You can often adjust the length of the lag before the camera refocuses but there will always be a slight lag. You often hear action photogs complain that the focus is misplaced even though the focus point is properly located at the moment of exposure. More often than not, the focus point was misplaced earlier and the focus had not yet relocked on the target.
How can you improve your eyes ability to see proper focus? With the dioptric adjustment.
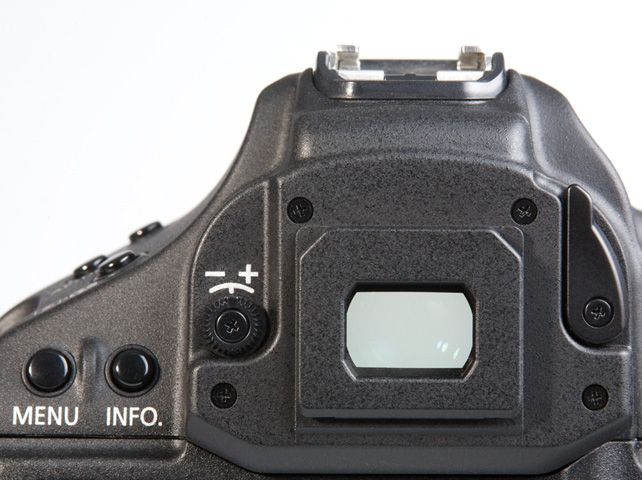
Many shooters have visual impairments that can be improved upon with an adjustment of the diopter of the viewfinder. That adjustment is usually located adjacent to the viewfinder. It may be to the left or right depending on the manufacturer. Check your owners manual. A Canon installation is shown below.
Adjust the wheel until the image appears as sharp as possible. Note the amount of adjustment and repeat this several times in order to get a consistent outcome. It should be that simple. For most folks, it is. However, some people have a discrepancy in excess of the maximum adjustment. This can occur when a photog uses glasses but wants to shoot without them for some reason. Be aware that some camera manufacturers offer adjustment lenses that dramatically extend the amount of adjustment available. You may want to consult your optometrist for a recommendation of how much diopter adjustment you will require.
You are ready to shoot. Now that you can tell when the focus has drifted off target and are using back button focus (yes, back button focus), you can use the "Bump Focus" technique to correct.
Bump focus refers to the practice of releasing and immediately re-pressing the back button for focus. This will expedite the acquisition of a new focus lock on the subject centered on the focus point. In fast moving sports with numerous targets such a basketball or football, it is easy for the focus system to lock on another player or a referee. Proper dioptric adjustment lets you recognize when you need to acquire a new lock with a bump focus. A higher keeper rate is your reward.
Phil Zivnuska
Volleyball shooters
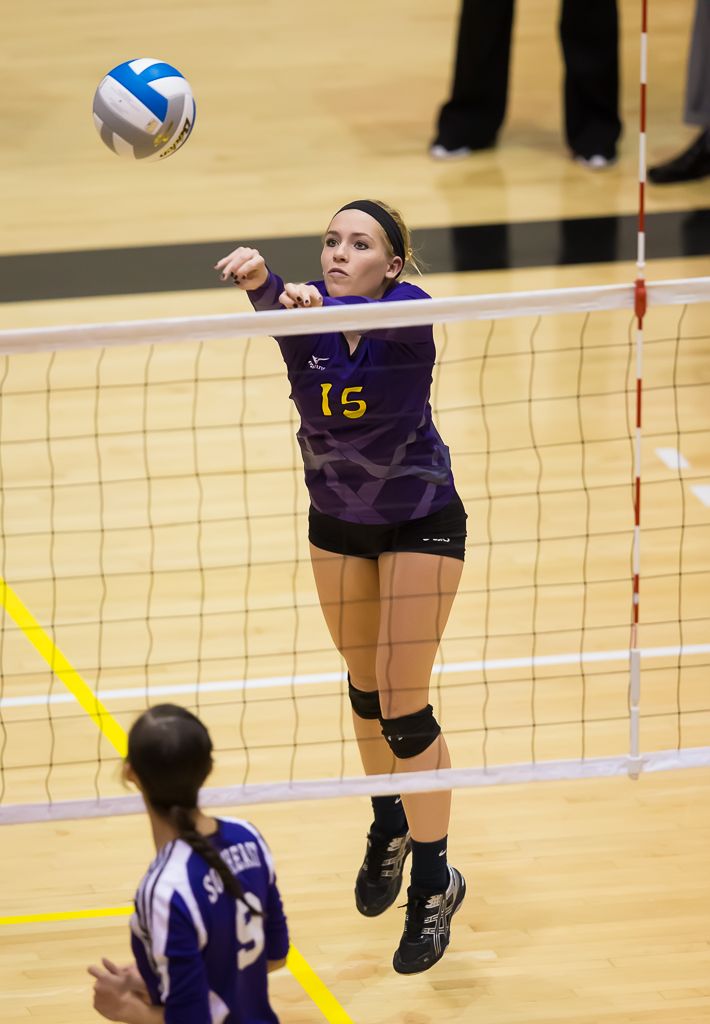
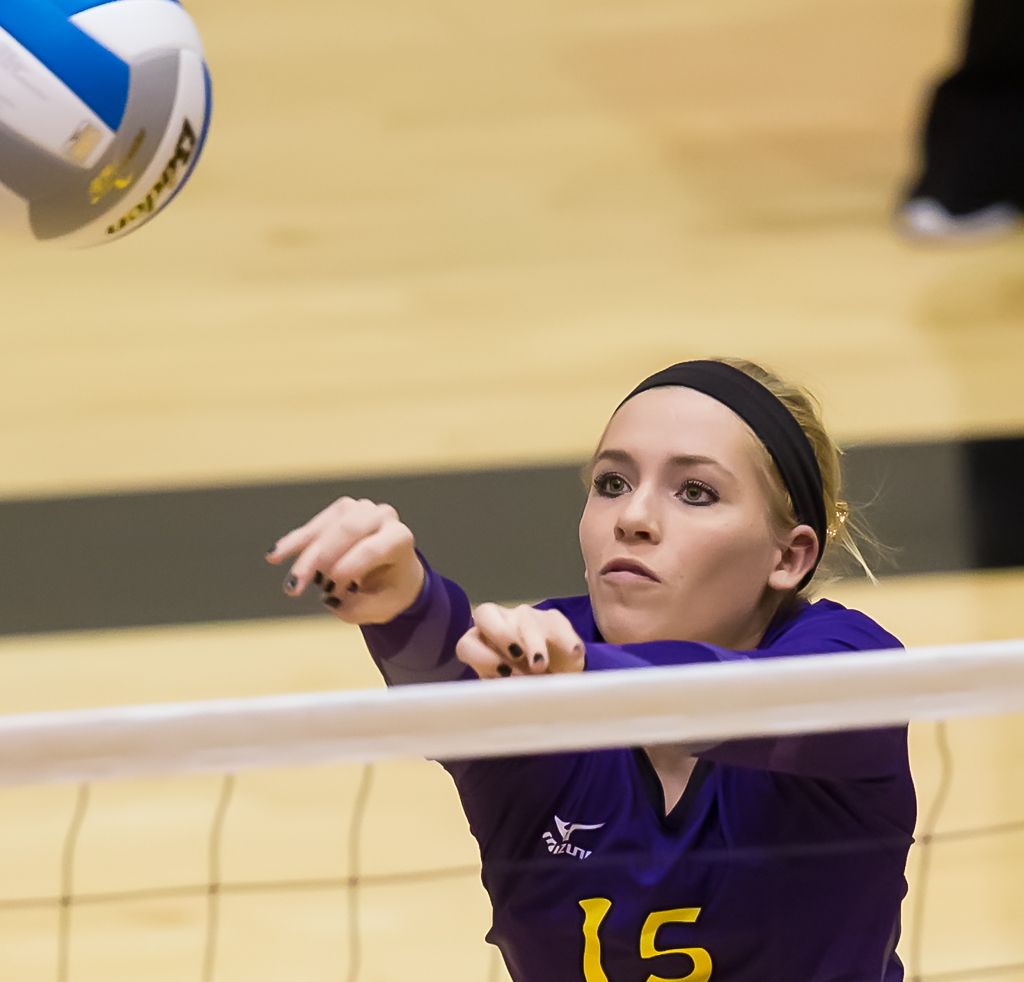
Can you tell in the viewfinder when you are focused on the player and when you are focused on the net? Not without a proper dioptric adjustment!
Arizona
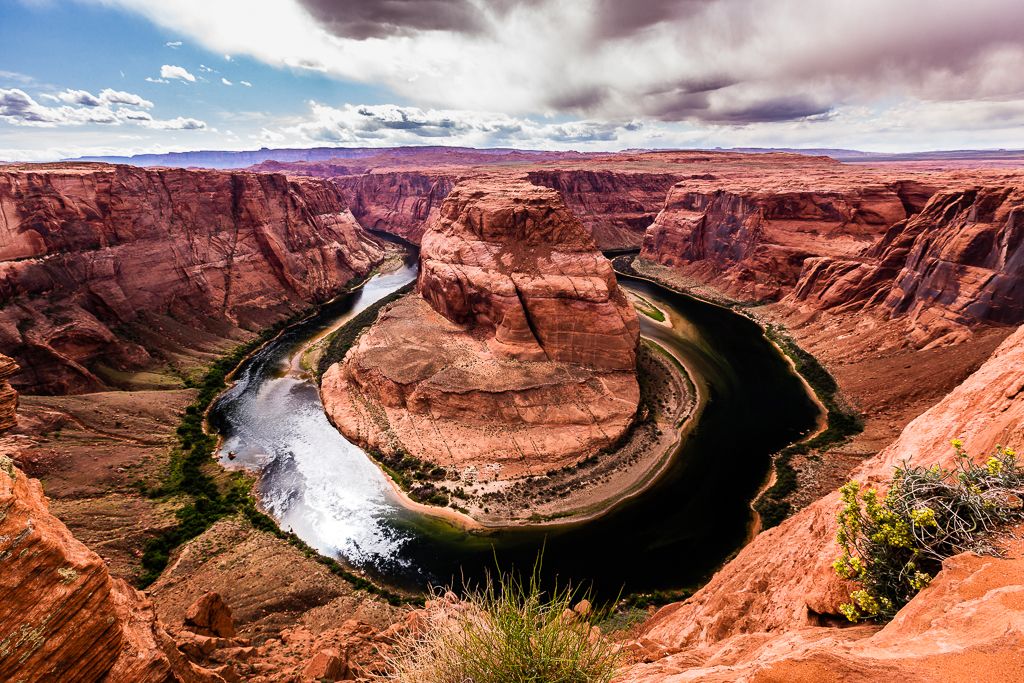
My field is sports photography but sometimes other photographic opportunities just beg to be enjoyed. A recent long weekend in Page, Arizona featured many remarkable views.
Get your tour from Chief Tsosie's tours of Antelope Canyon. Rob is a great guide.
www.antelopeslotcanyon.com
Next time, back to sports.
Phil Zivnuska
In Praise of Gaffer Tape
Gaffer: The chief lighting or electrical technician on a movie or film crew.
In Praise of Gaffer Tape
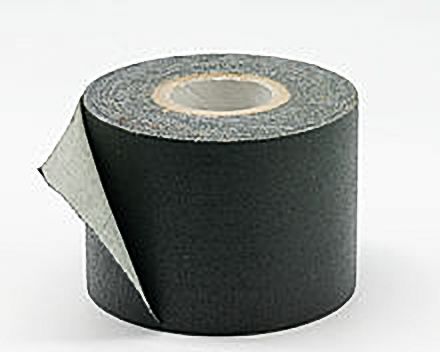
Gaffer tape is one of those non-secret, secrets that lots of photographers use regularly but others have never even heard of. It is an inexpensive cotton cloth tape that is durable and holds strong yet has the ability to be readily removed from a surface without leaving any residue. As the name Gaffer implies, this tape is often used in electrical applications to hold wires to wood, carpet, tile or any other flooring material. In photographic applications, this tape can mitigate a possible trip hazard from wires of all types. The lack of a residue will be appreciated by the maintenance staff and is a must for many venues.
Since it is a cloth material, it is useful to cover metal or other surfaces that can be cold or hot to the touch. If you own a monopod or tripod and frequently find yourself holding cold surfaces, simply wrap the area with gaffer tape and voila, instant comfort. A similar improvement can be for offending areas of a camera body. This tape is also used for the lens caps of Canon 'Big White' lenses. It makes touching the cap comfortable and is a nice reinforcement when the lens cap has a crack.
Since we're speaking of monopods, let me mention another use. When I shoot high school football, I clamp a speed light to my monopod using hose clamps. Wrapping the monopod shaft with 3 turns of gaffer tape will prevent the clamps from scratching the metal and keeps the clamps from sliding.
If you've ever had lens switches move inadvertently, a small piece of gaffer tape can prevent that from recurring and if you want the focus to remain unchanged for a remote set-up, gaffer is the ticket. Camera bodies can benefit from some tape applied to covers that tend to come loose or open. When I ship a body to Canon for inspection and cleaning, I'll tape over the area exposed by the removal of the battery.
This material also makes a great impromptu clamp for temporary positioning of speed lights, PocketWizards, or even a light stand--especially if a light is mounted on the end of a monopod. Take your shots and toss the used tape. It's fast, cheap and easy.
There are many wonderful ways to attach gels to a speed light. All too often however, I find myself with the need to attach a 1/2 cto or other gel and no way to do it. I just put some short lengths of gaffer on my 580 EX II so if I ever need it, I can remove and use a bit to attach a gel. It peels off when I'm done with no ill effects.
One last use is to mark repeat locations on a floor or other surface. This can be handy for camera remotes or any application that will be repeated from time to time.
OTHER IDEAS: How do you use gaffer tape? Post your ideas. Thanks.
Phil Zivnuska
